
Happy Make It Monday!
Hope for those who are off today, has a productive and/or relaxing day! Today I am making a project I have been wanting to make since I purchased my Cricut Explore. For whatever reason, I just haven’t gotten around to it and for the life of me I couldn’t even began to tell you why. However, today I am finally making my Whaley Mug. So let’s get started!
Whaley Mug
Things You’ll Need:
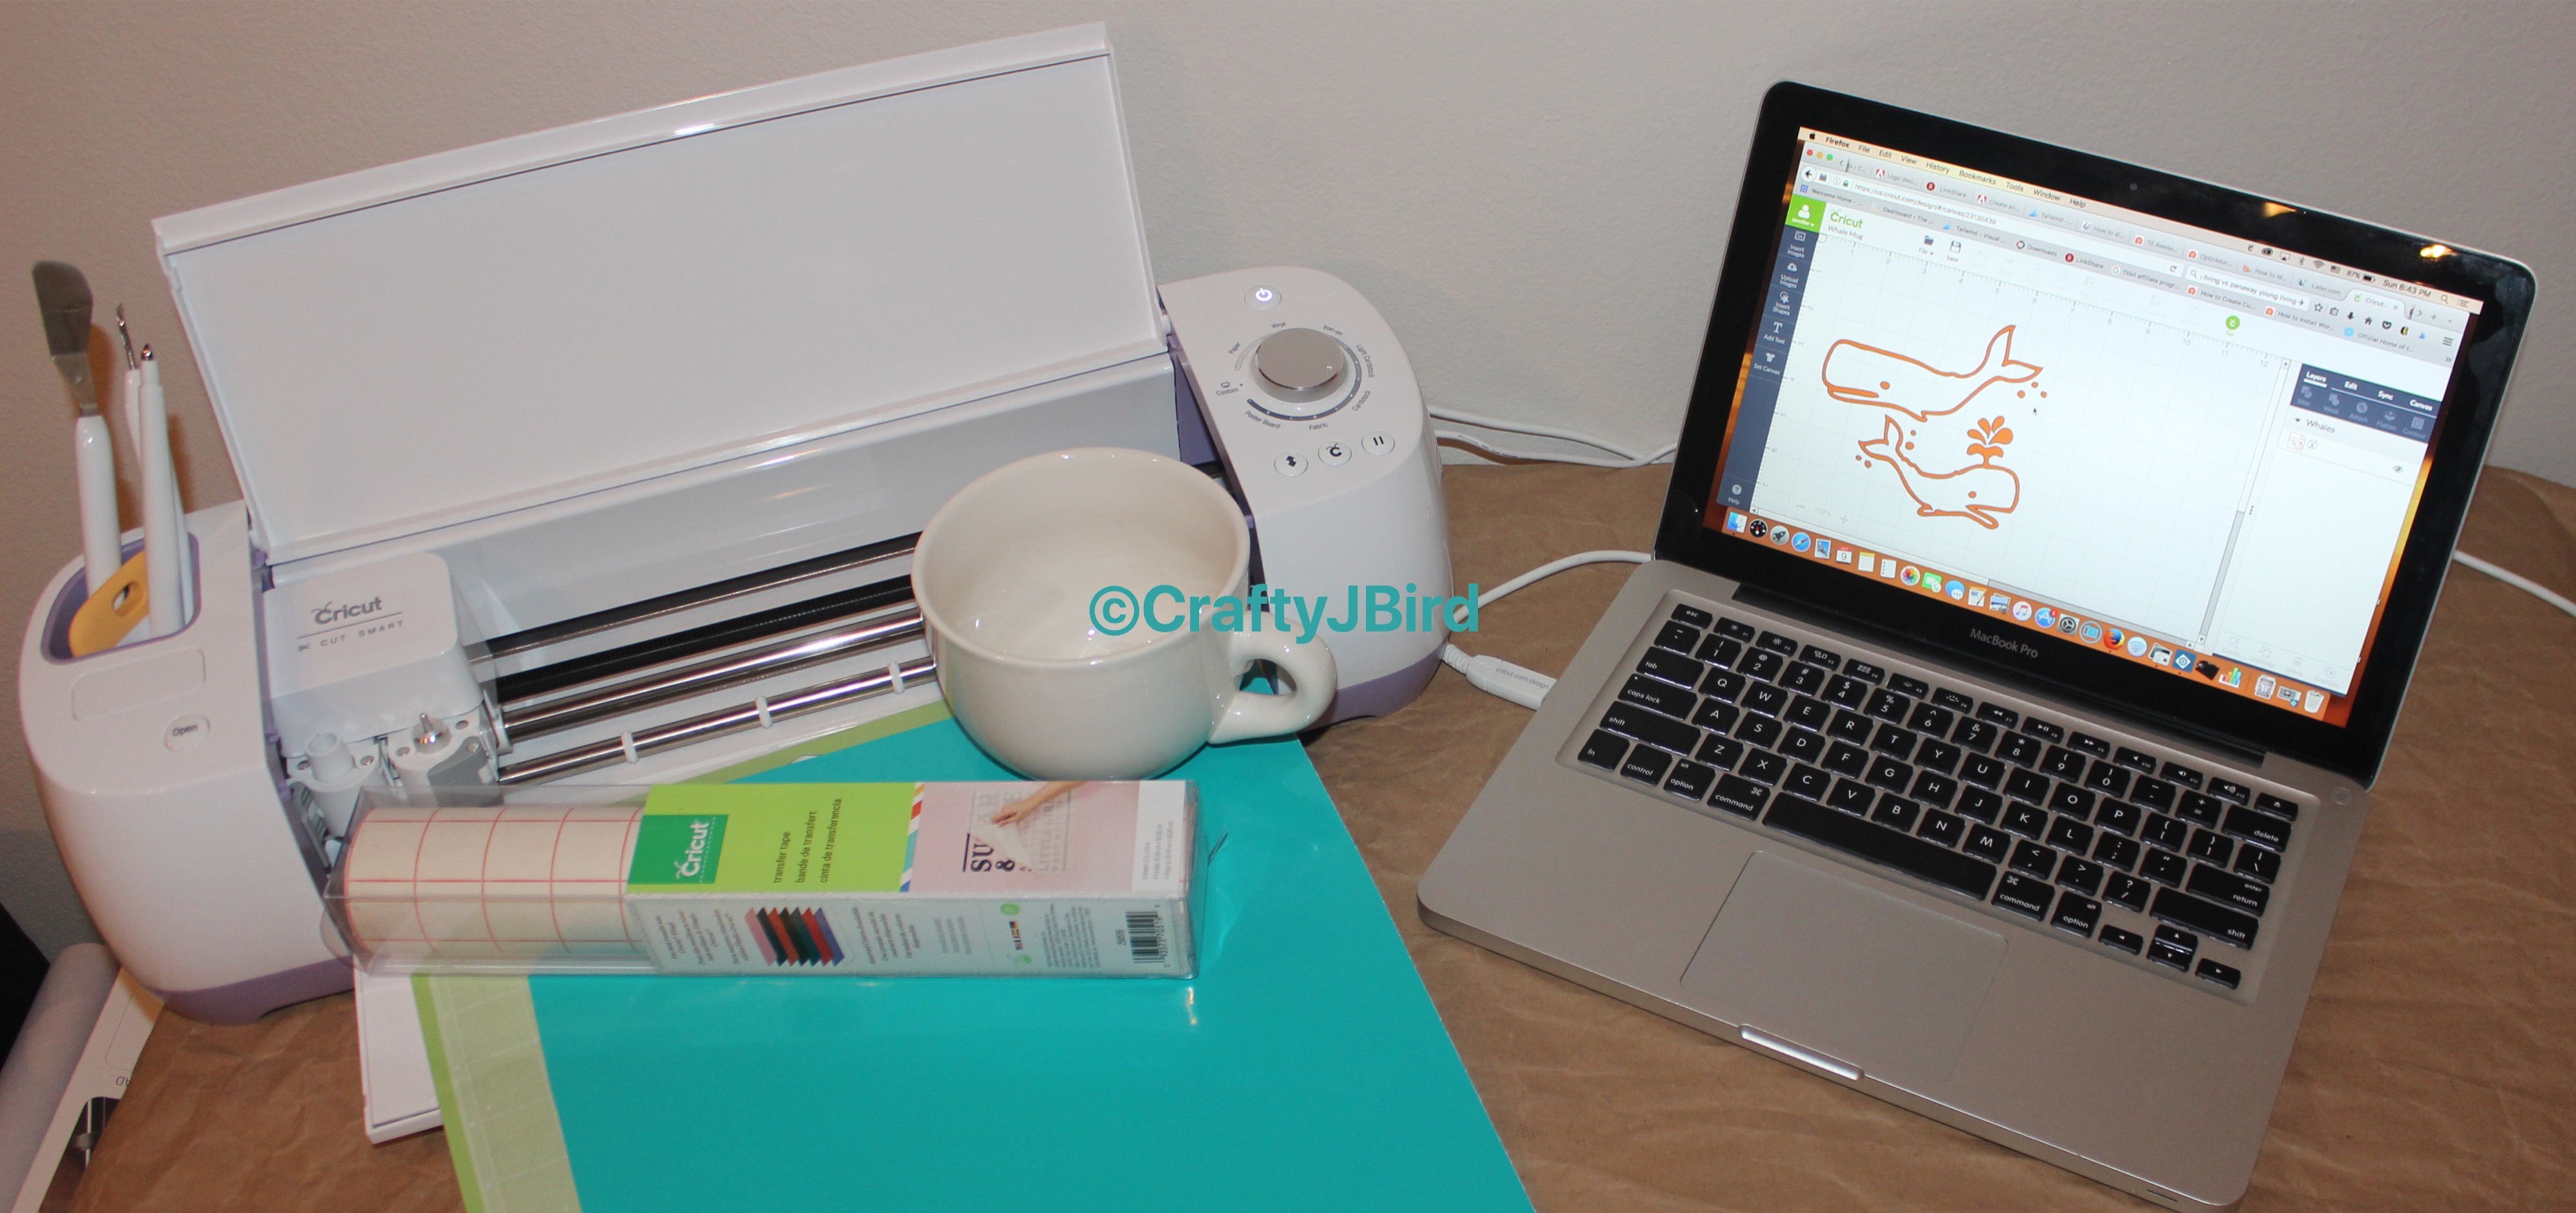
- Cricut Explore® machine
- Cricut Design Space™ software
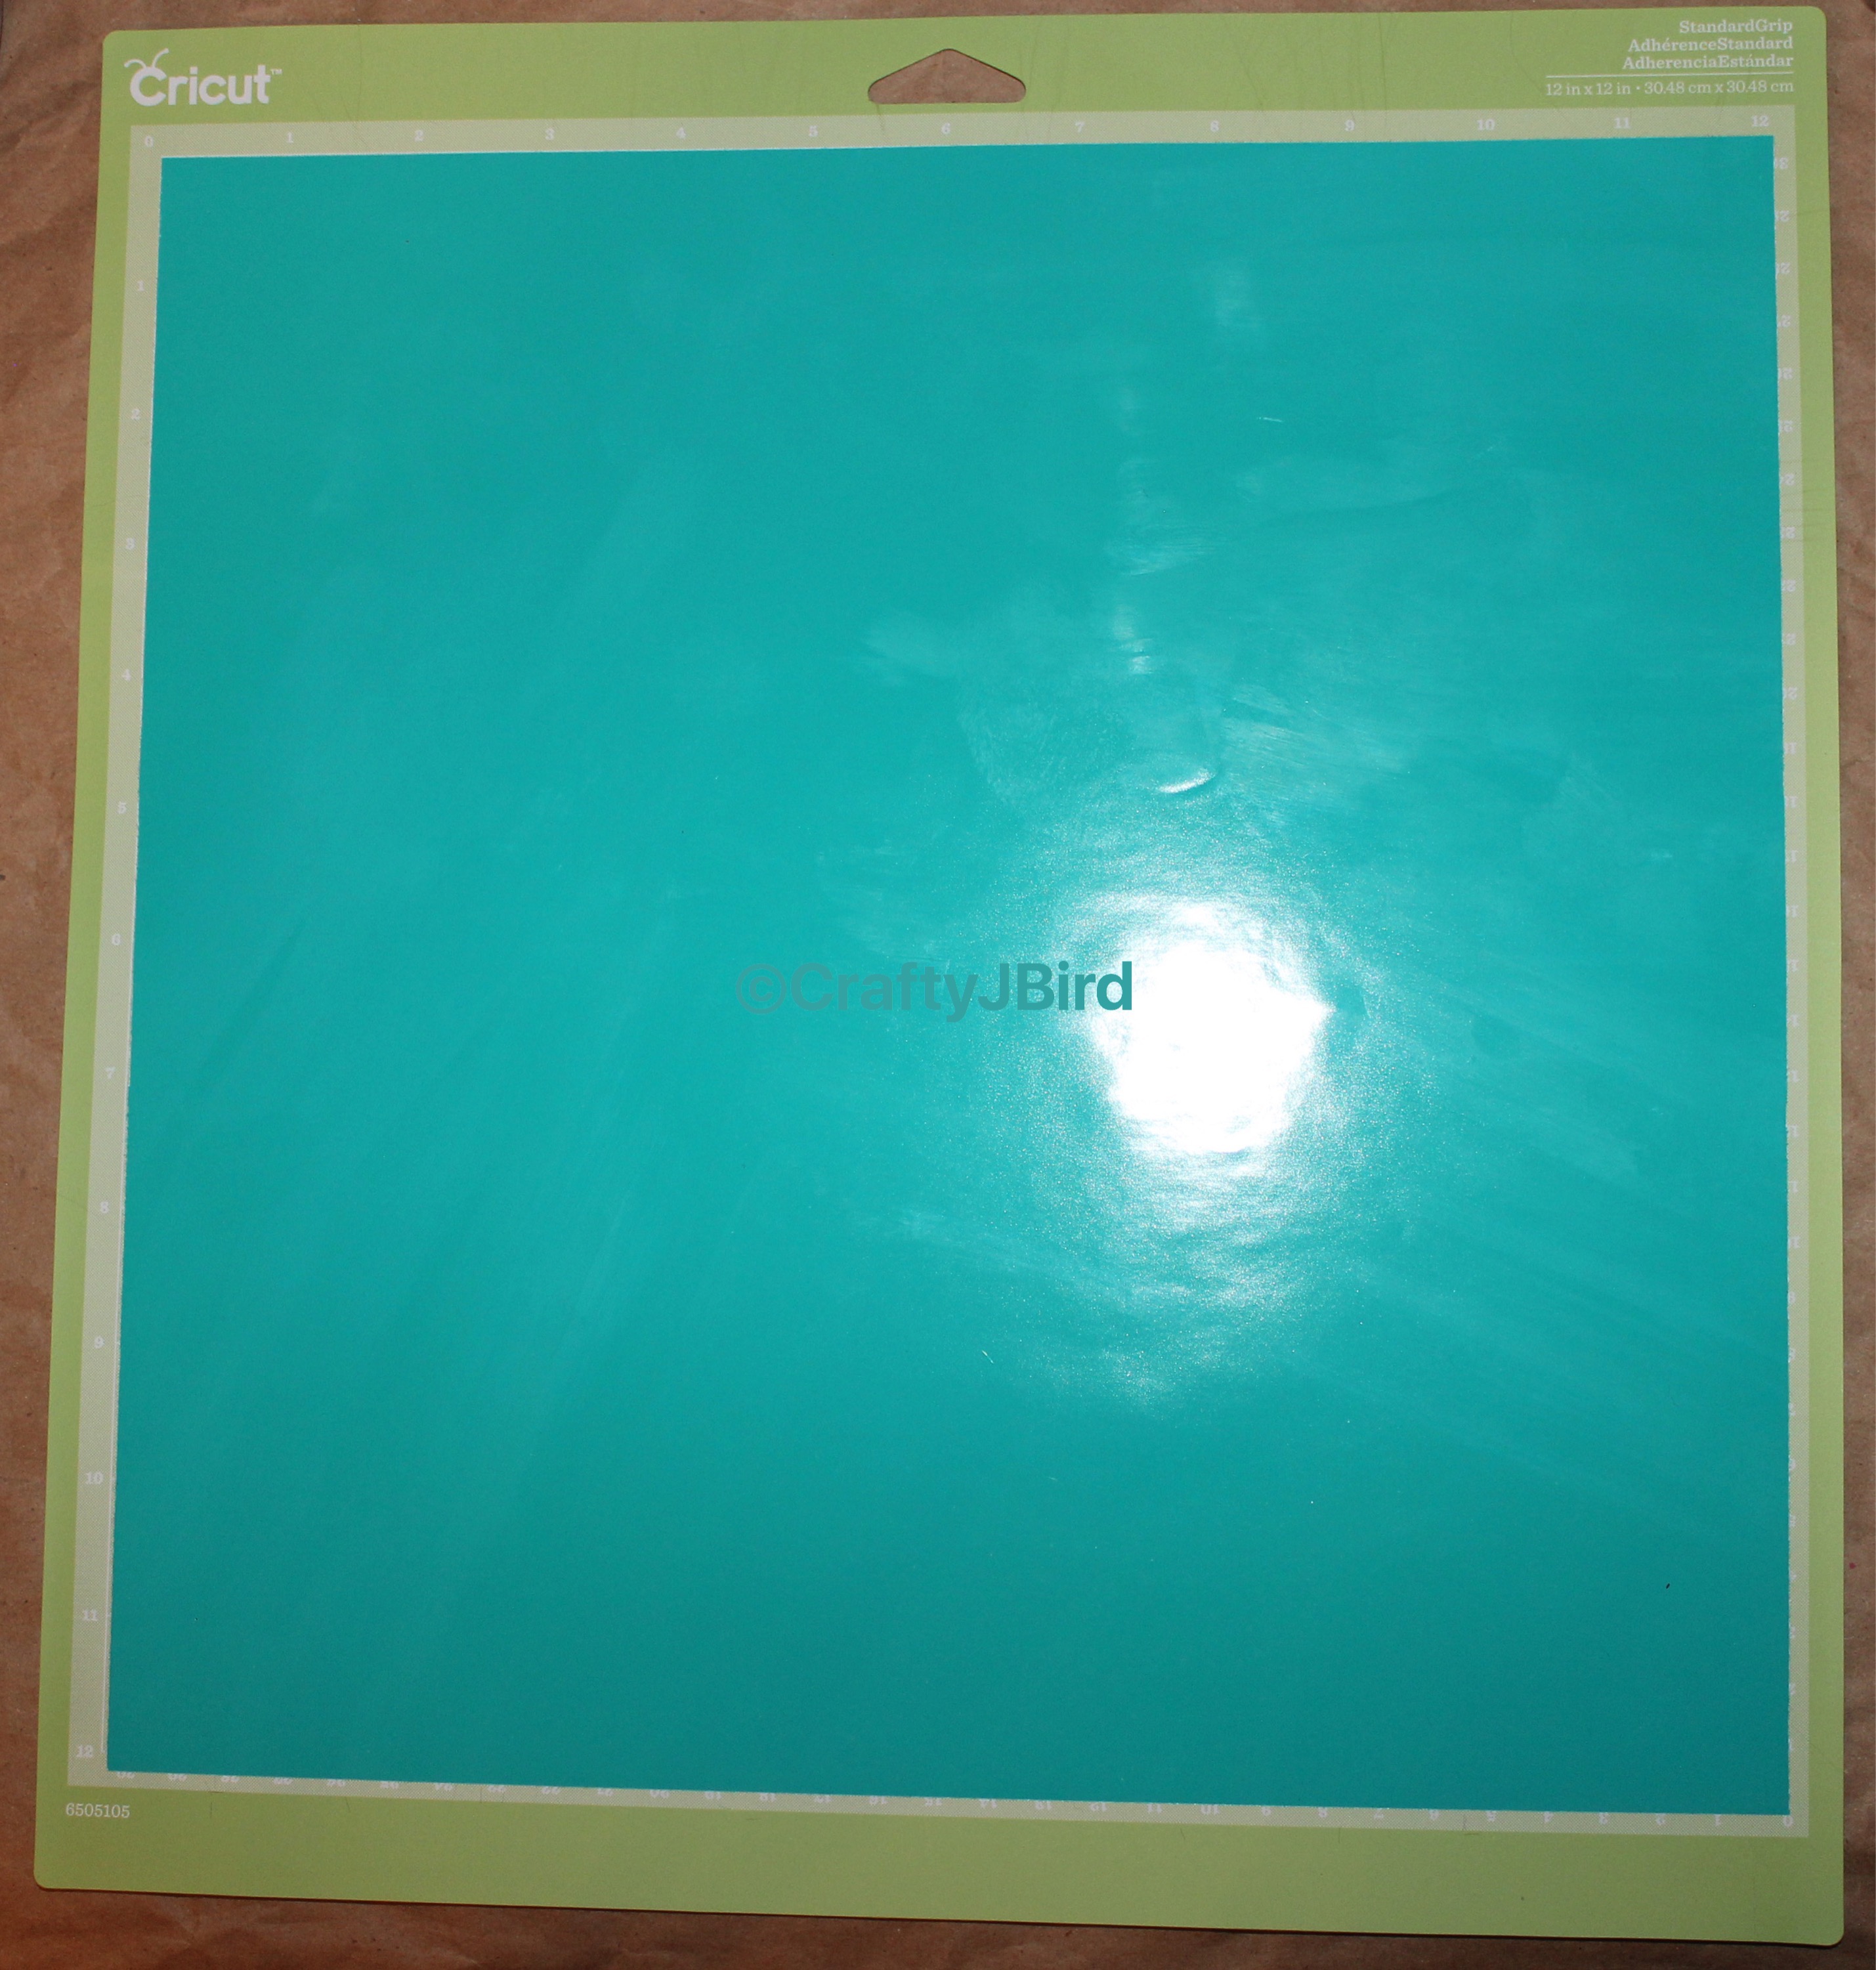
- 12 in x 12 in Standard Grip Cricut® mat
- Blue Vinyl
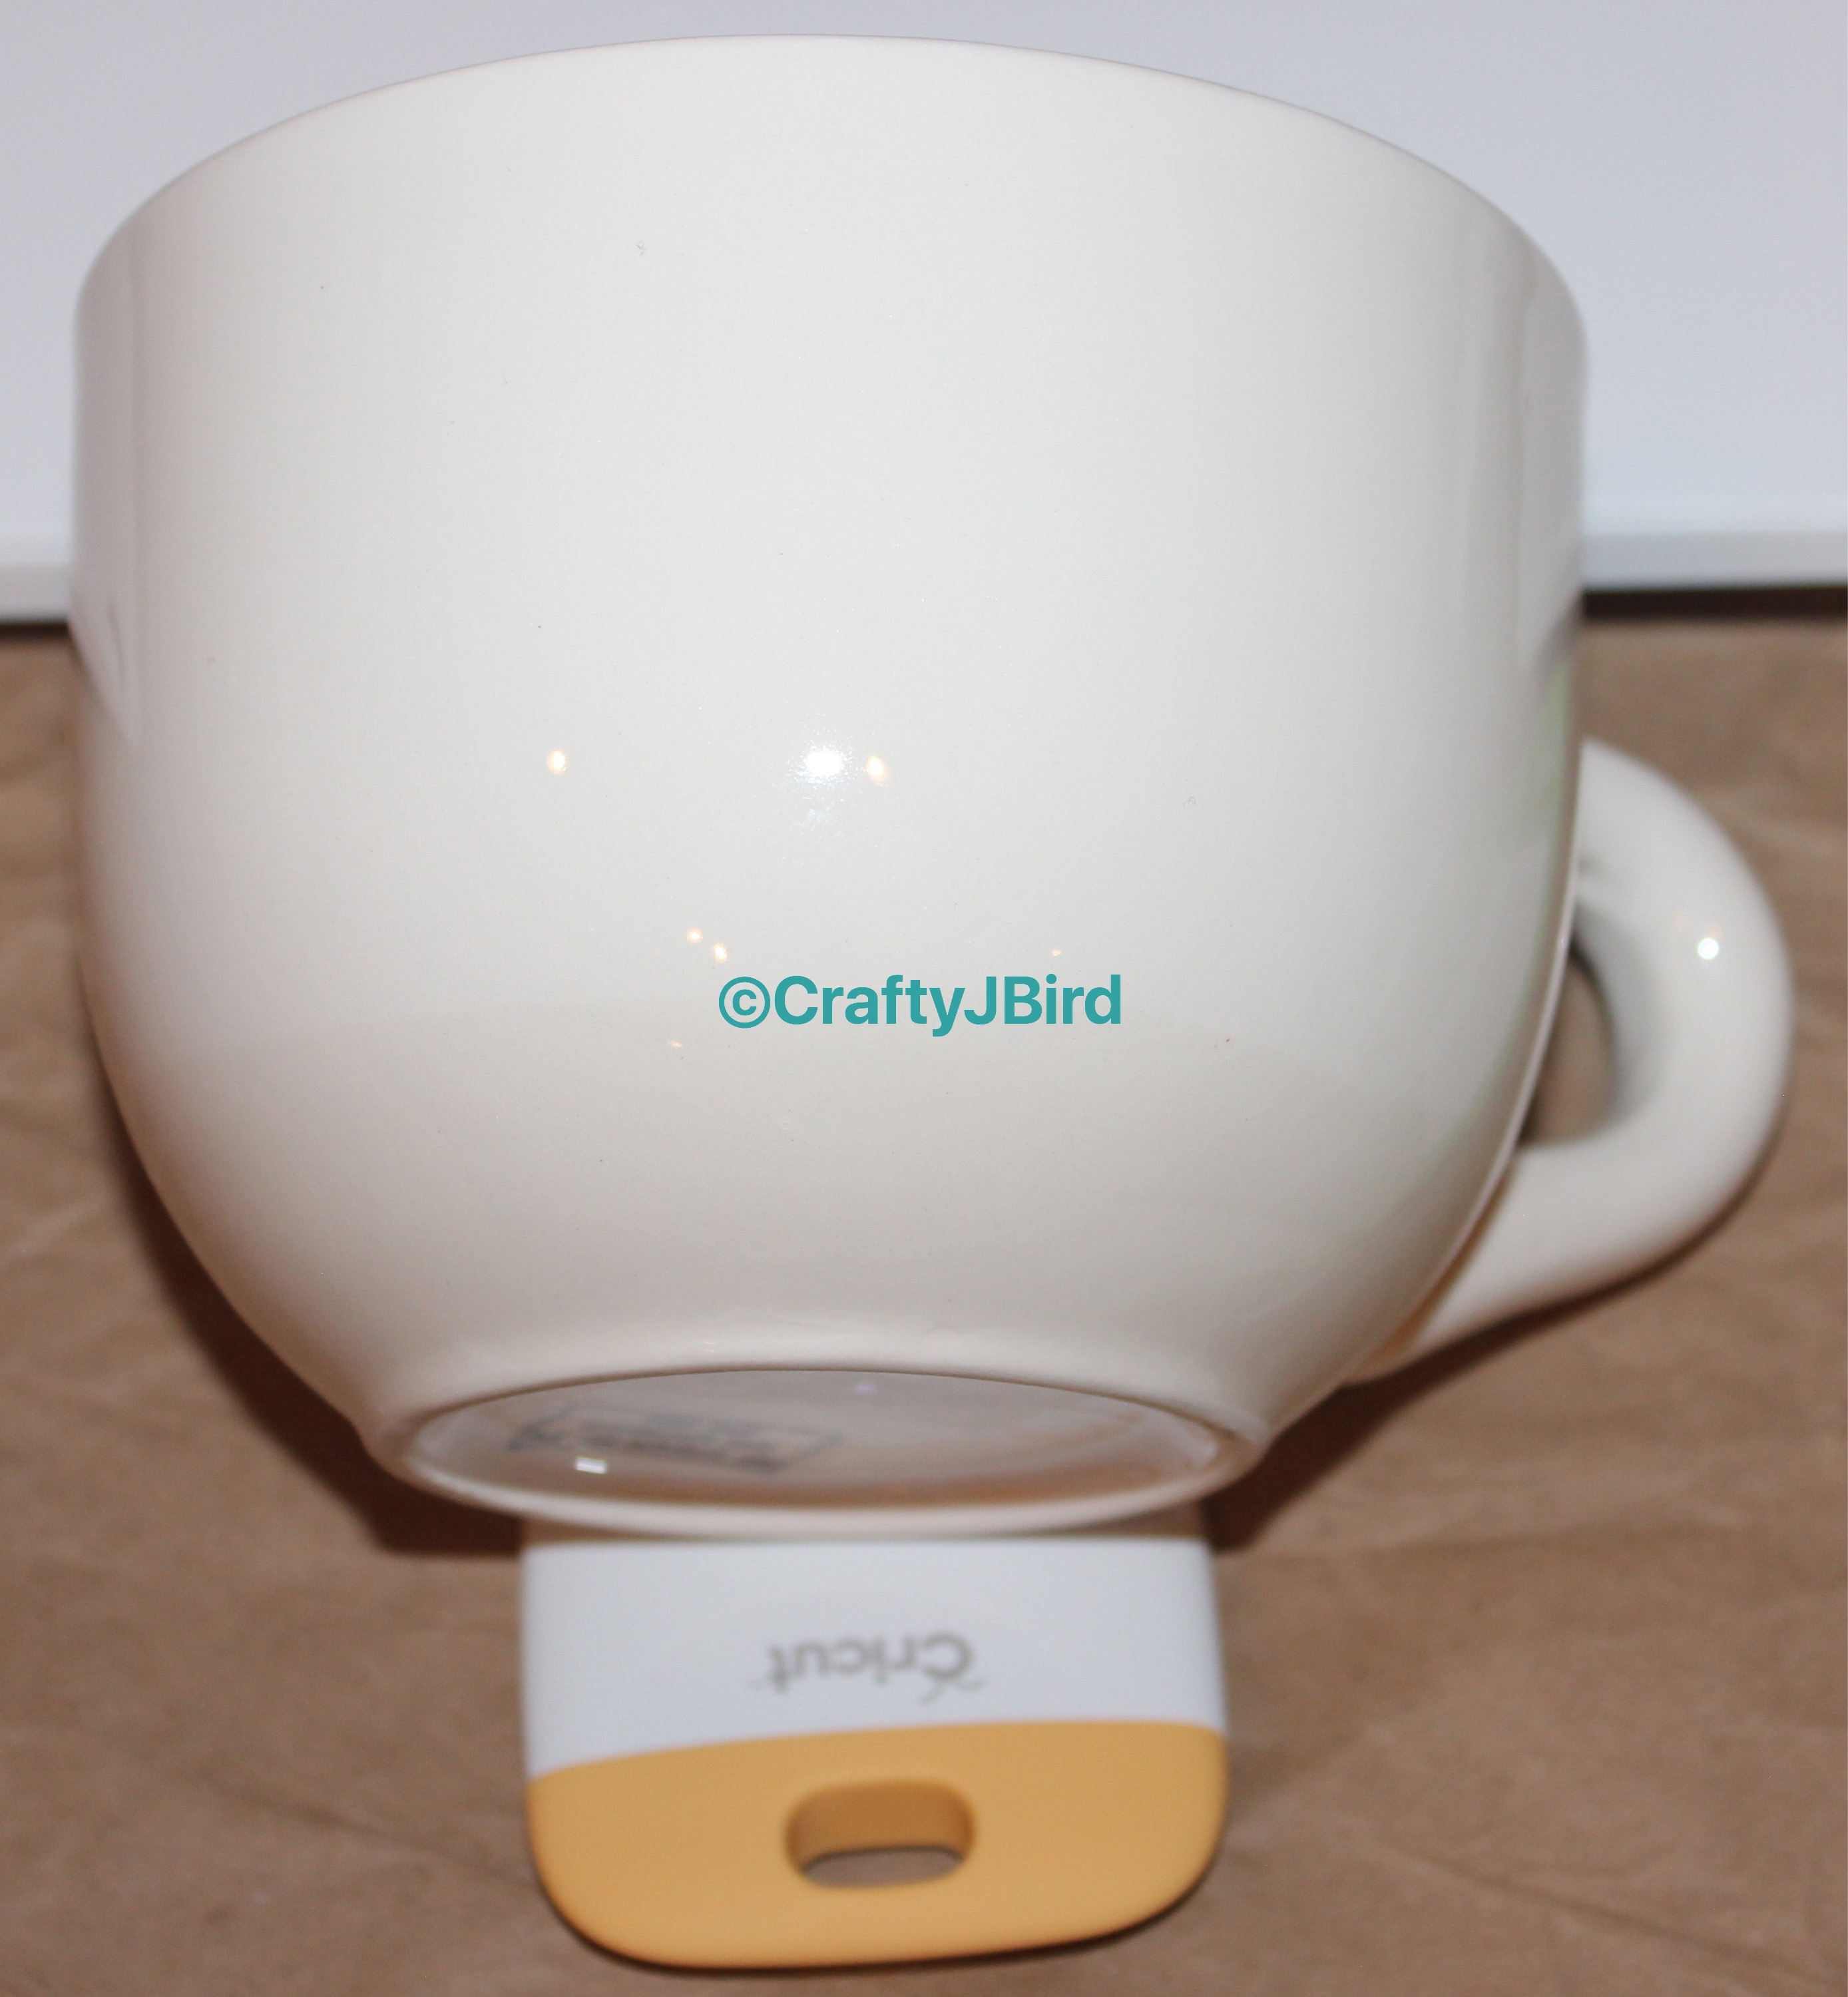
- Mug
- Transfer Paper
- Cricut Tools
Step #1:
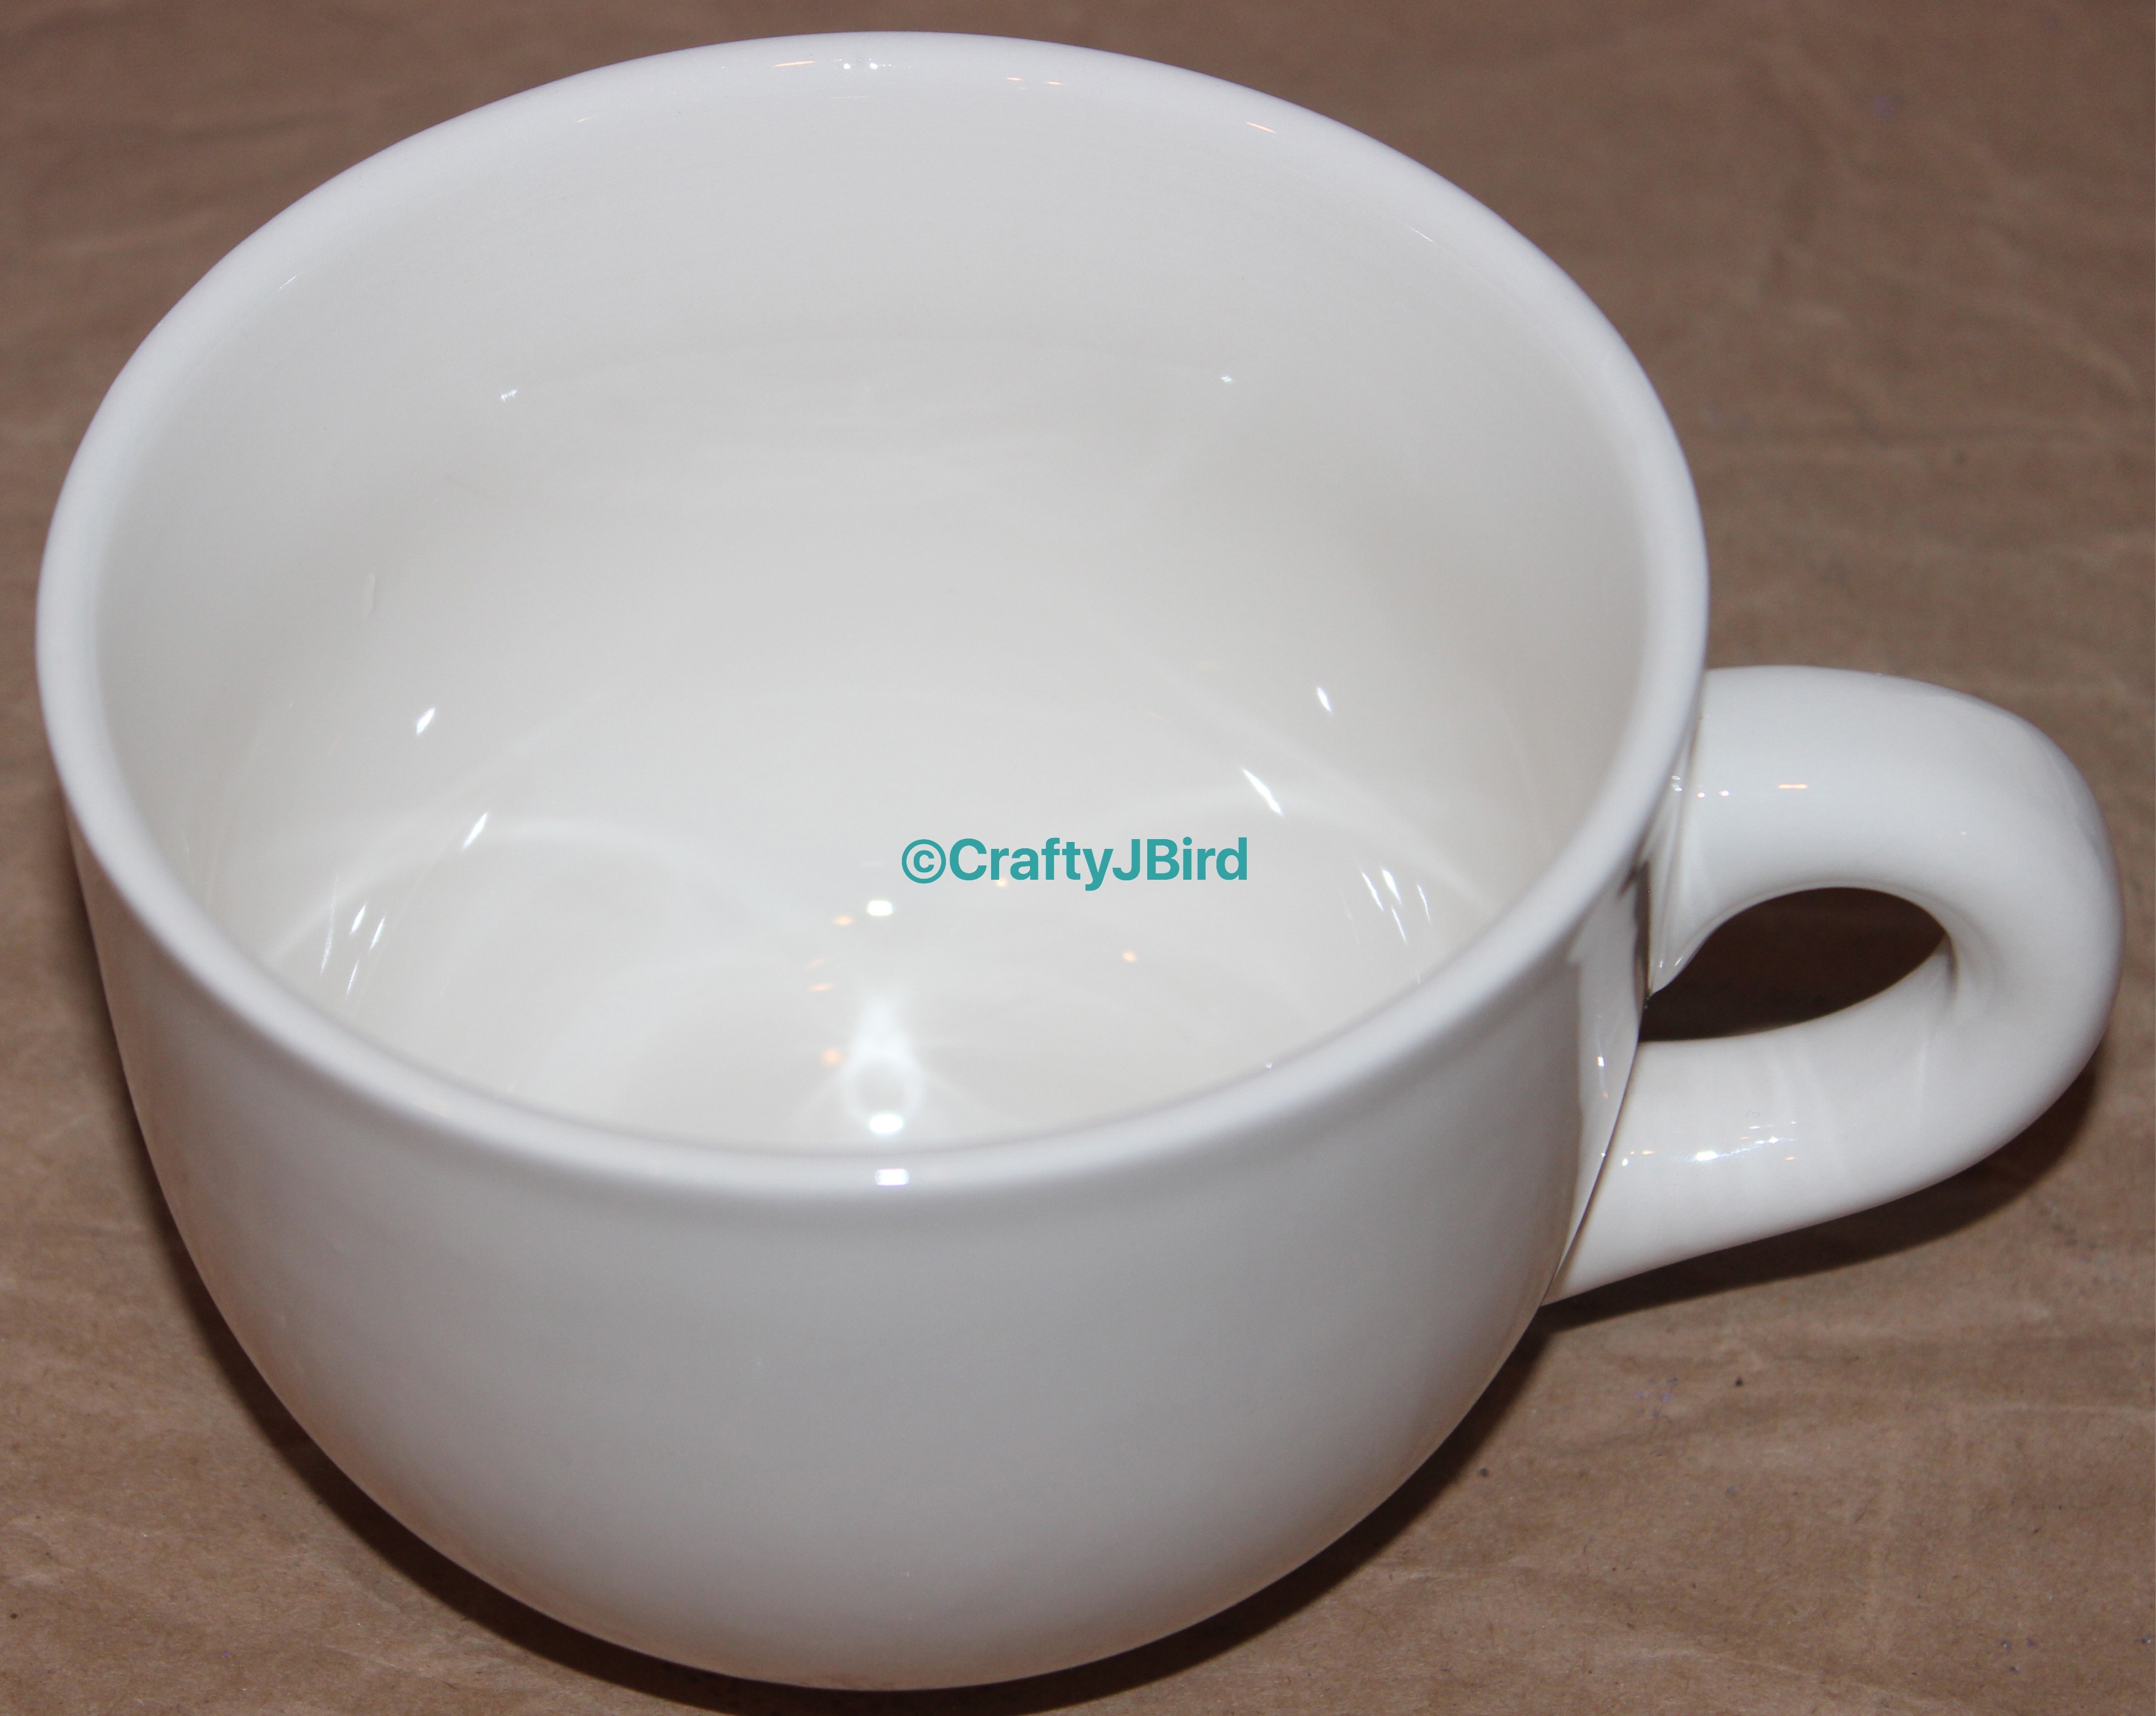 First thing I had to do was decide what size mug I wanted to use. Then I purchased my mug from Hobby Lobby since we happened to be going there that day. It was about $10 but I used a coupon much less. Another thing that had to be decided was what color vinyl I wanted to use. For this particular project I decided to use an ocean color blue which I ordered from Amazon.com.
Step #2:
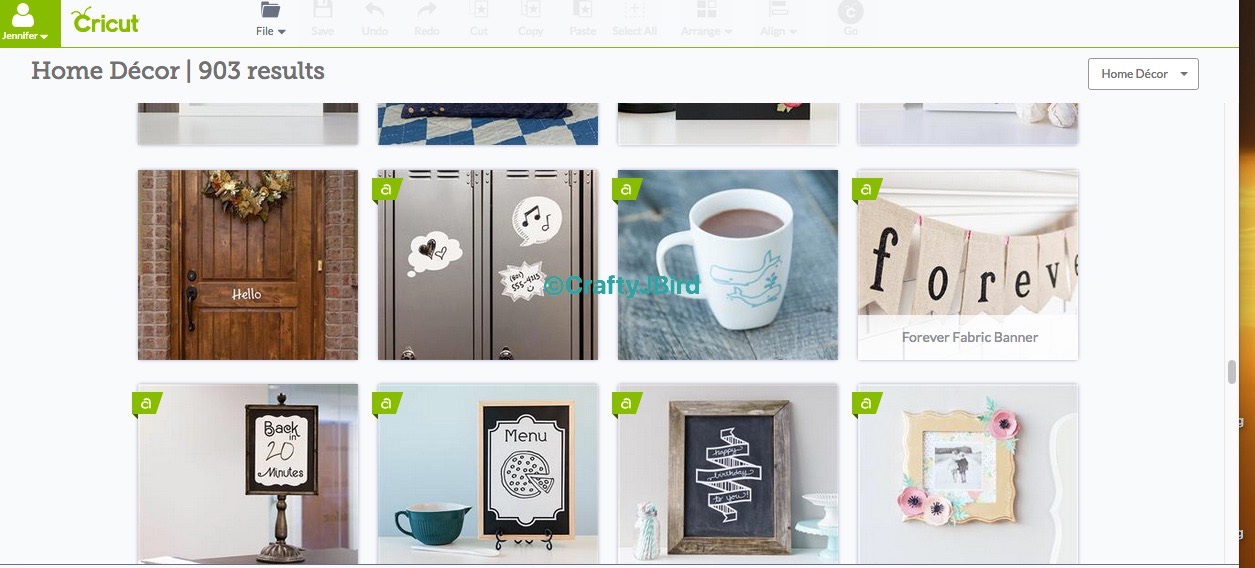
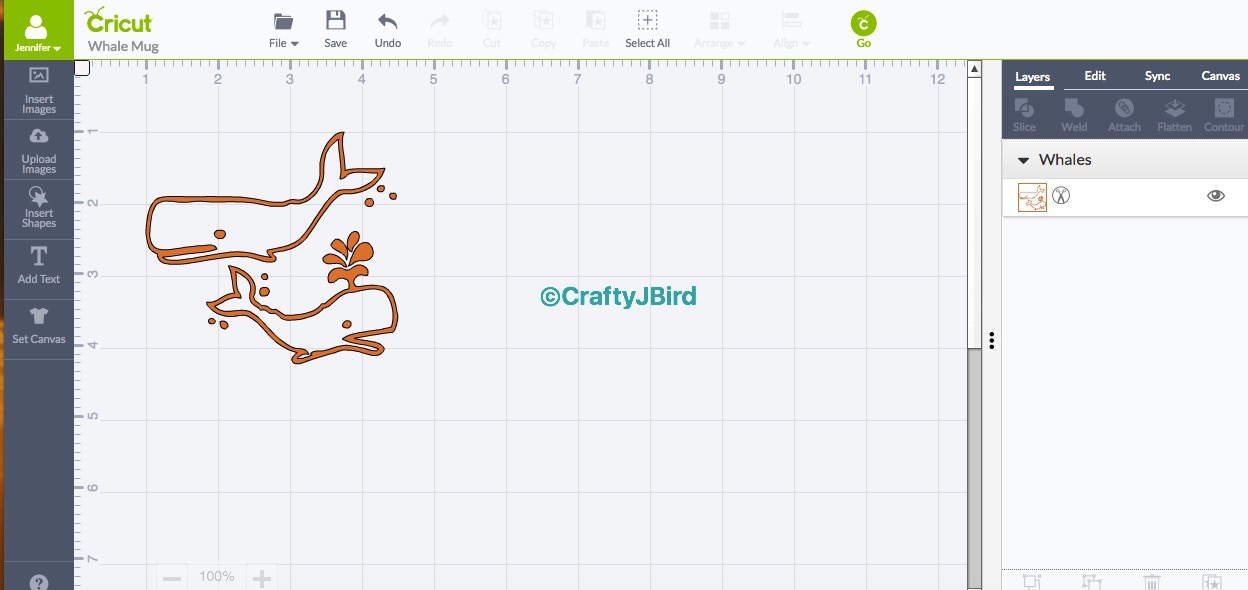
Next, I opened up my Cricut Design Space and found the “Make It Now” projects name “Whale Mug.” You have the choice of making it as is or customizing it. I decided to customizing it to make the whales a bit bigger.
Step #3:
 Once everything is settled and decided on size, I placed my vinyl on my Mat. I made sure to place the vinyl with the liner side down, or rather just right side up with the color showing. When I was ready to cut, I made sure I had the setting on the machine set to Vinyl. Click here for a video of my whales being cut out.
Step #4:
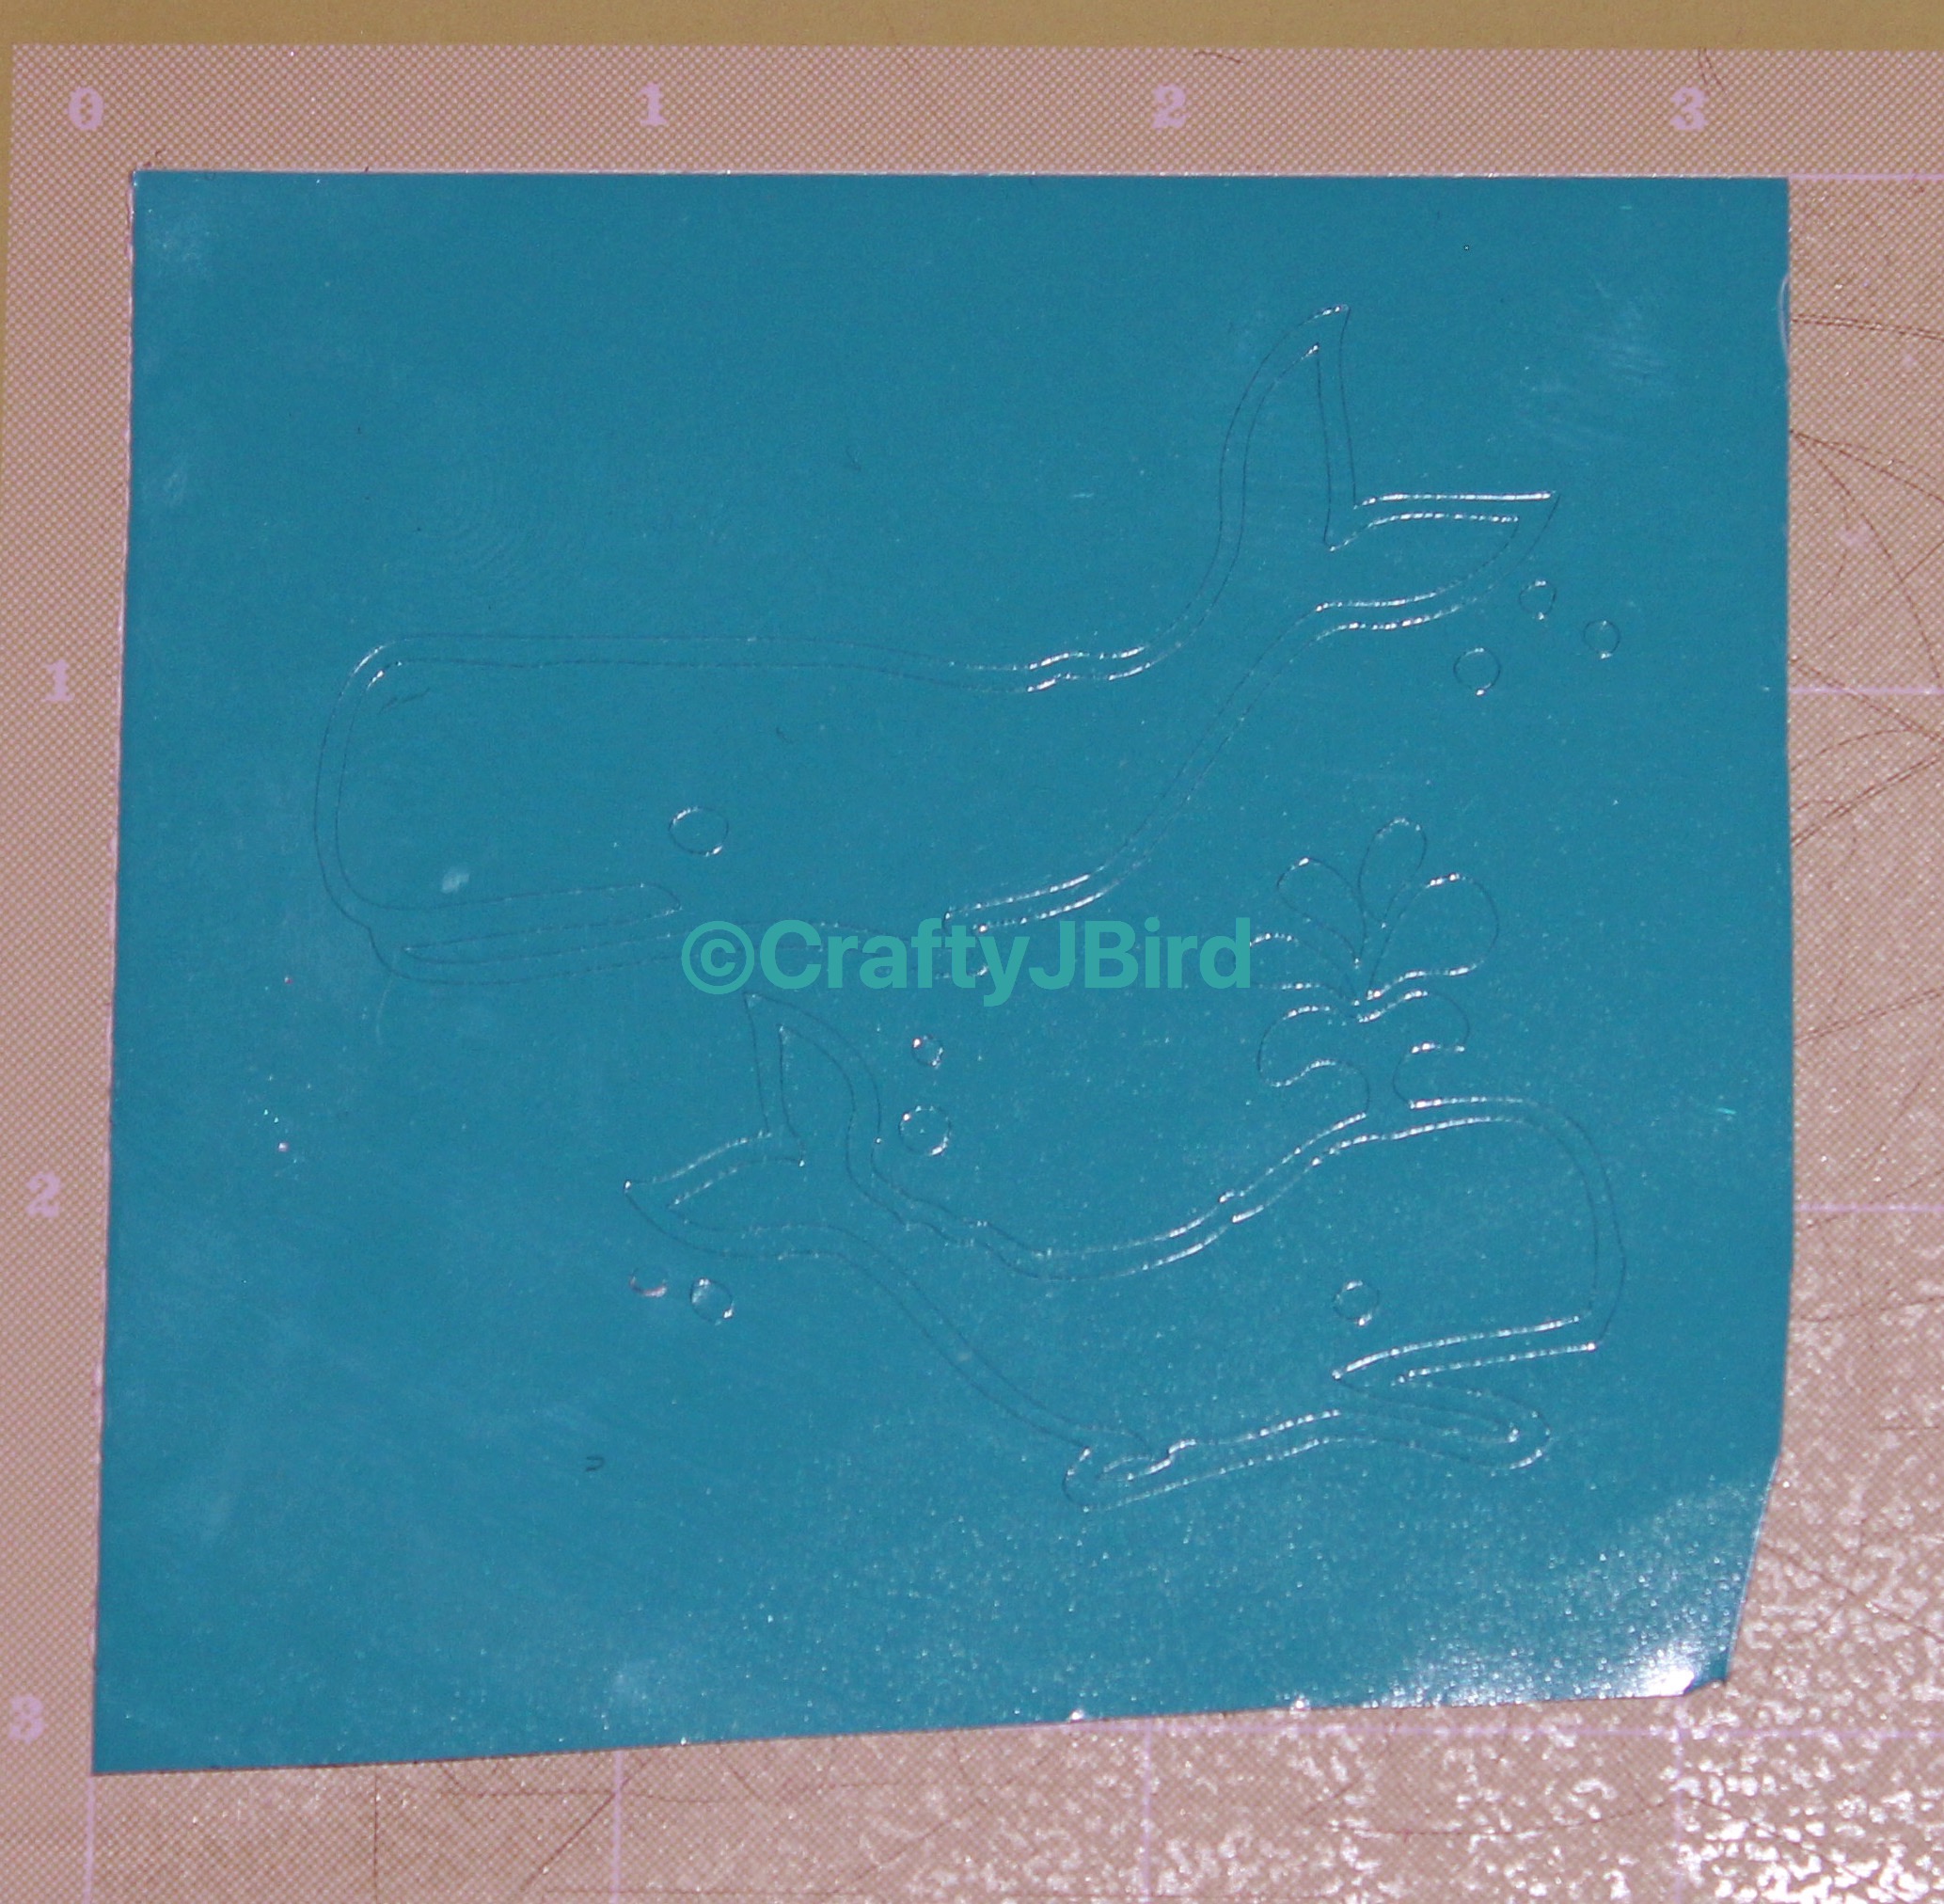
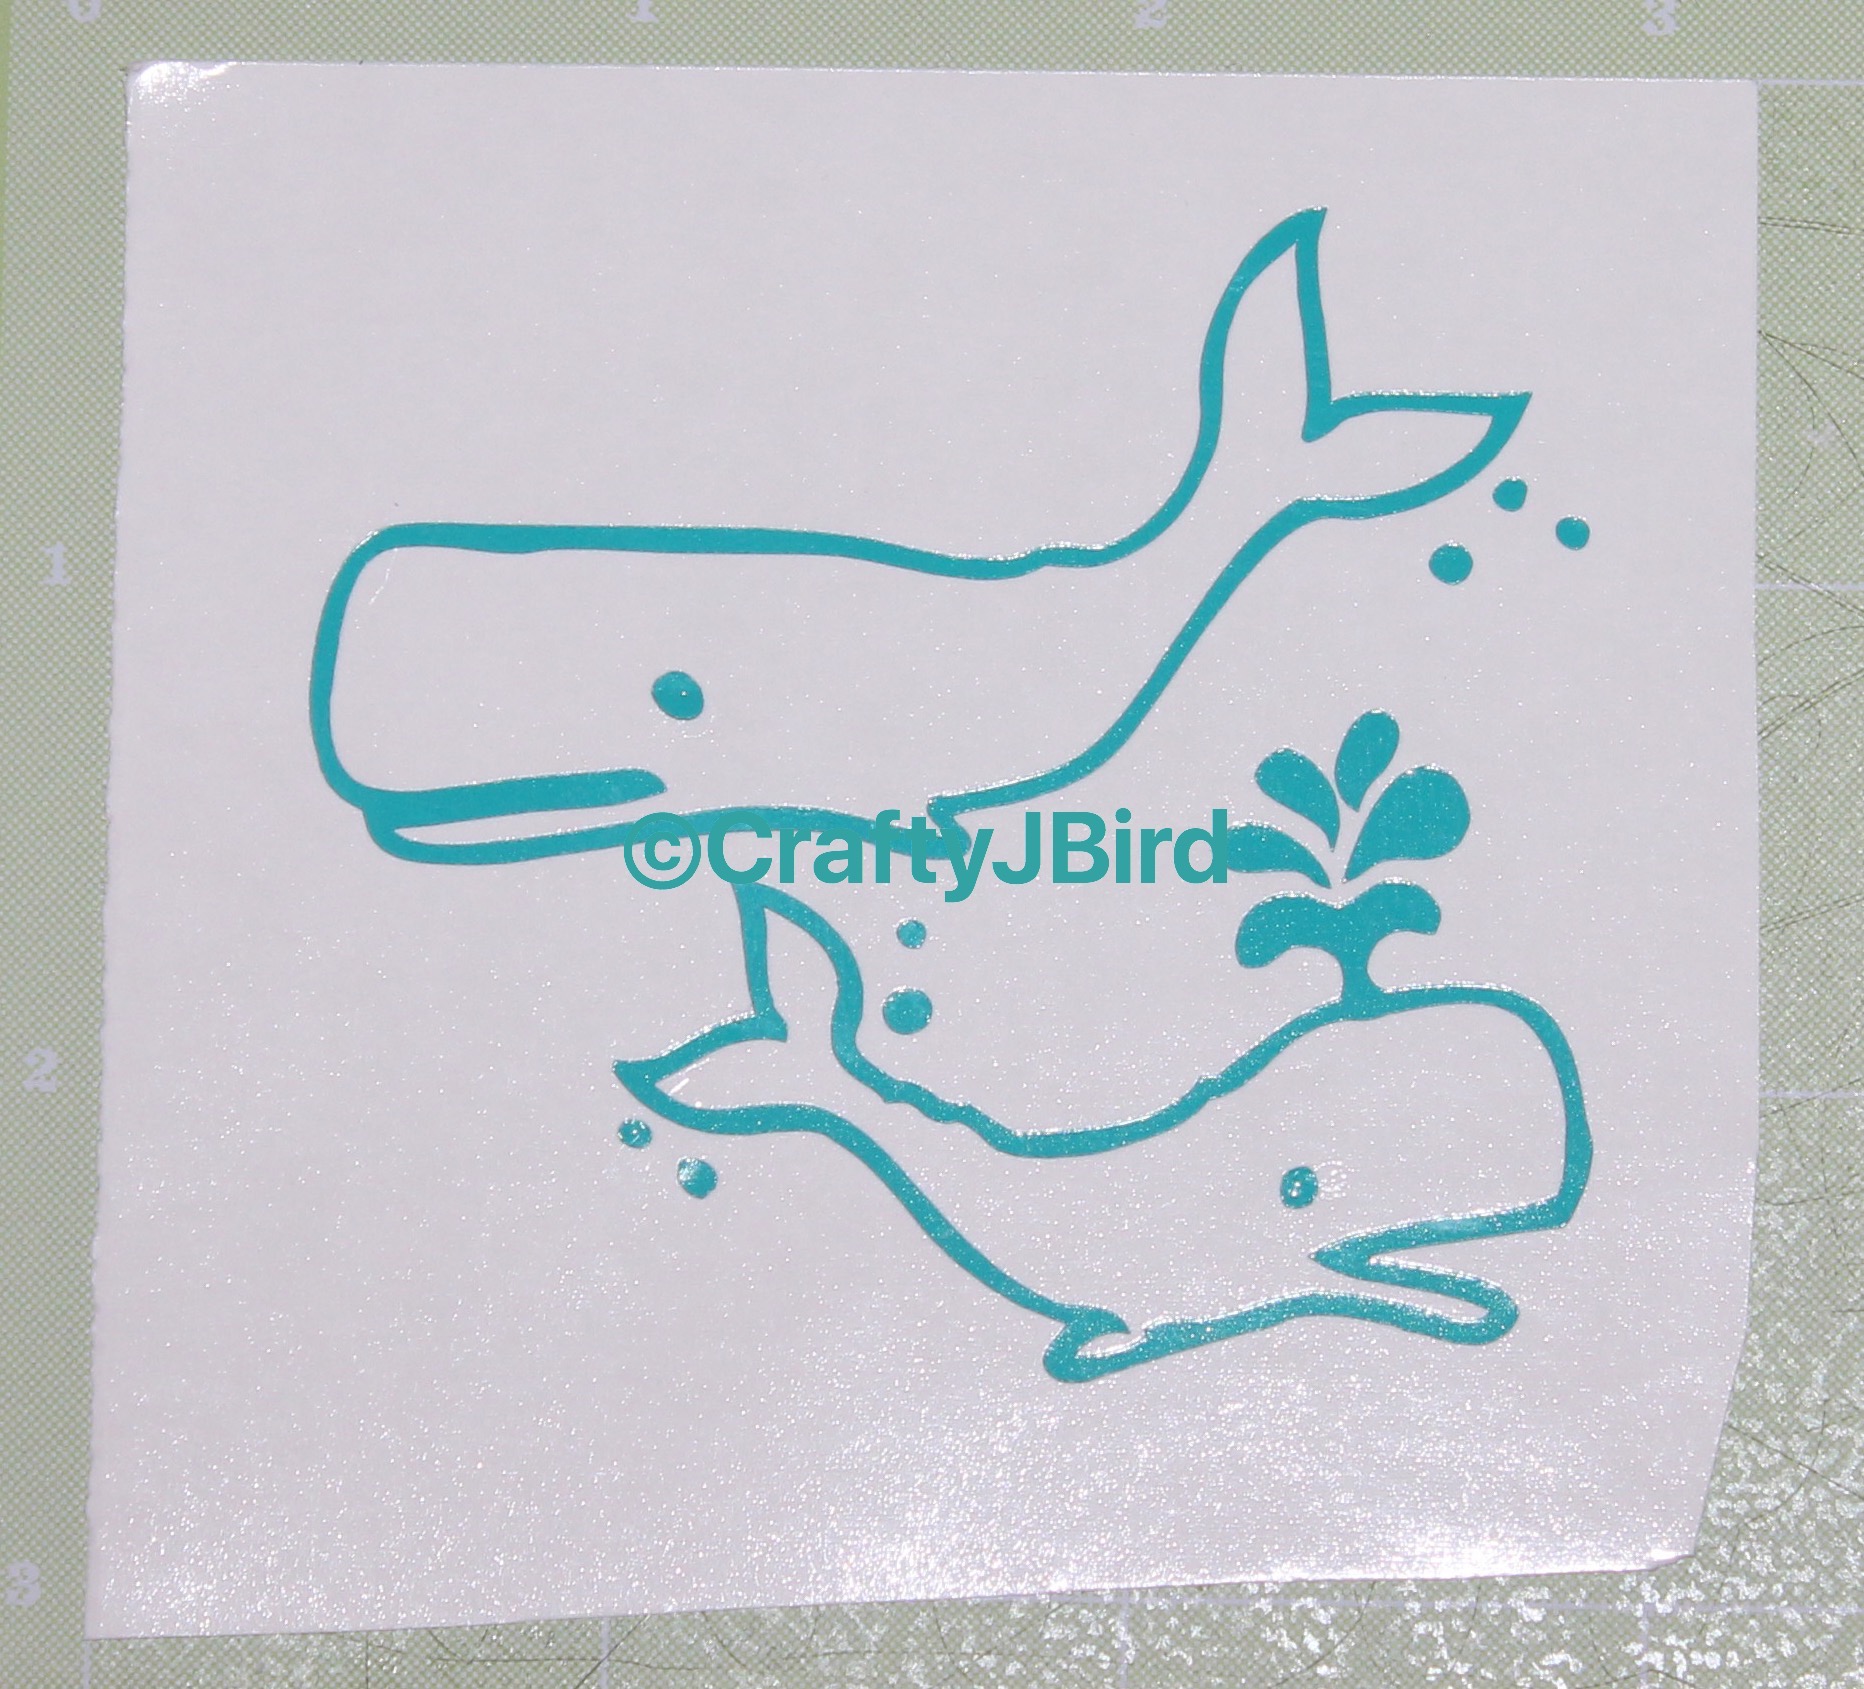
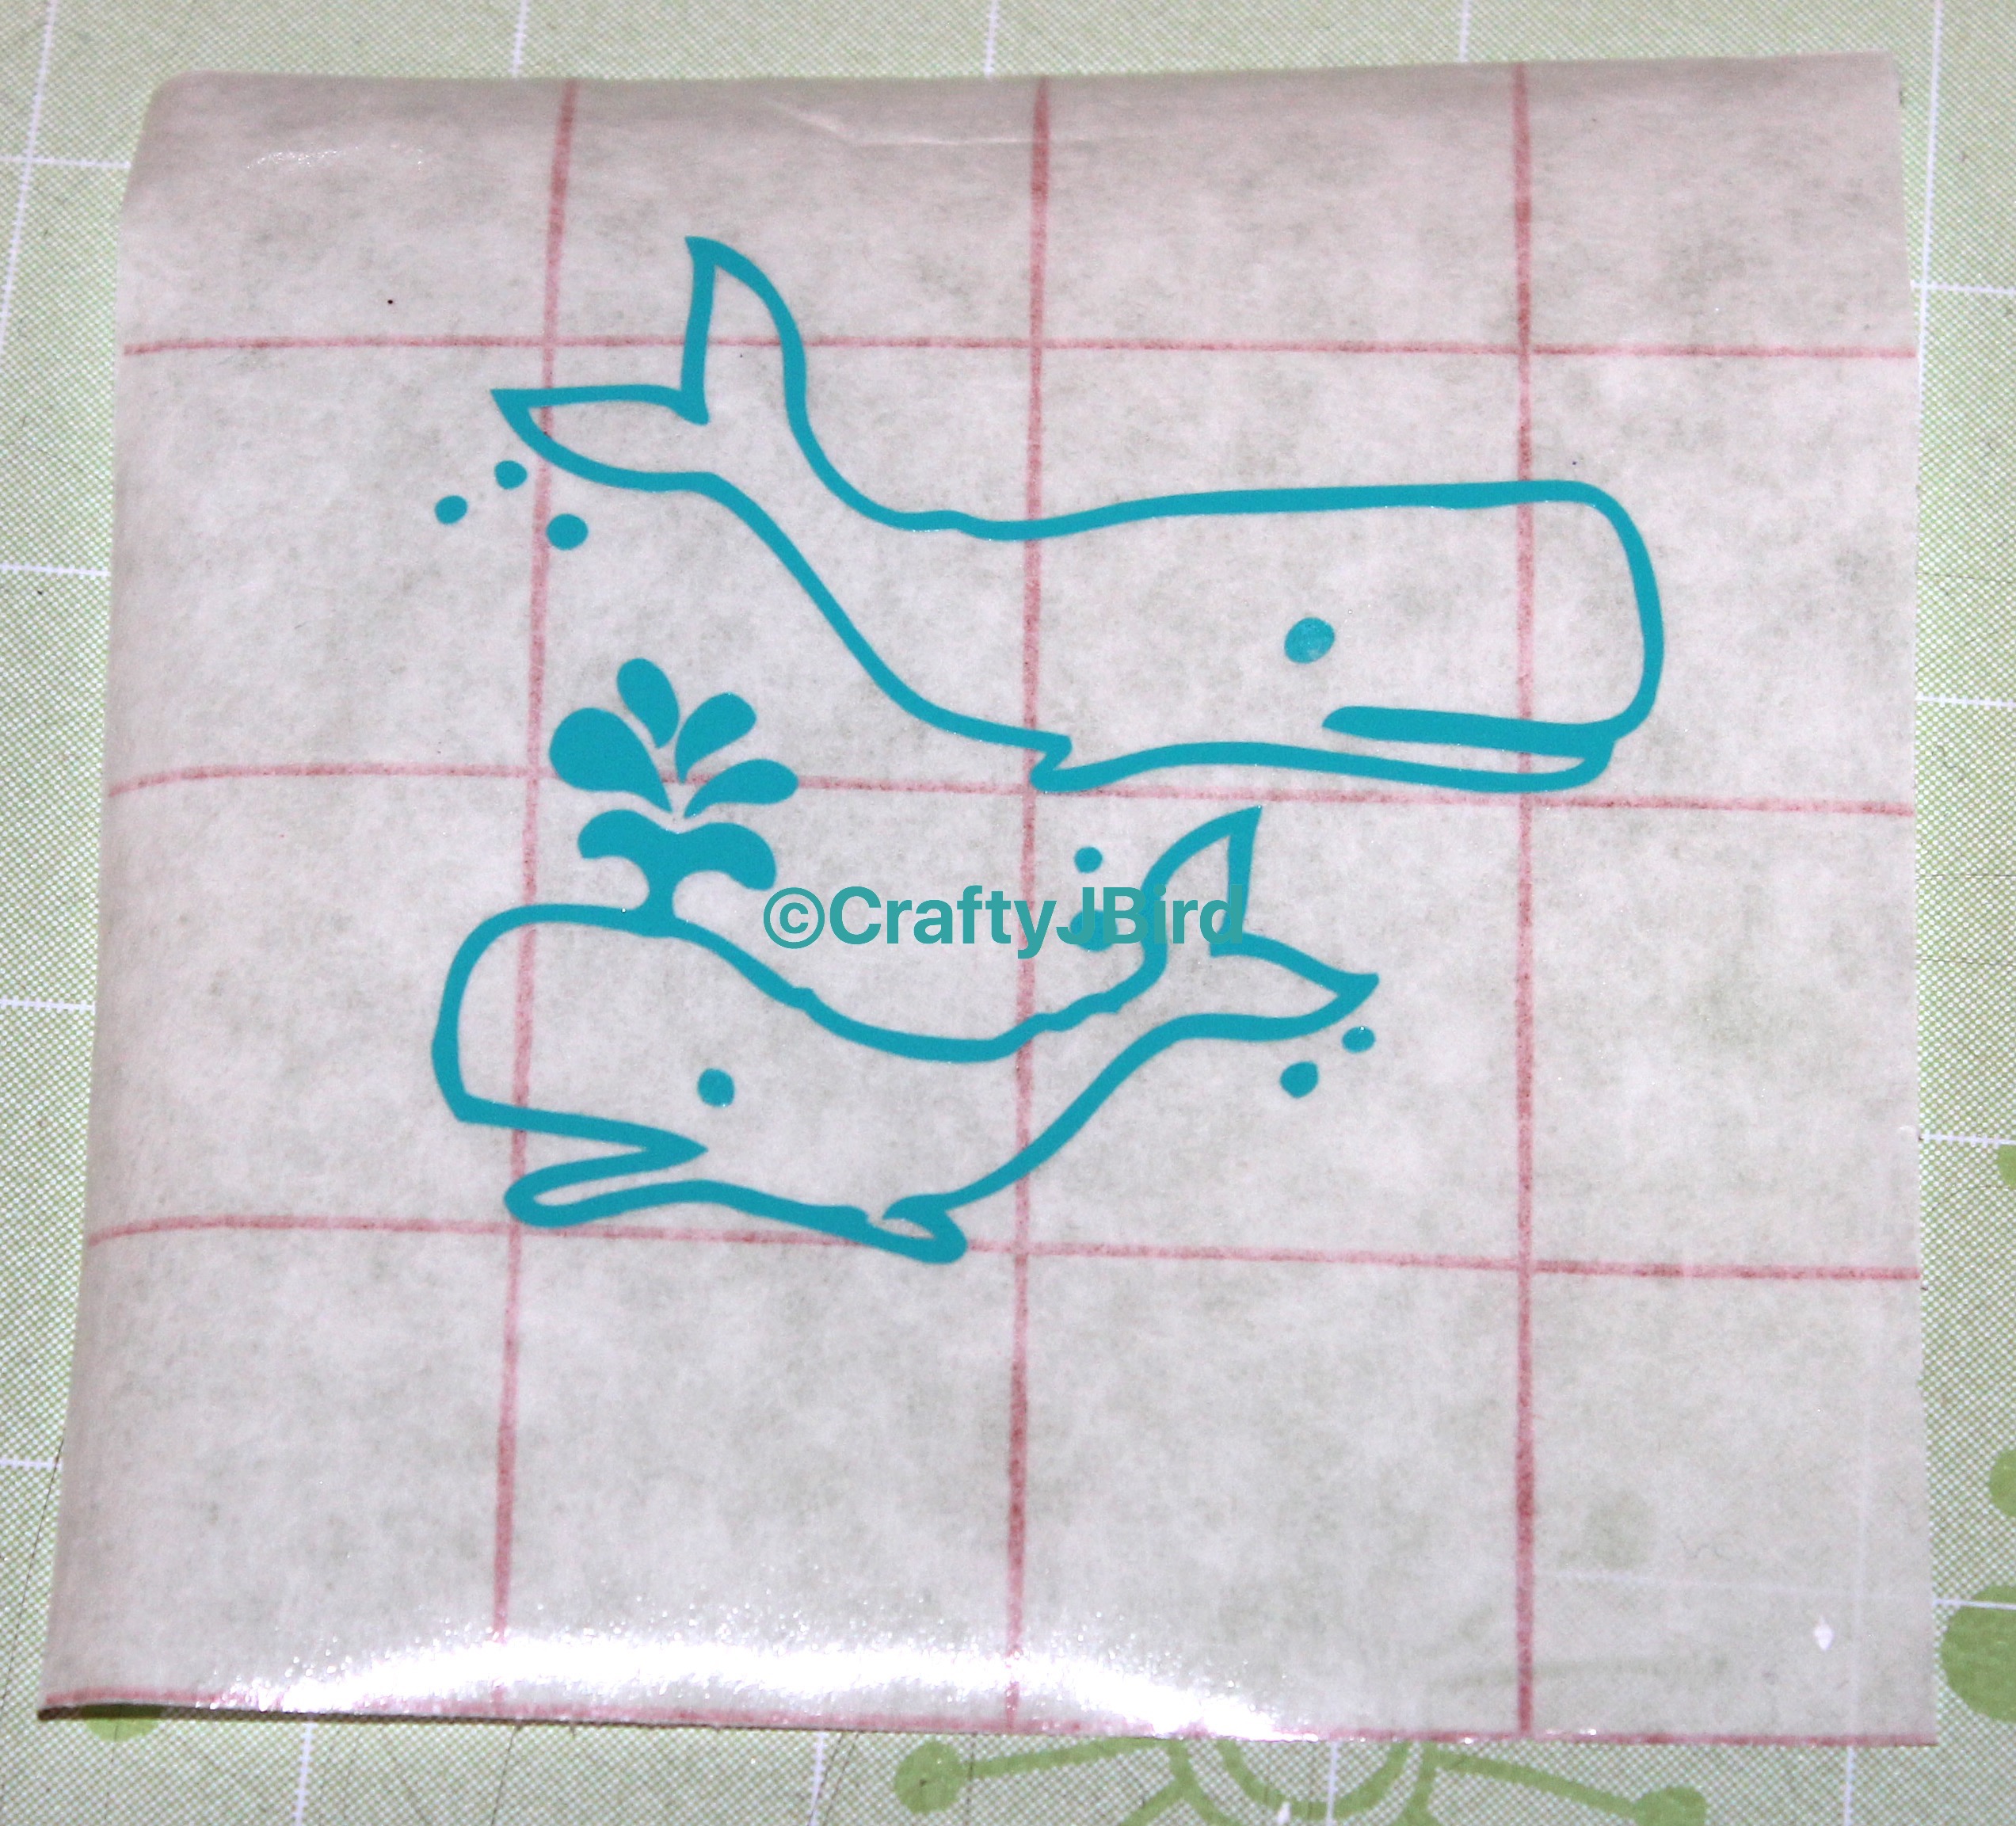
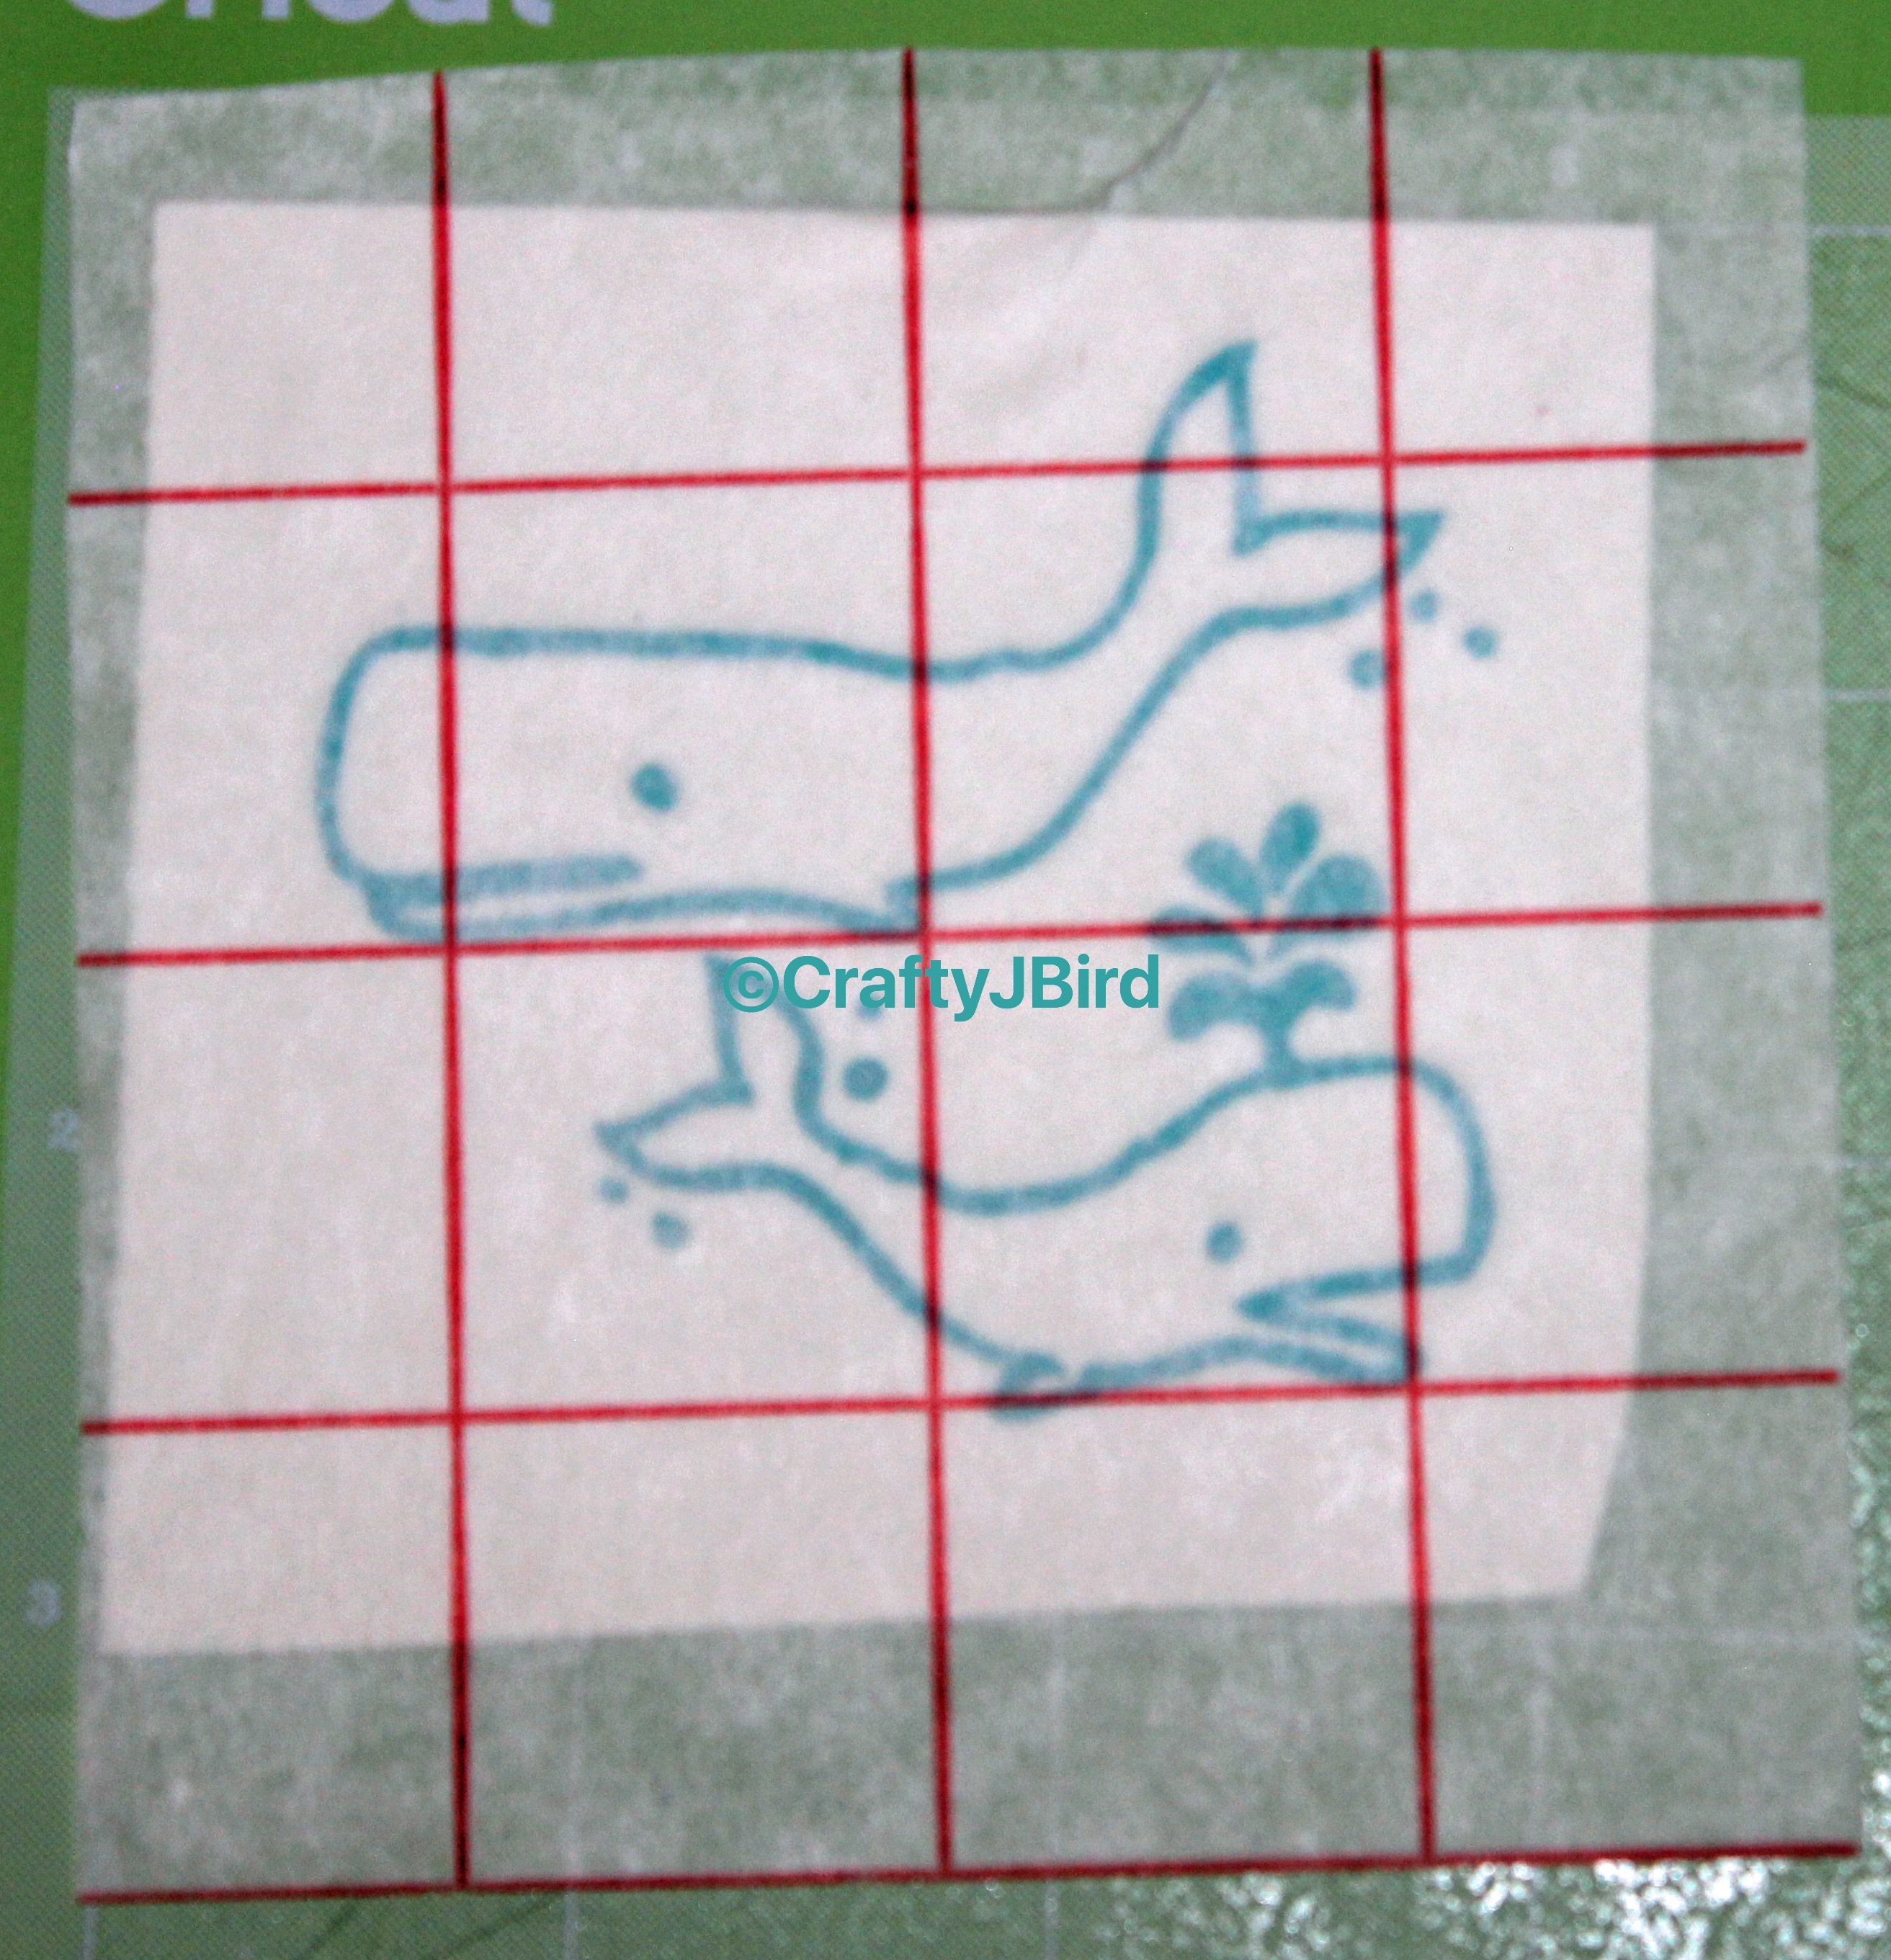 After letting my Cricut Explore do it’s thing, I carefully peeled away the excess from around the image. Then, I applied my transfer paper to pick the image up off my mat. Once on my transfer paper, I carefully weeded out what was needed to be weeded off before applying to my mug.
Step #5:
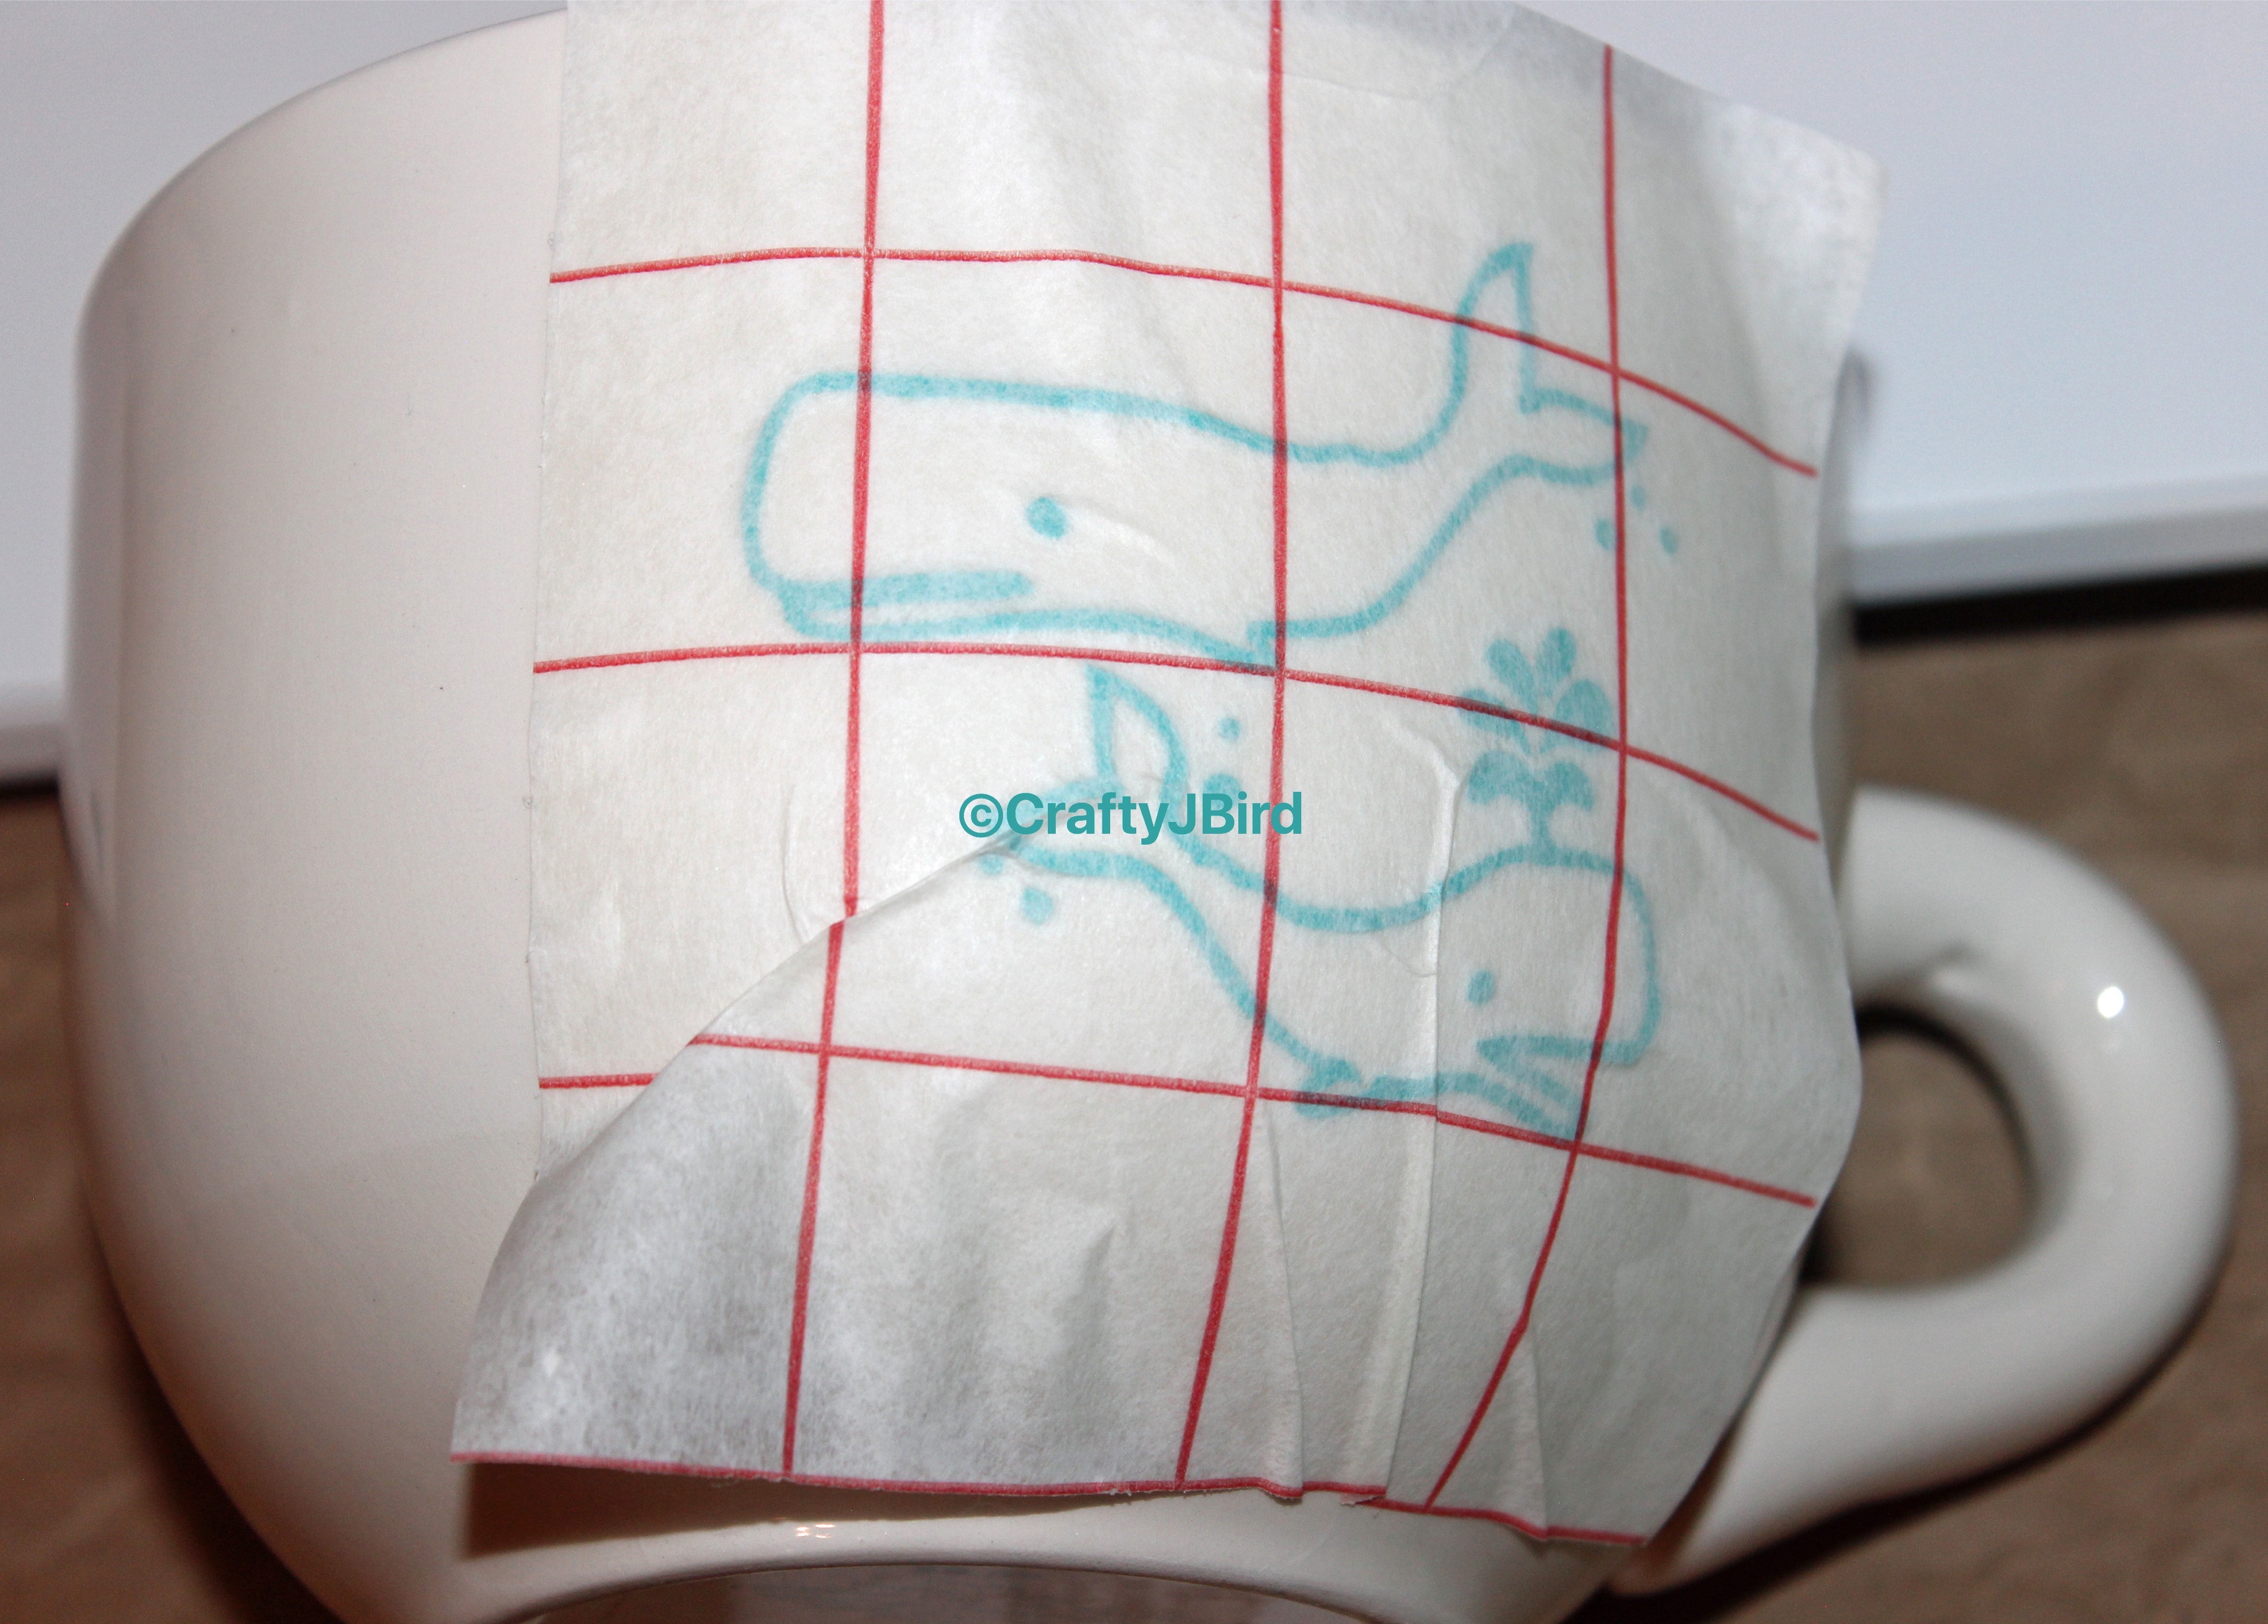
Finally, I was ready to place my whales on to my mug. Carefully, I applied everything to my mug. Then, very carefully peeled back my transfer paper making sure the whales stayed in place.
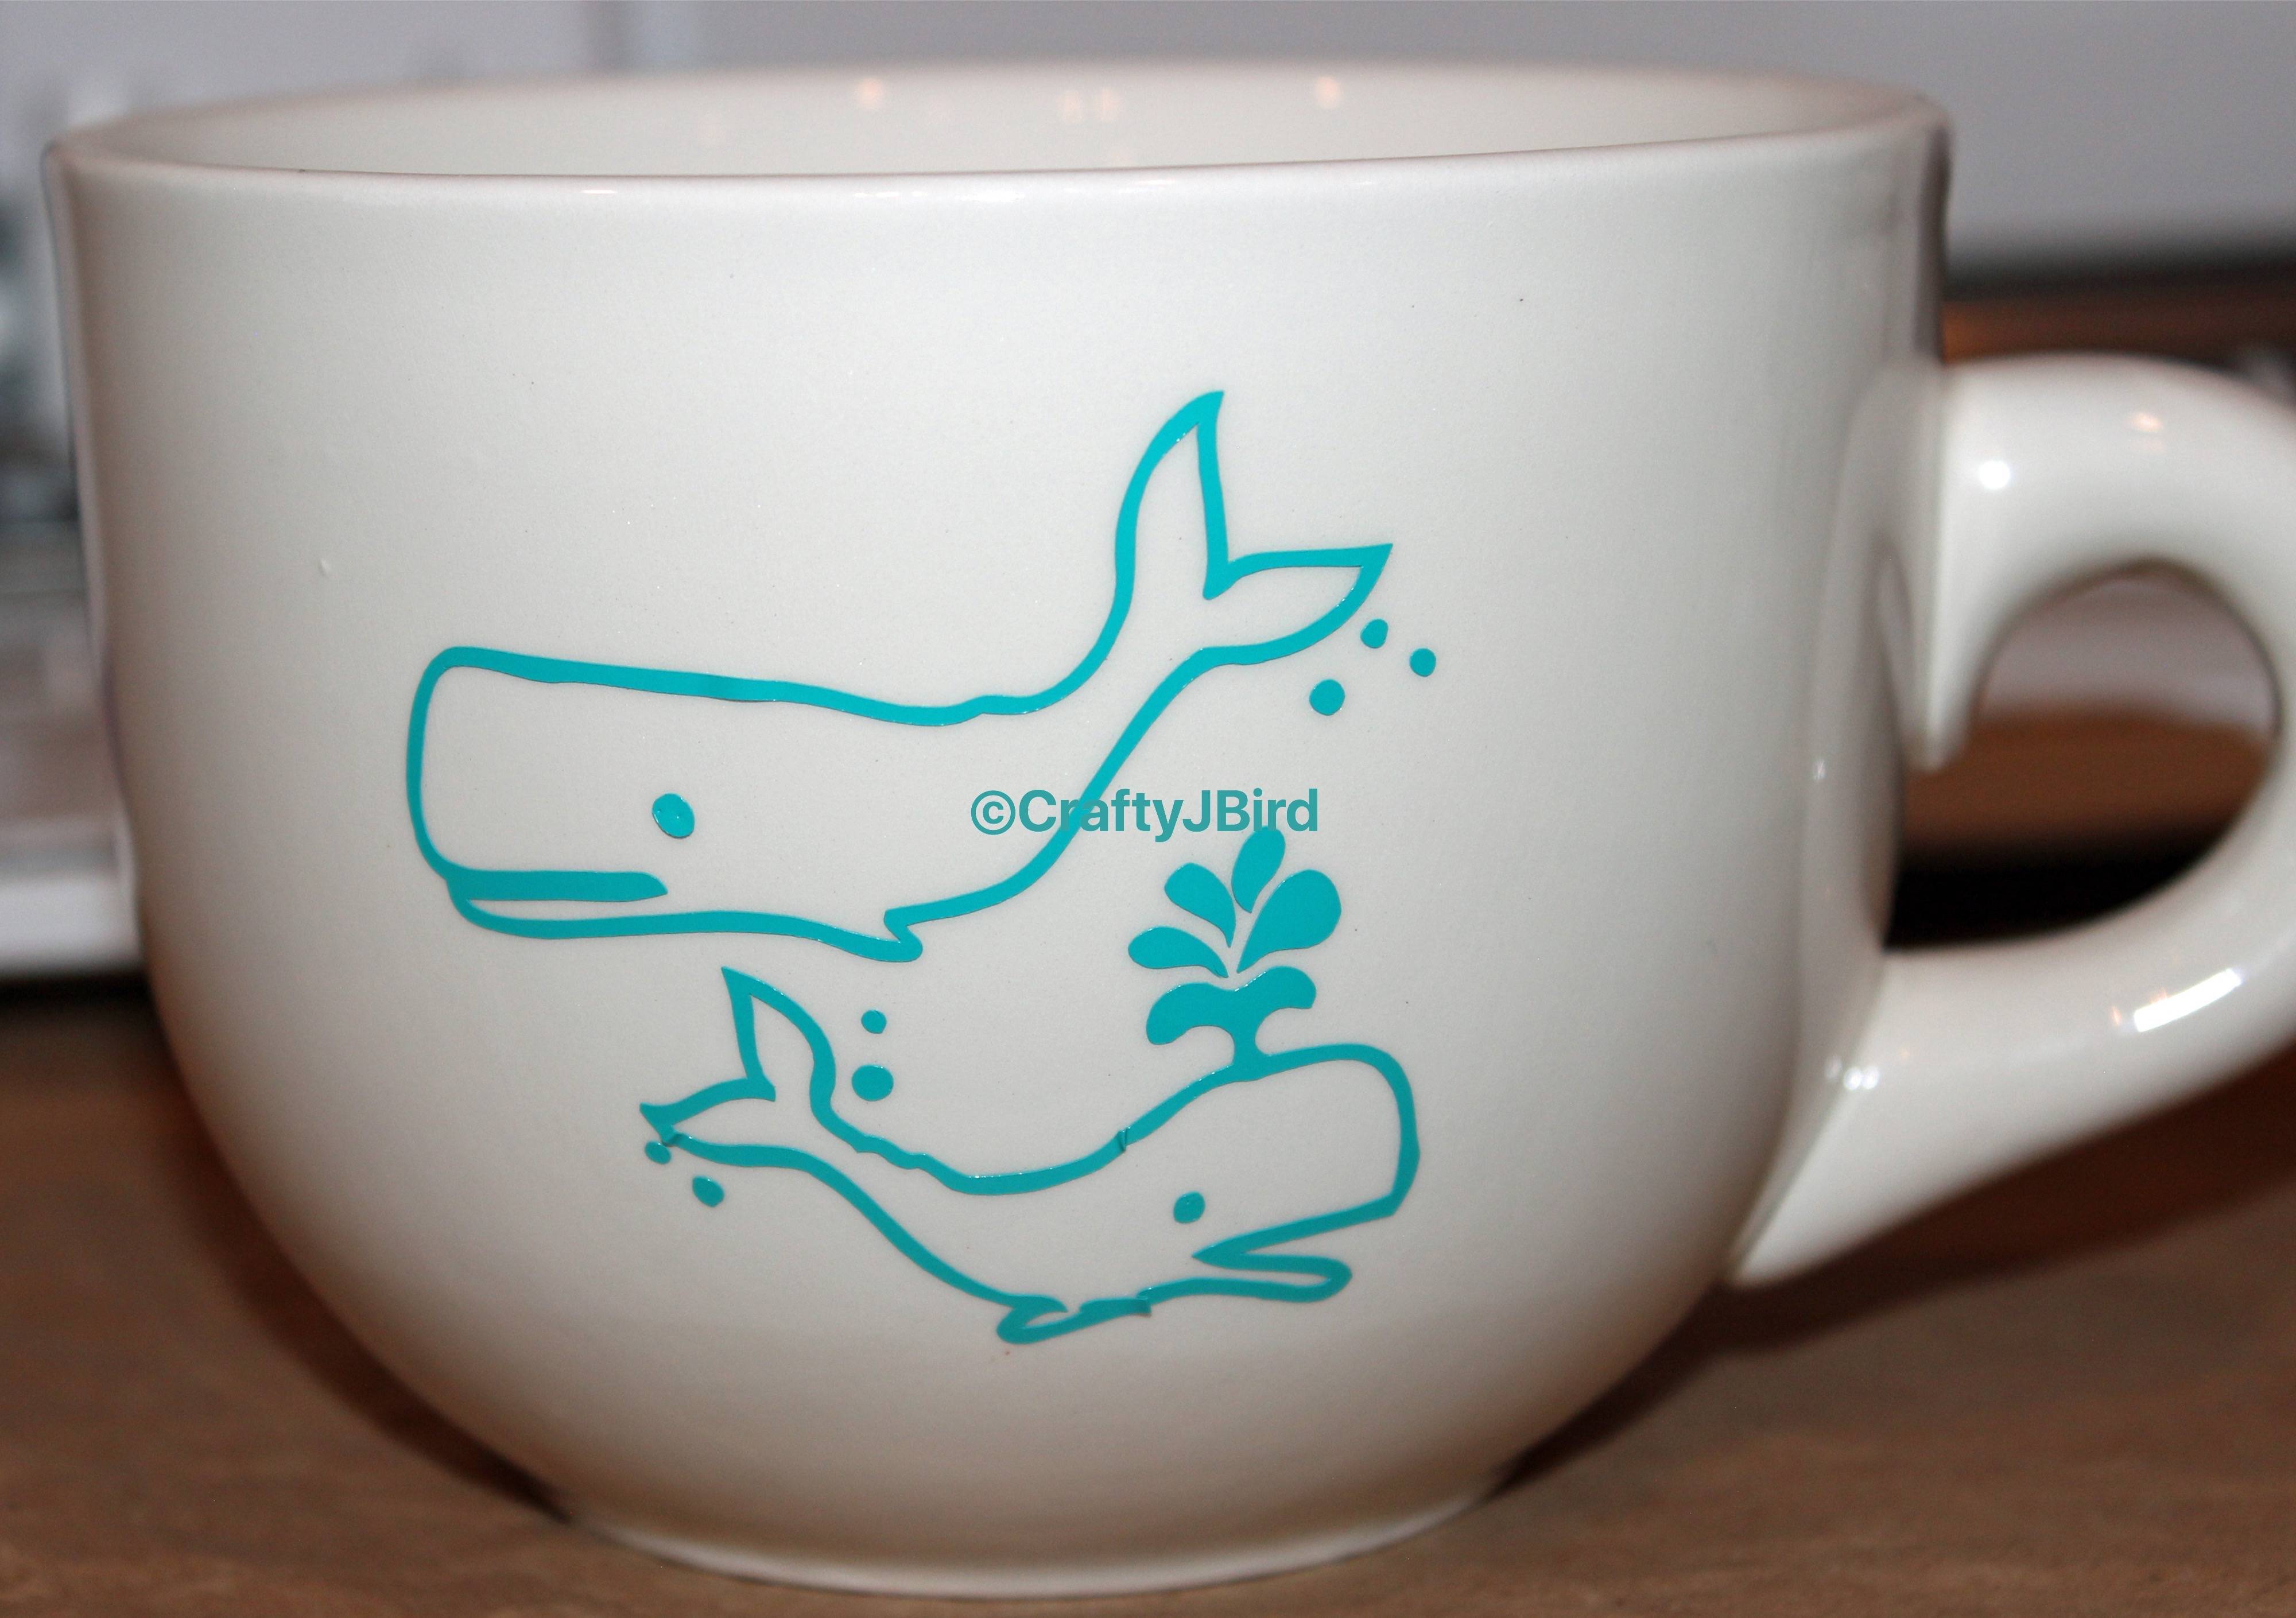 There you go. Another Cricut project finished and ready to use. Now I can use my ‘whaley mug.’ Are you going to give it a try? Be sure to post in the comments what yours look like.
Have any questions about today’s Cricut project? Please feel free to comment below and I’ll respond back as soon as possible! Thanks for visiting! Hope to see you again!
Crafty JBird