
It’s Random Tuesday Y’all!
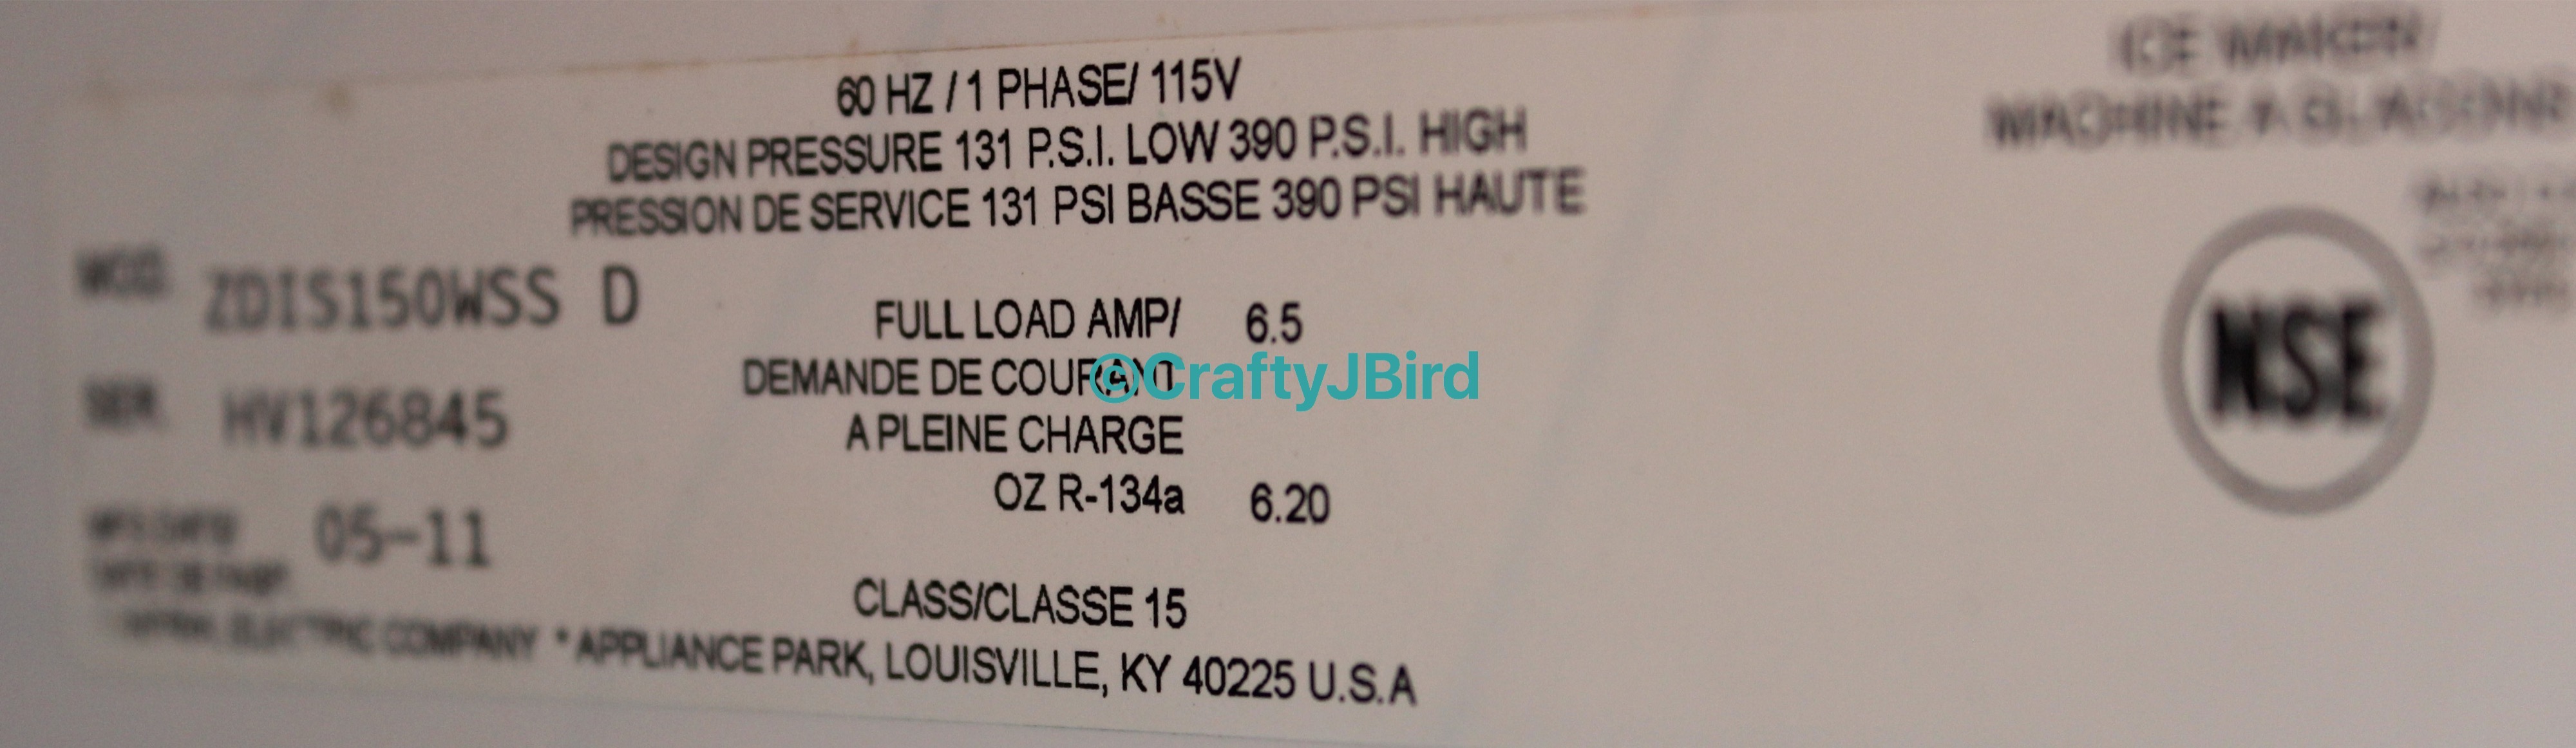
Hope everyone had a great day yesterday if they were off for Columbus Day! Saturday I had the pleasure of cleaning my parents ice maker (me jumping for joy). So today I decided I would share on how the ice maker is cleaned step by step. We have a GE Monogram ice maker since others could be cleaned a different way. I decided I’d make a post about this because when my parents first moved into this house in 2007, we didn’t have a clue and it got messed up; therefore, if there is anyone out there who is new to having a stand alone ice maker I really hope this post helps. So here’s to a “clean ice maker.”
Clean Ice Maker
Things Needed:
- Nu Calgon Ice Machine Cleaner Nickel Safe 4287-34
- Ice Scoop
- Water
- Paper Towels
Step #1:
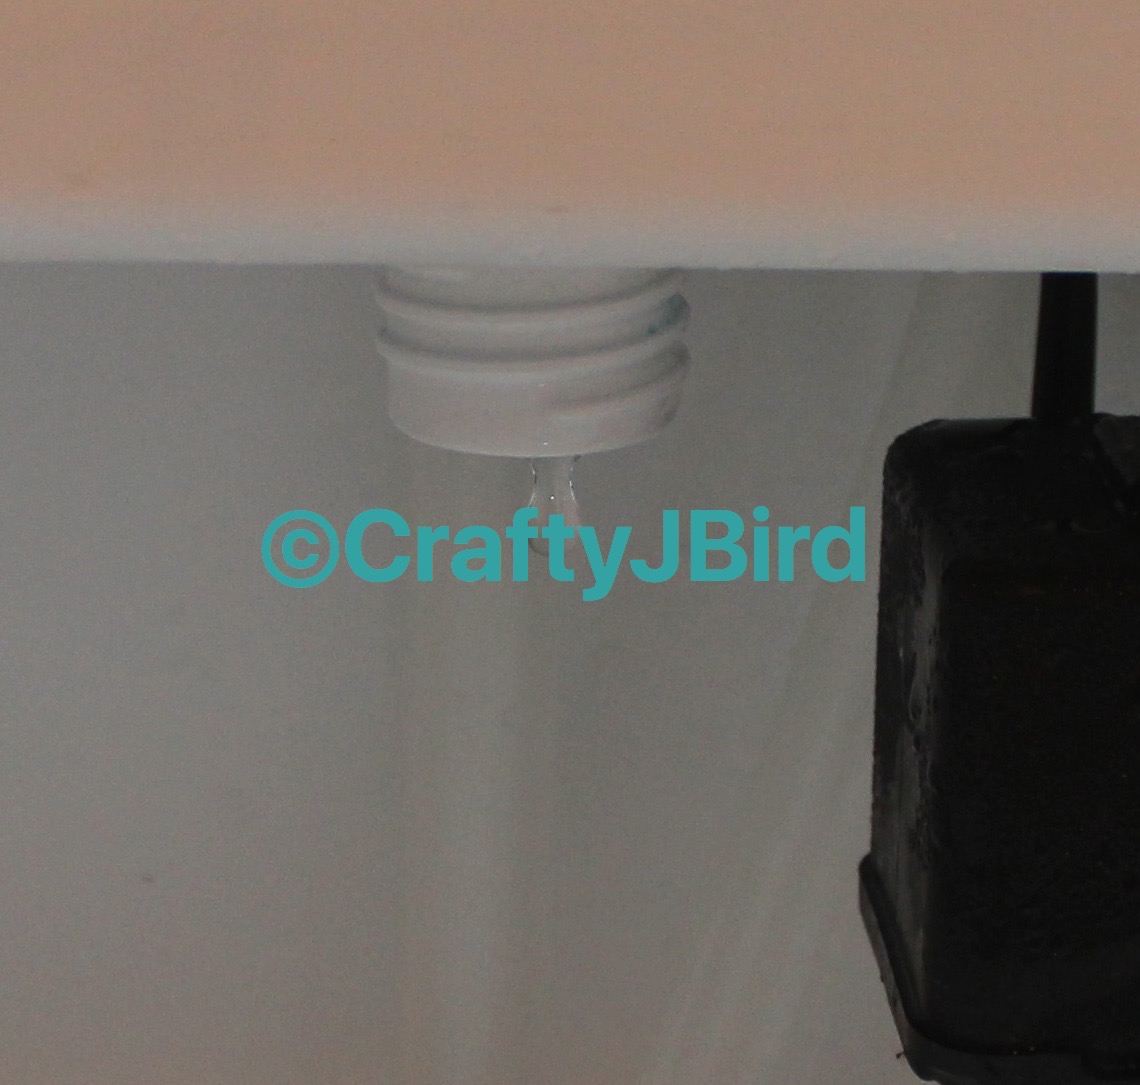
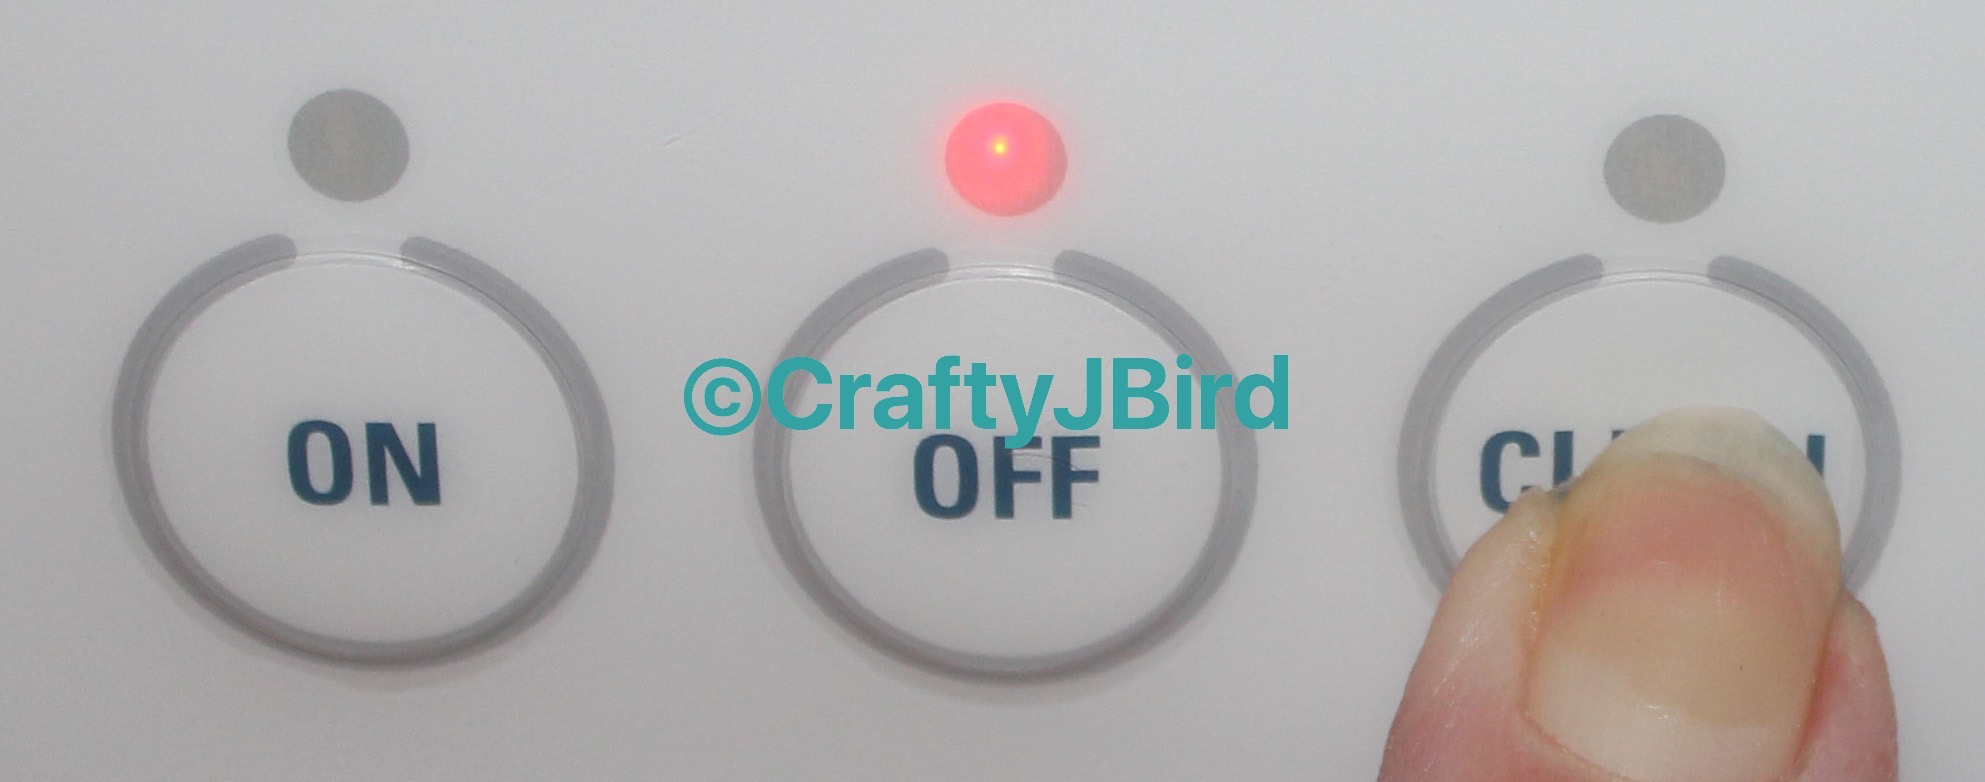
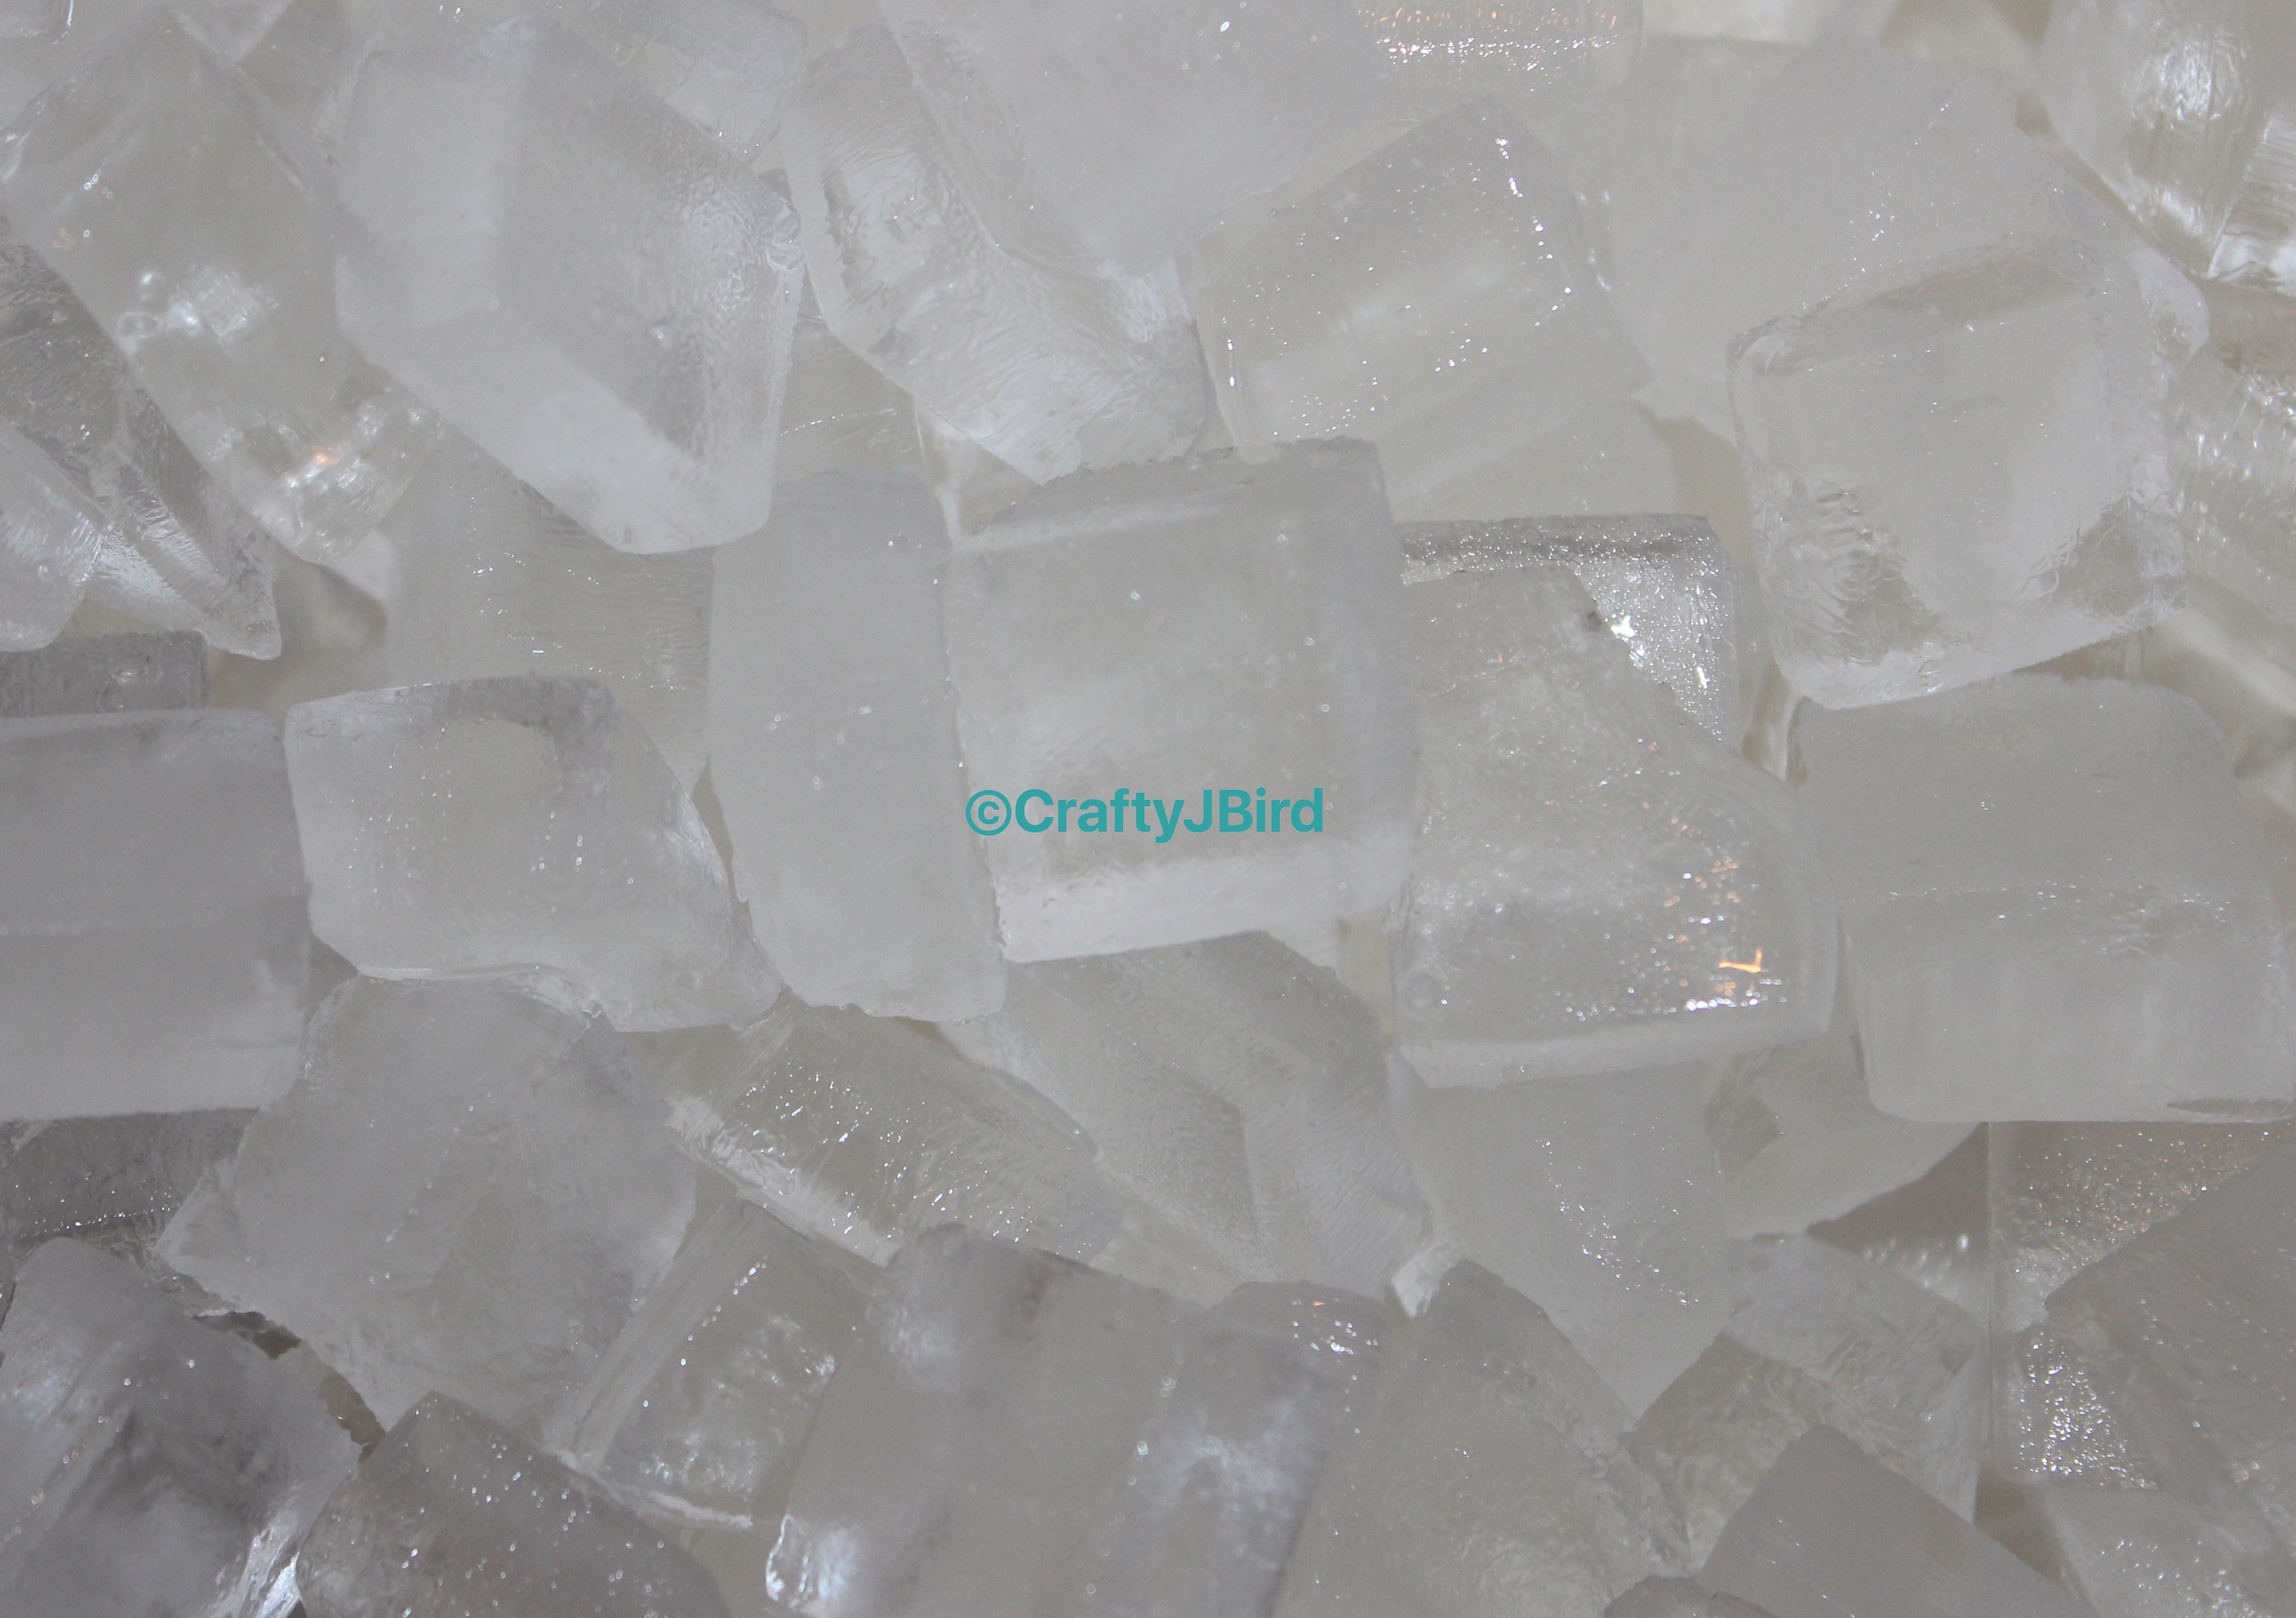 First things first, turn the ice maker off and then remove all the ice. Then wait about 5-10 minutes for the rest of the ice to fall from the top and remove those cubes.
Step #2:
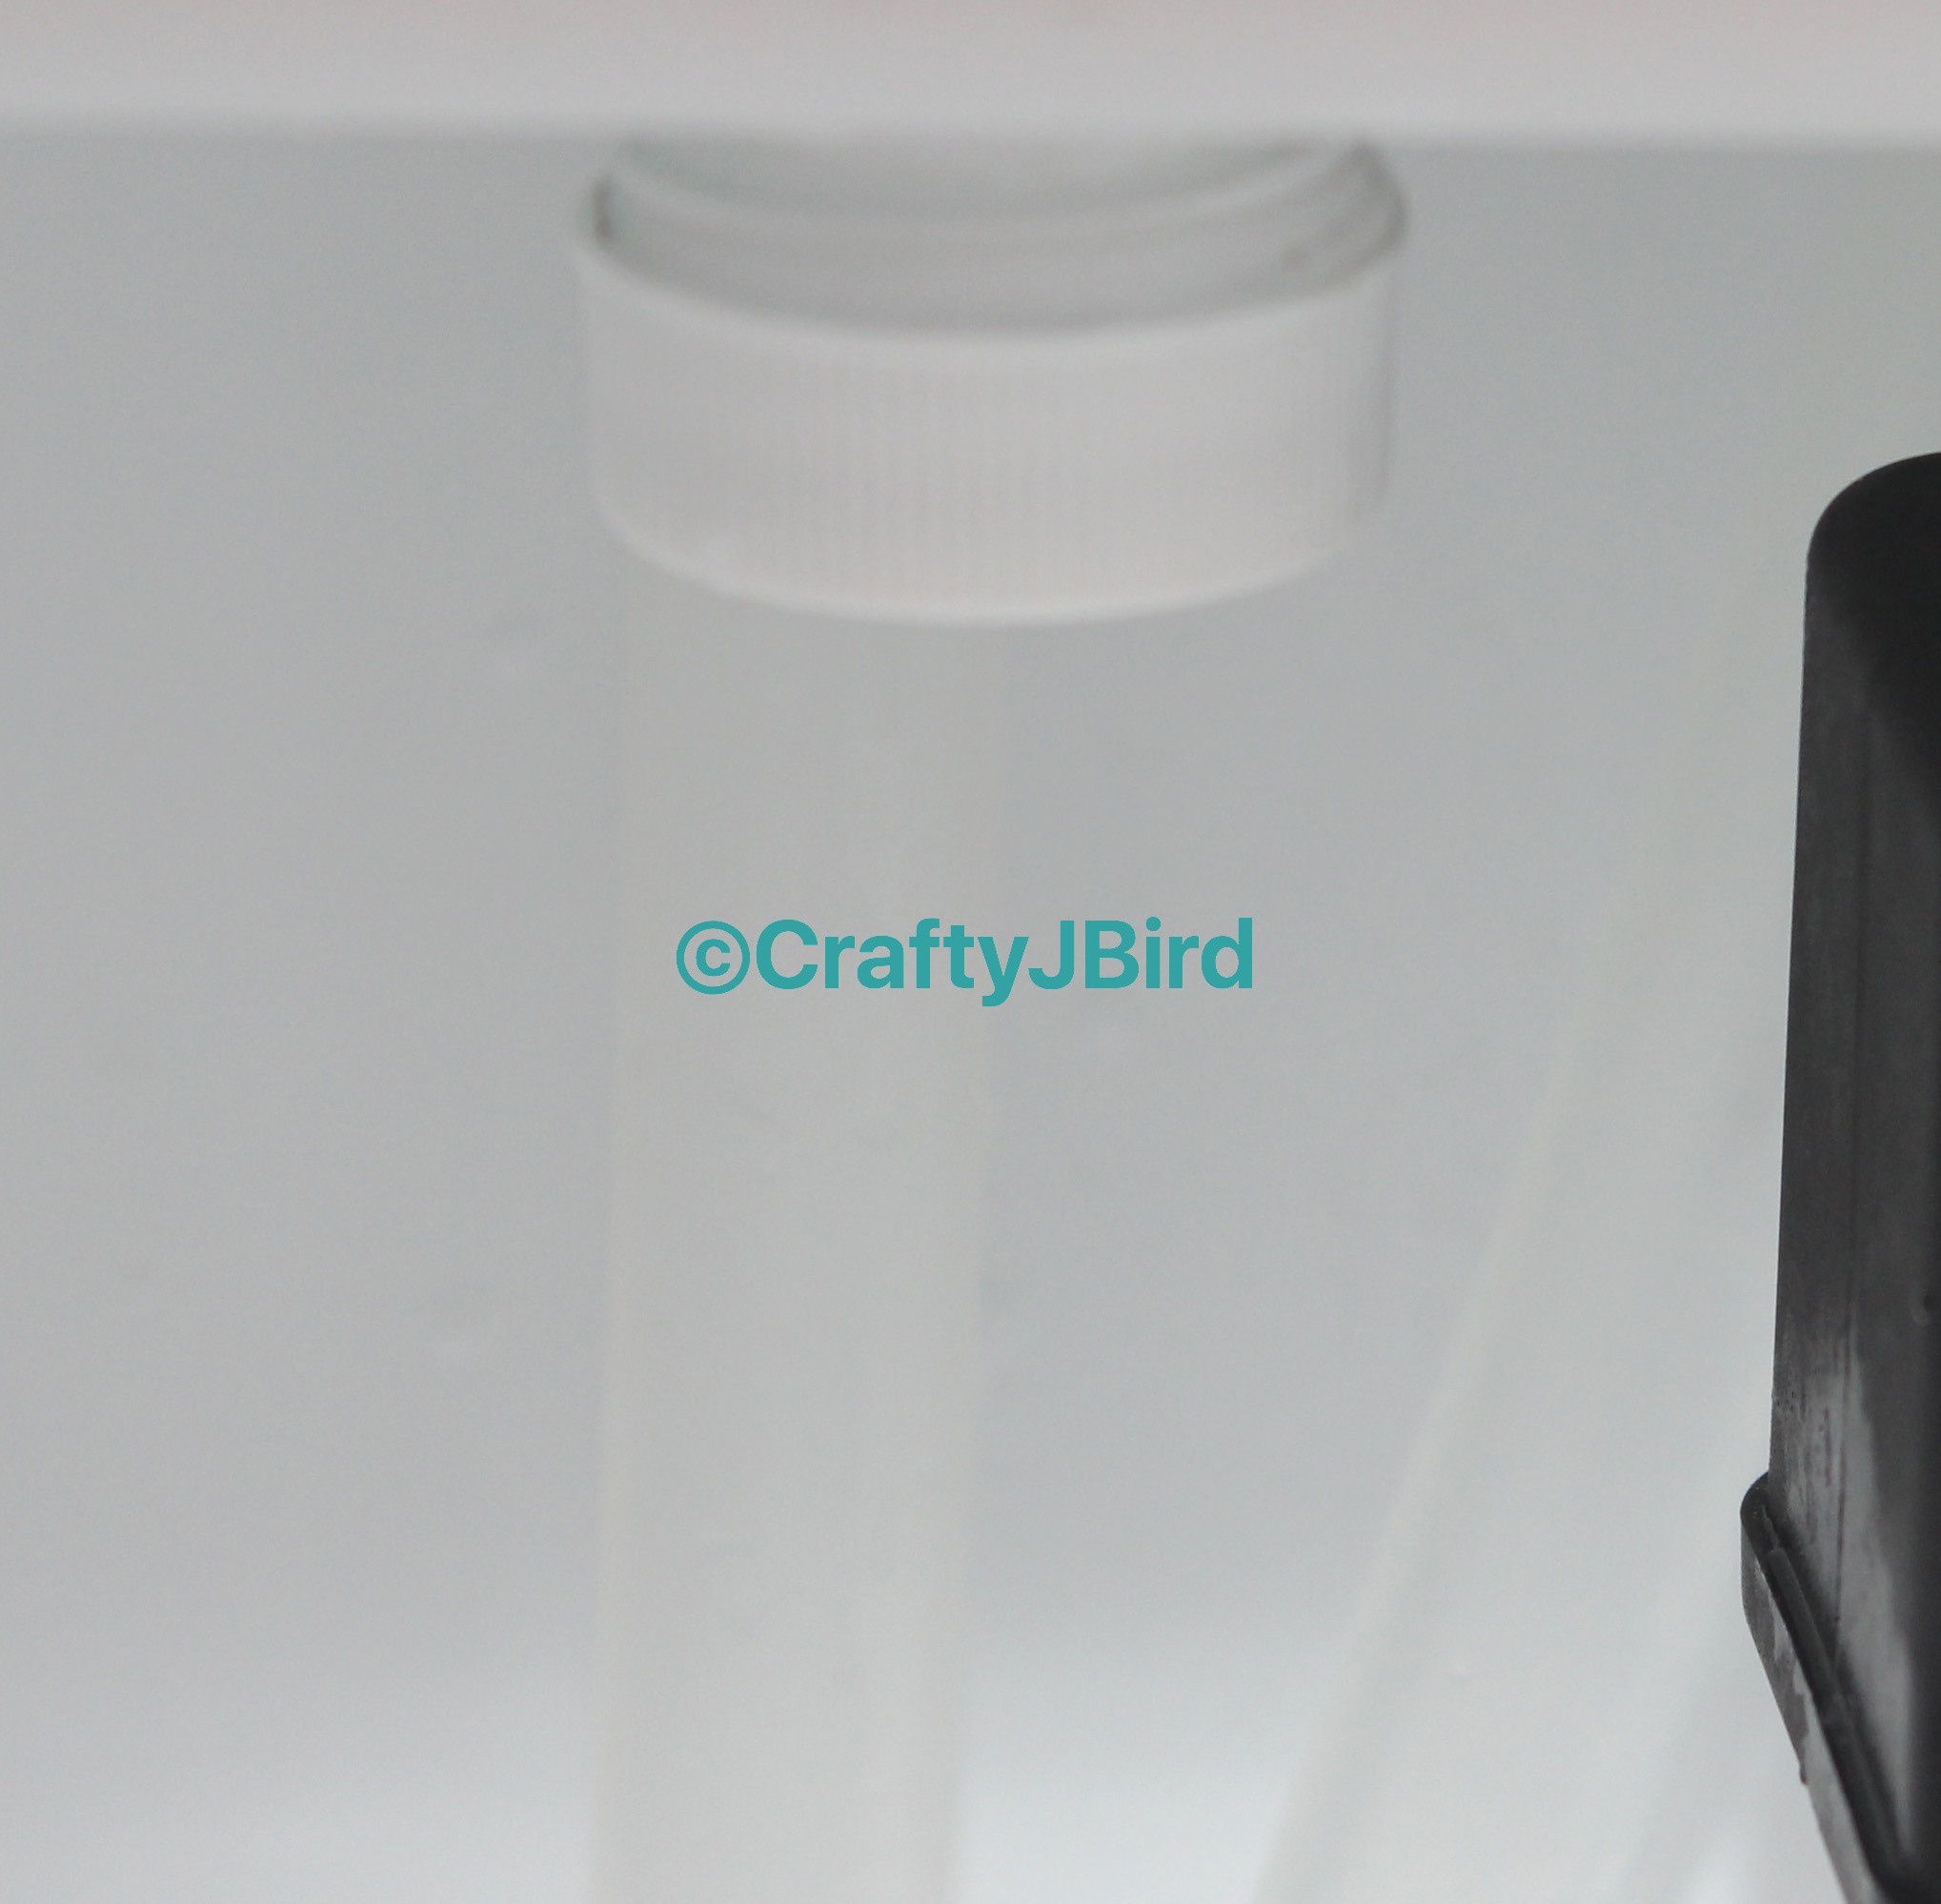
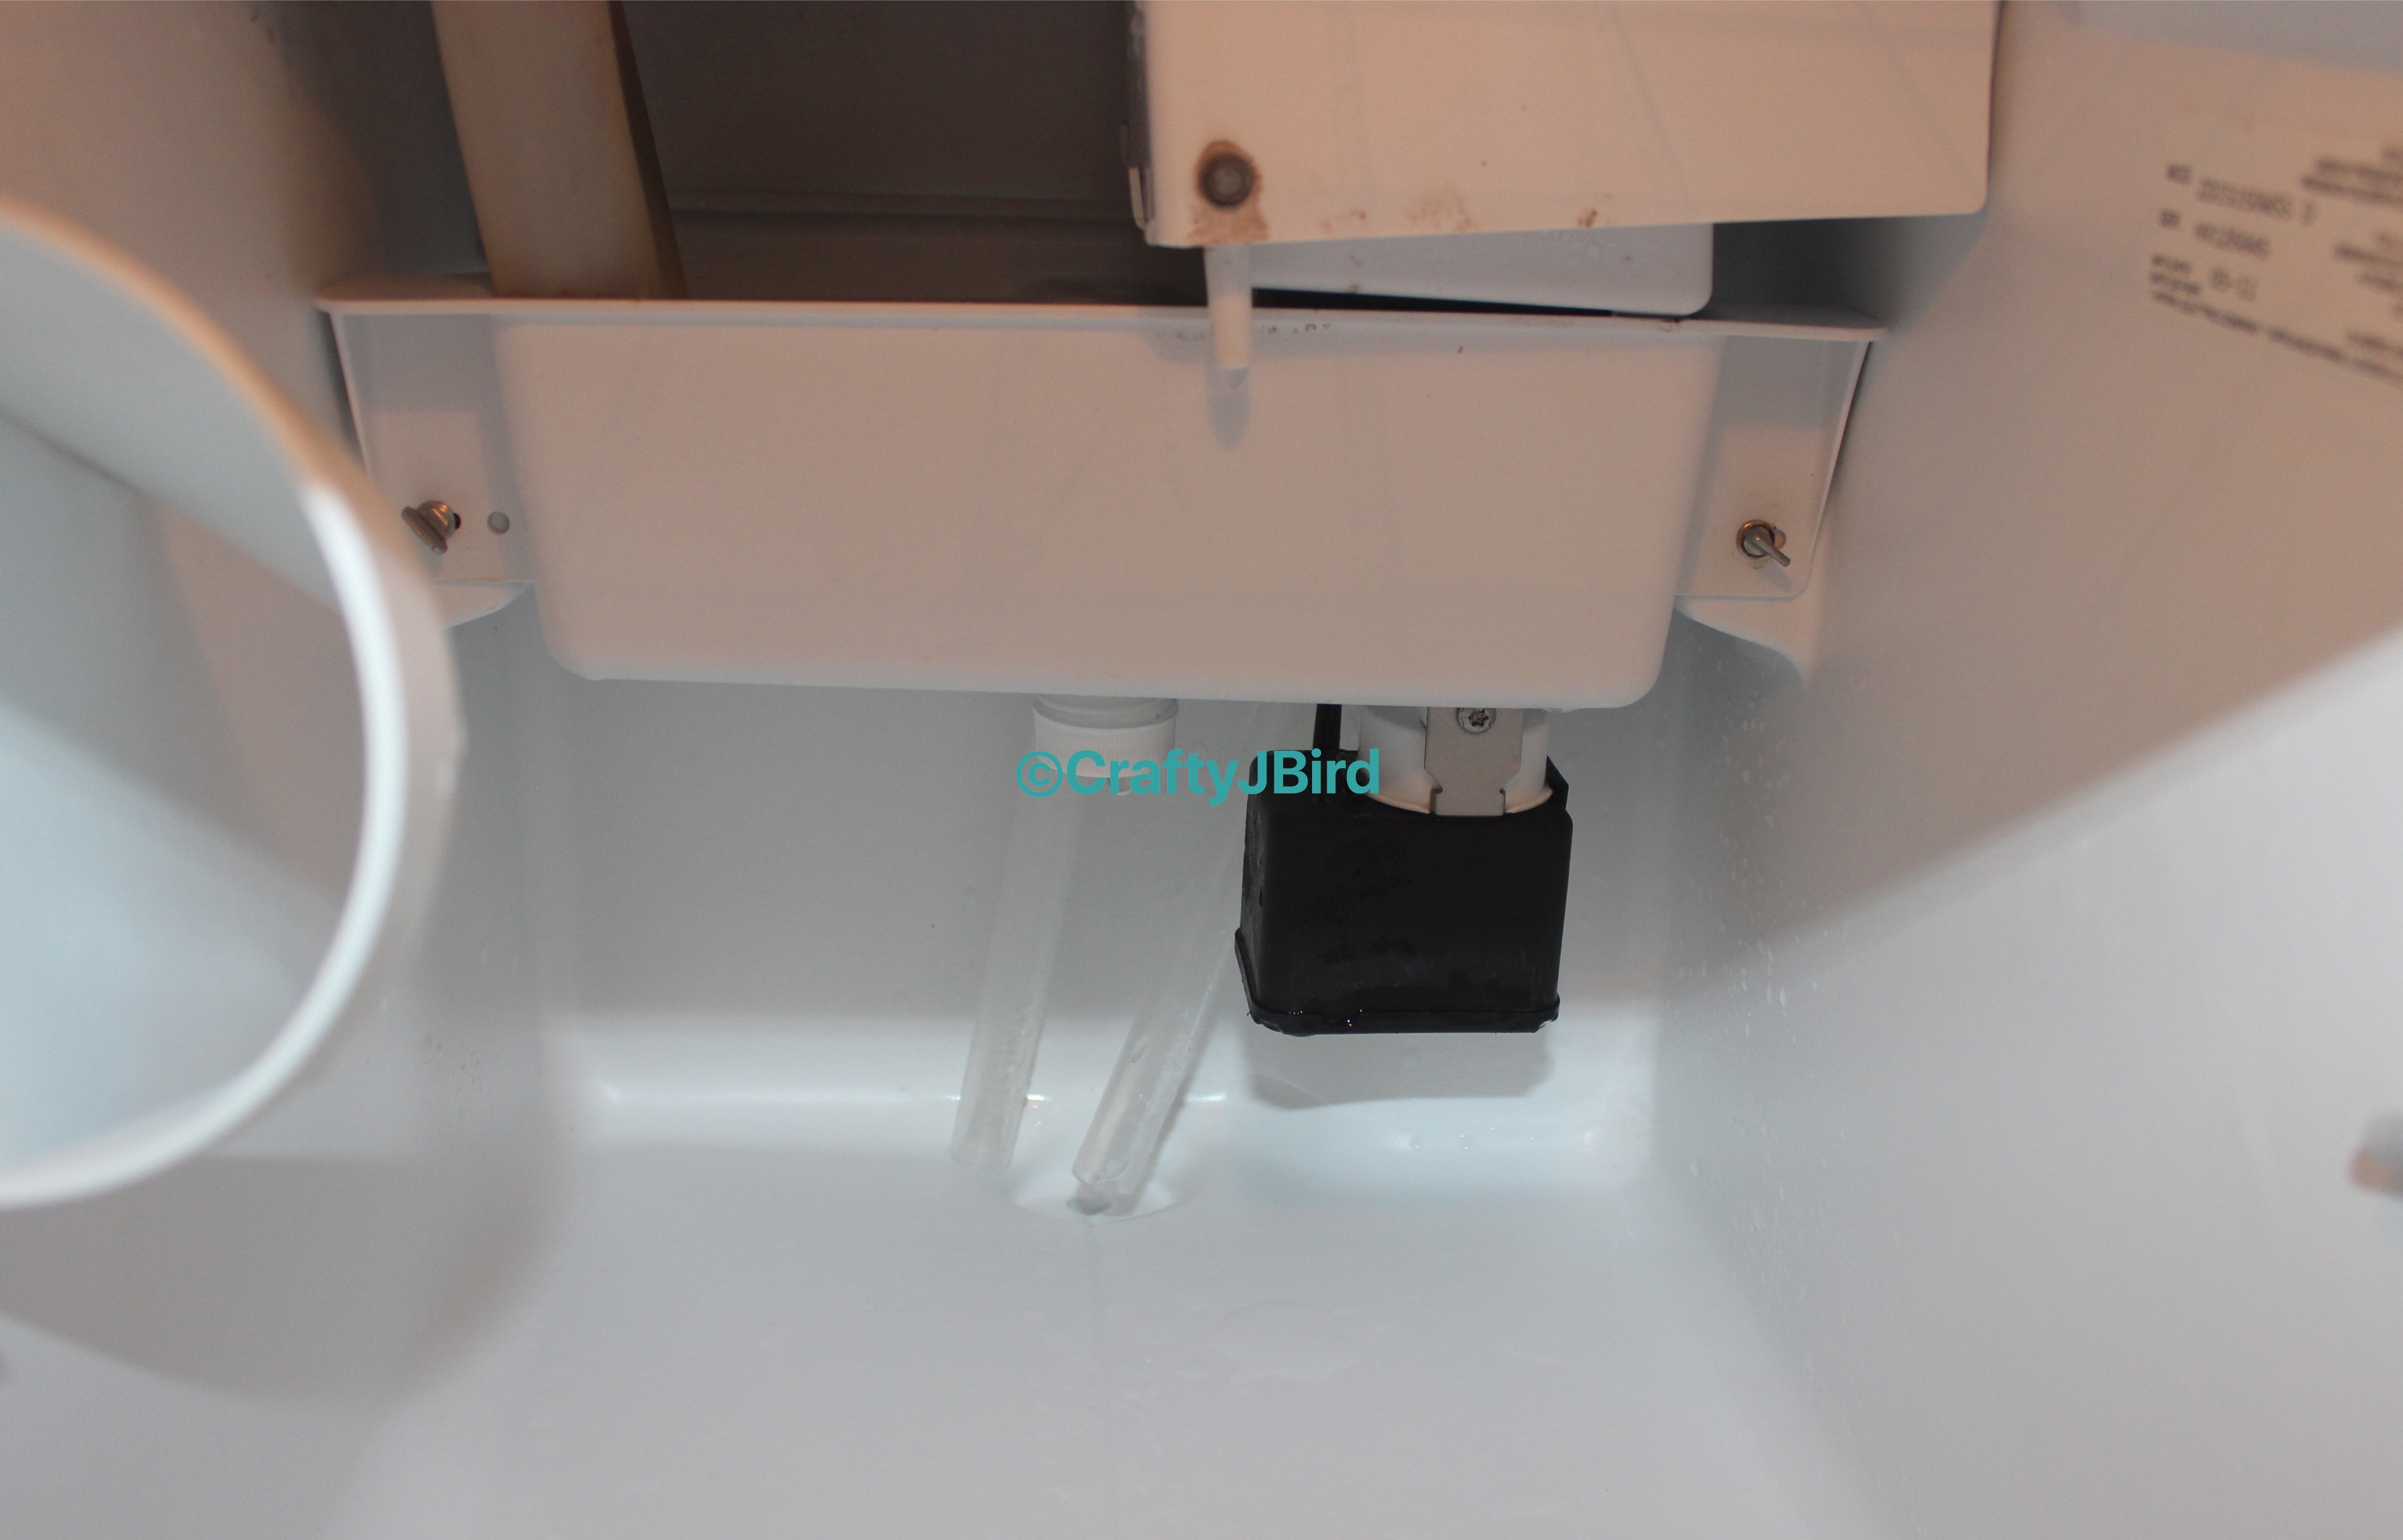
Once all the ice is removed, unscrew the cap allowing all the water to come out, on our model its in the back. Before getting started, I like to use some paper towels and clean the bottom and sides of the maker. After everything wiped down clean, I get started on the cleaning process for the ice maker.
Step #3:
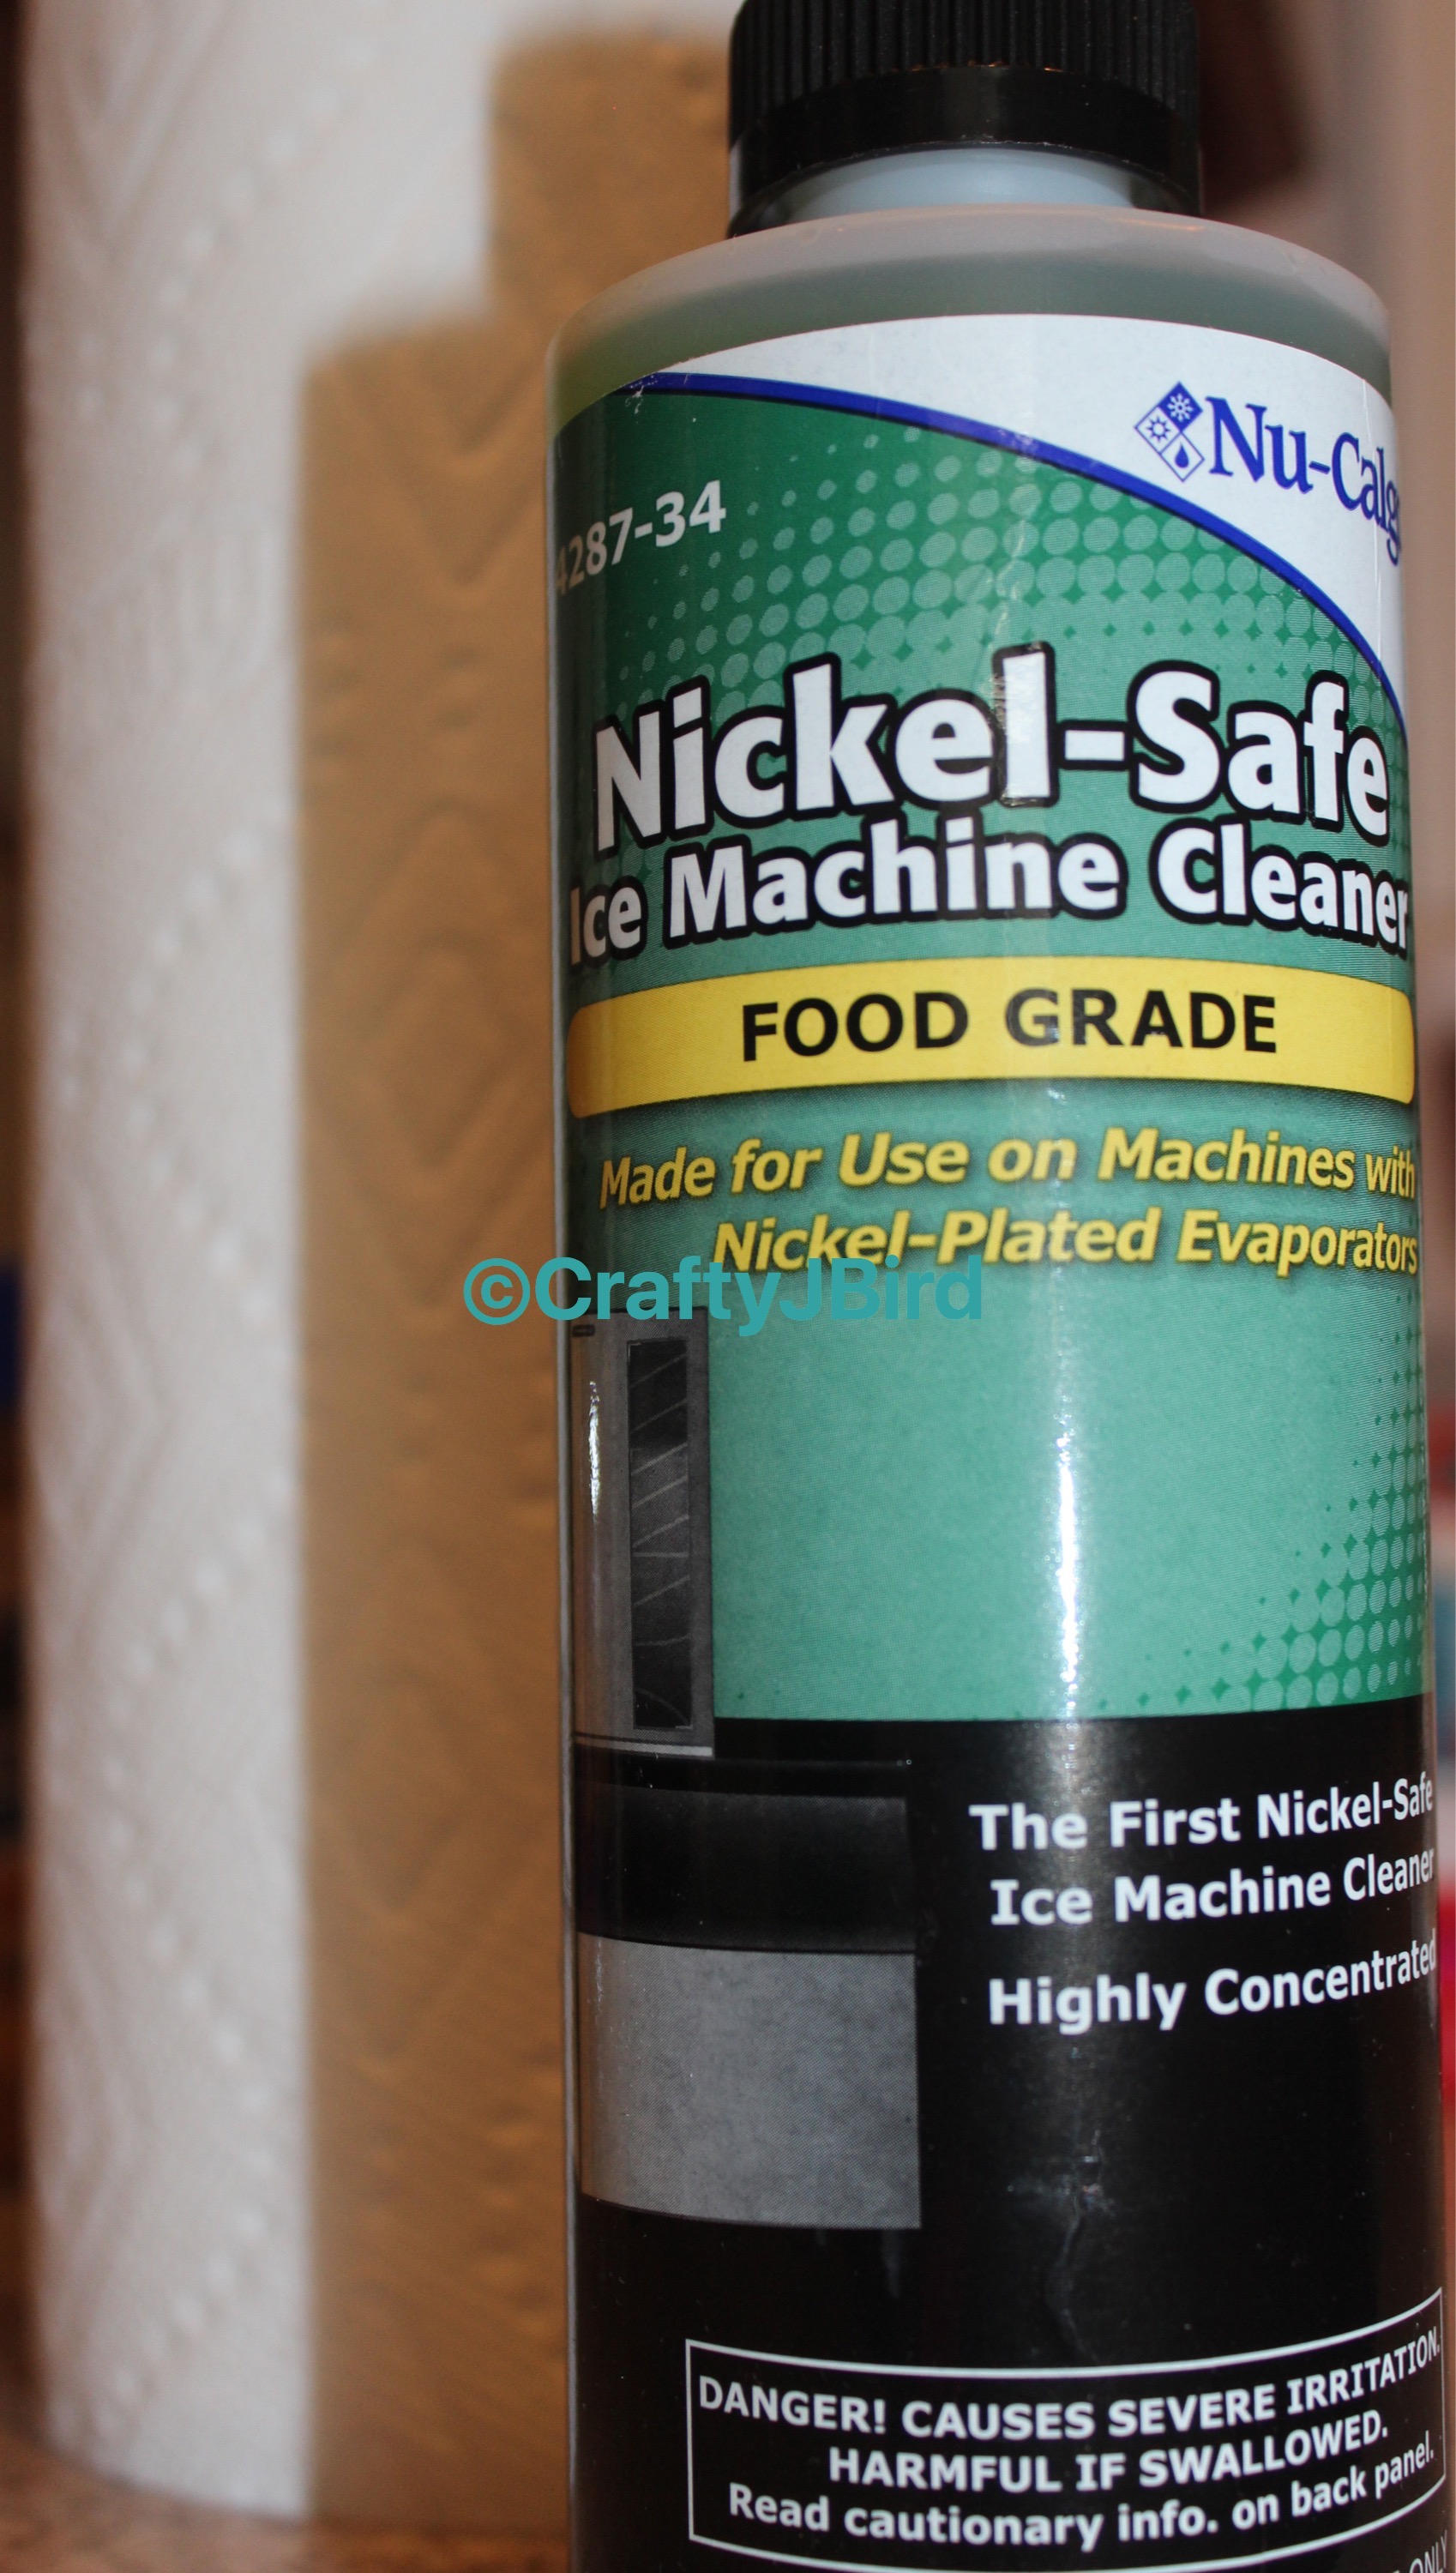
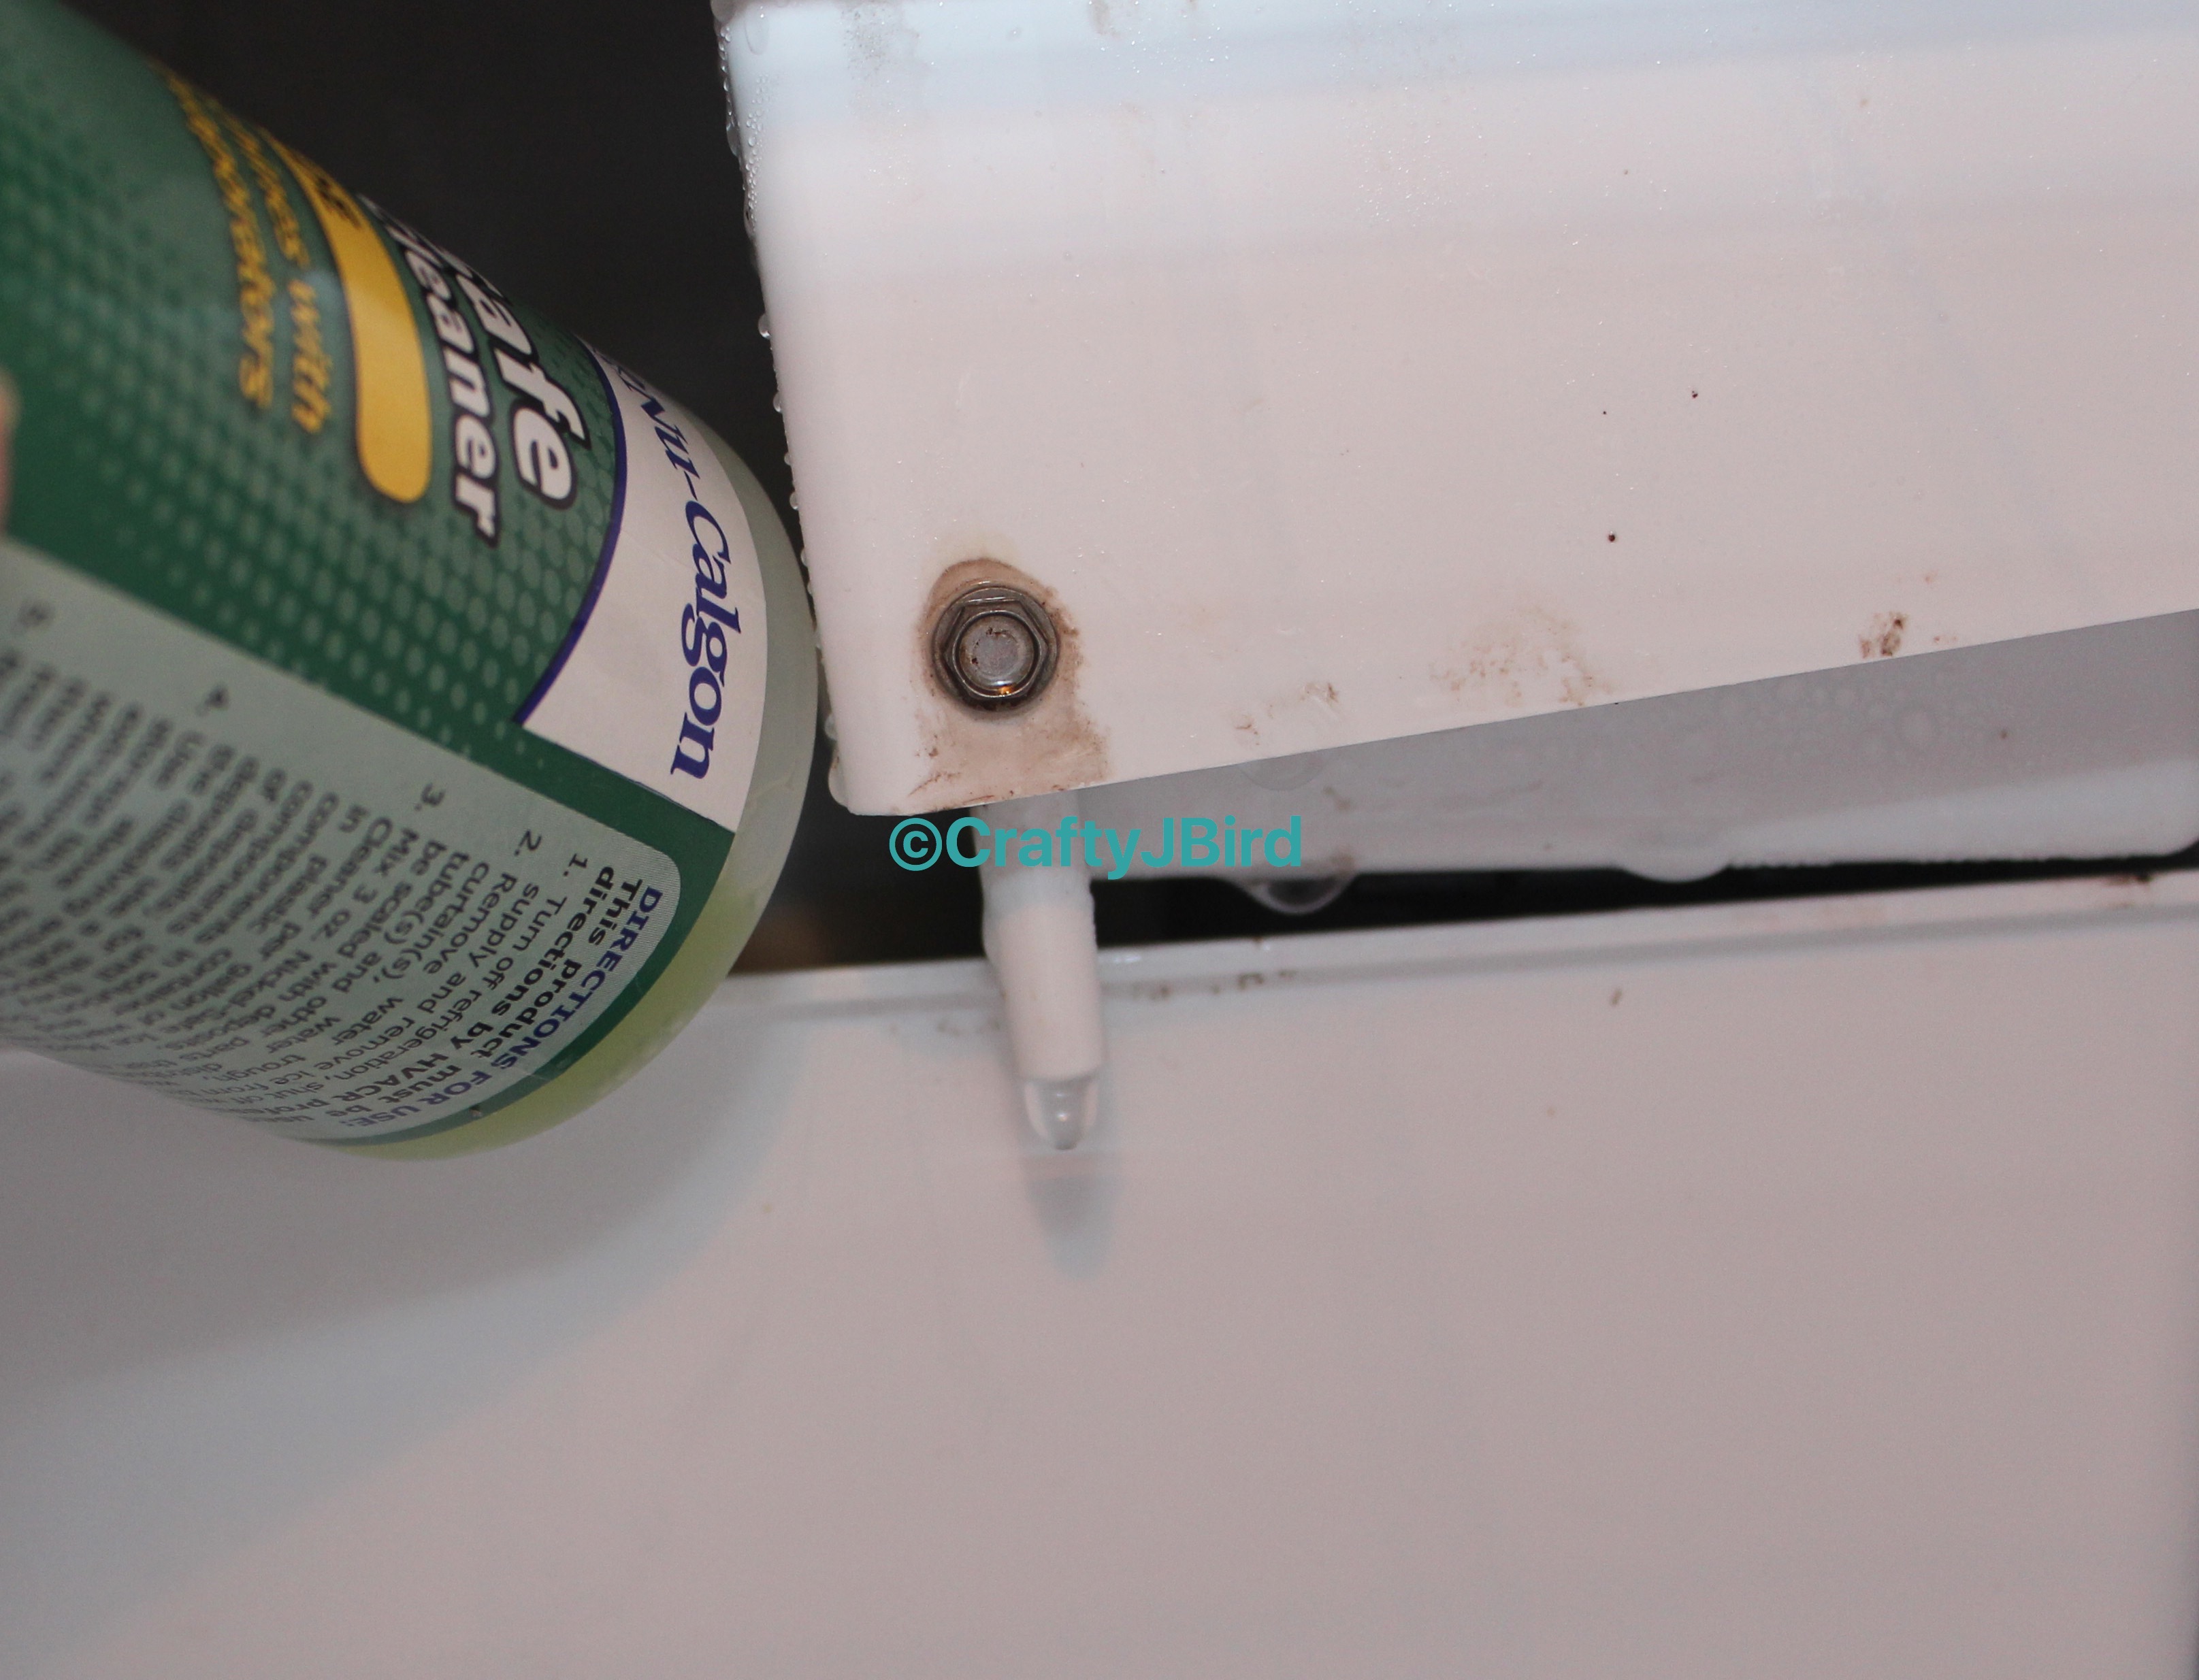
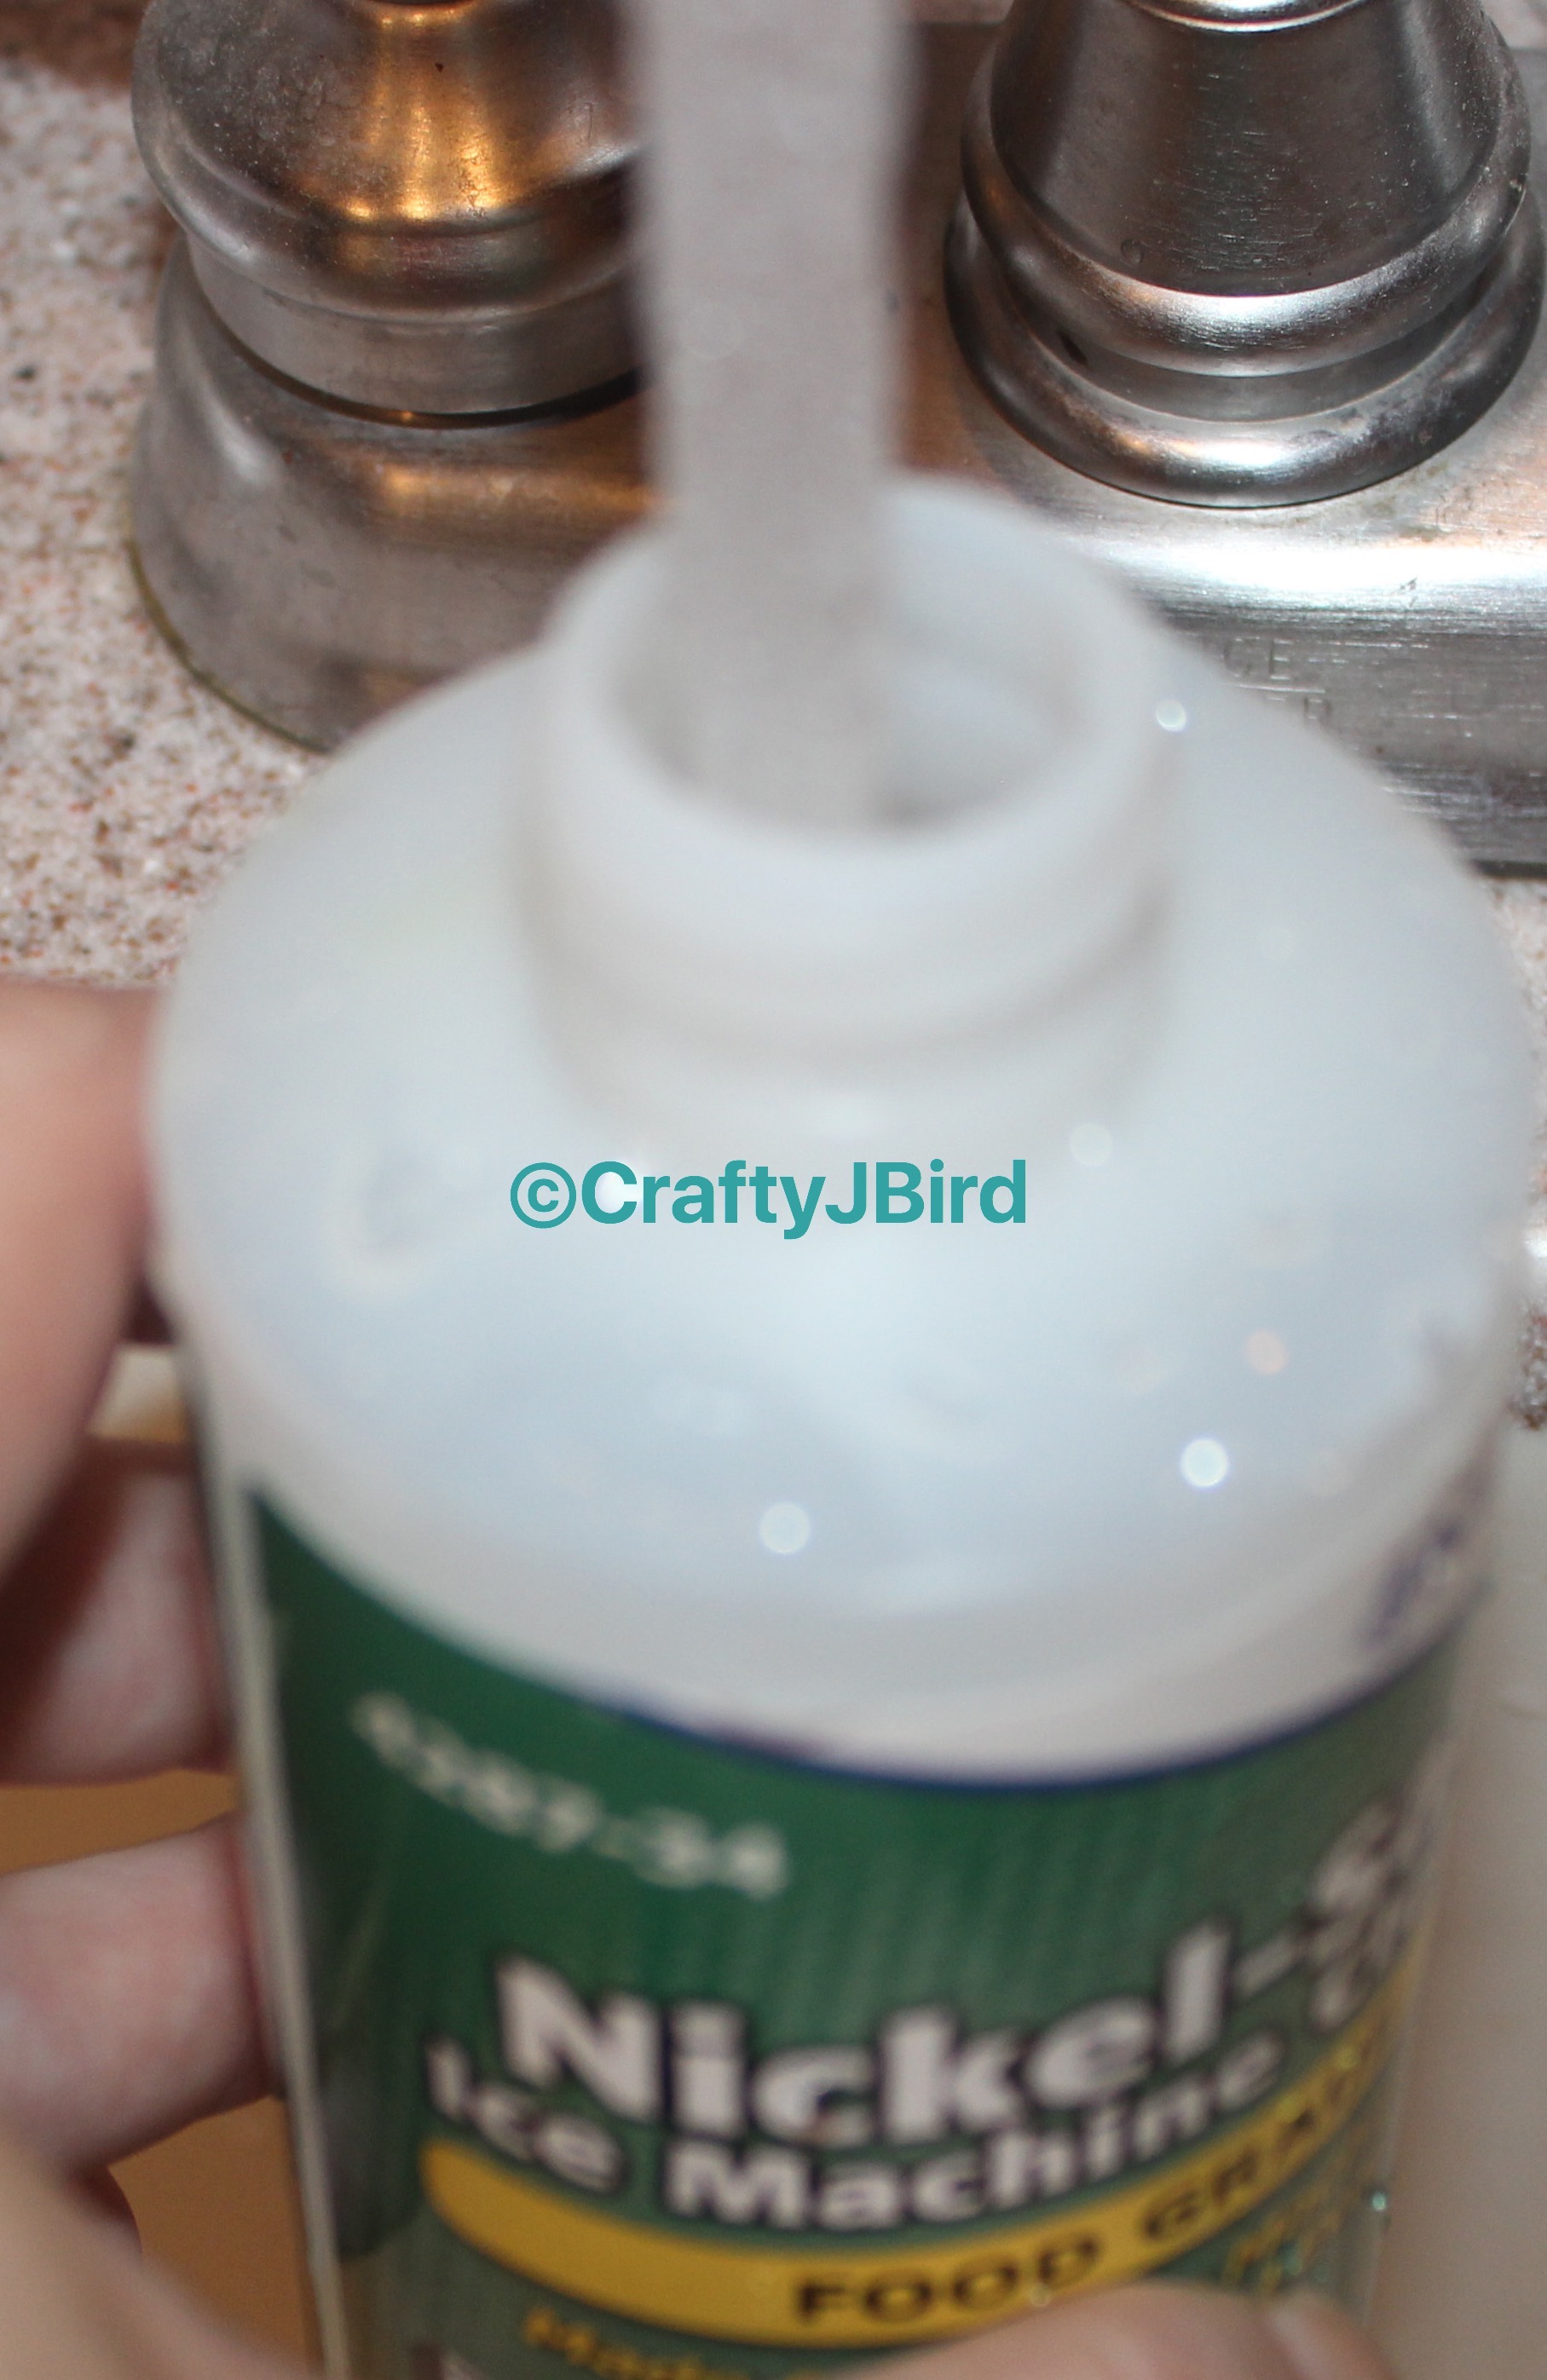
At this time, I unscrewed the top off the cleaner solution. We used what is recommended by the company based on the model and I order it from Amazon.com. Carefully, pour the cleaner into the pan. Once I get all of what I can in, I use the cap of the bottle to pour in the rest.
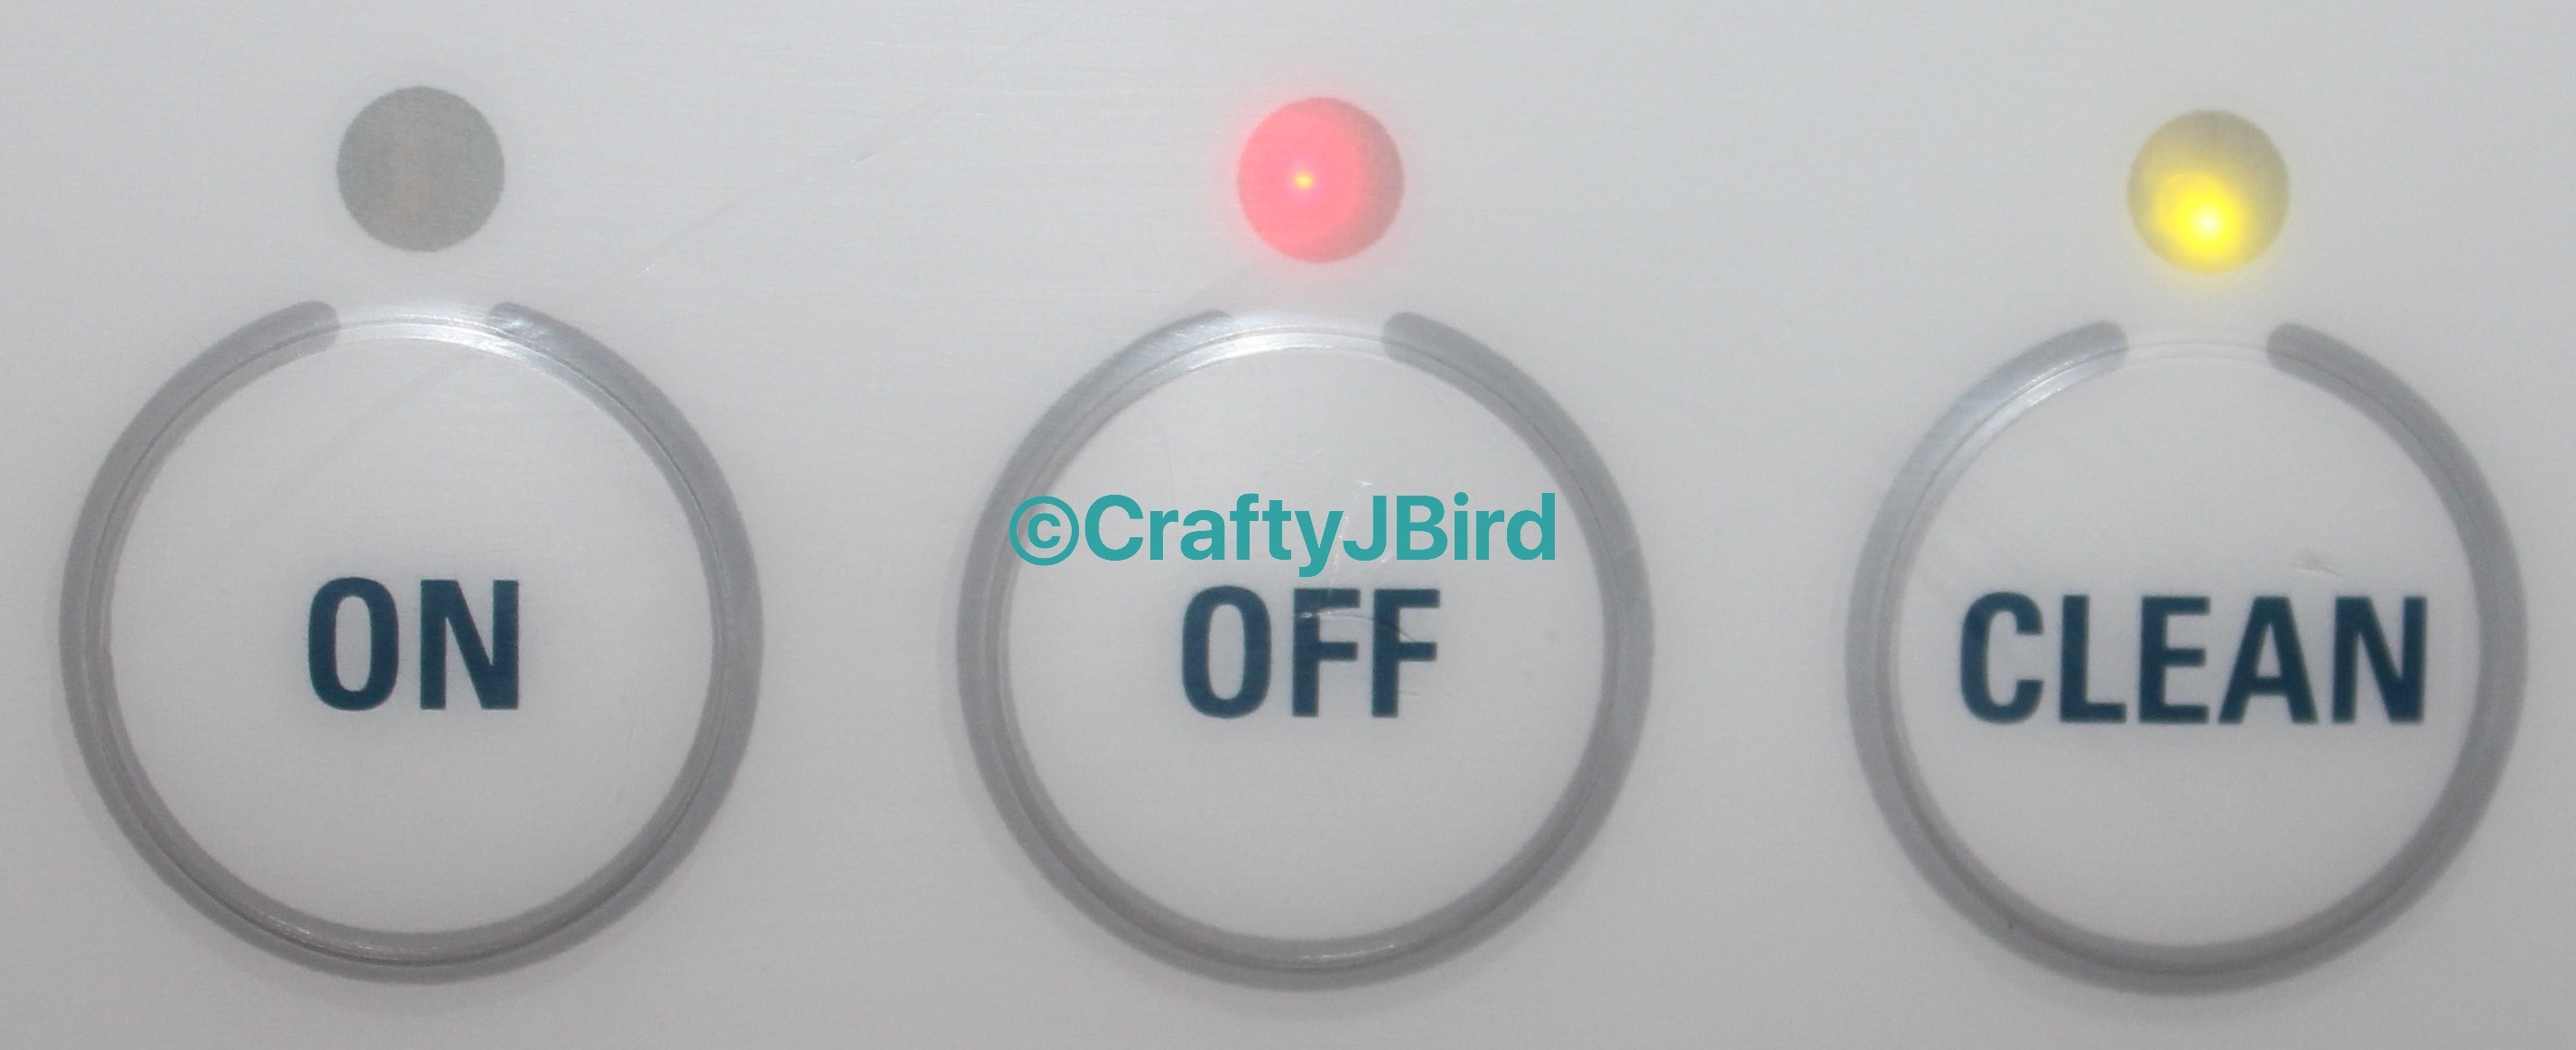 Based on the directions for our model, it says to fill the bottle up twice with water pouring it in to the pan. Then press the “clean” button until a green light starts to flash.
Step #4:
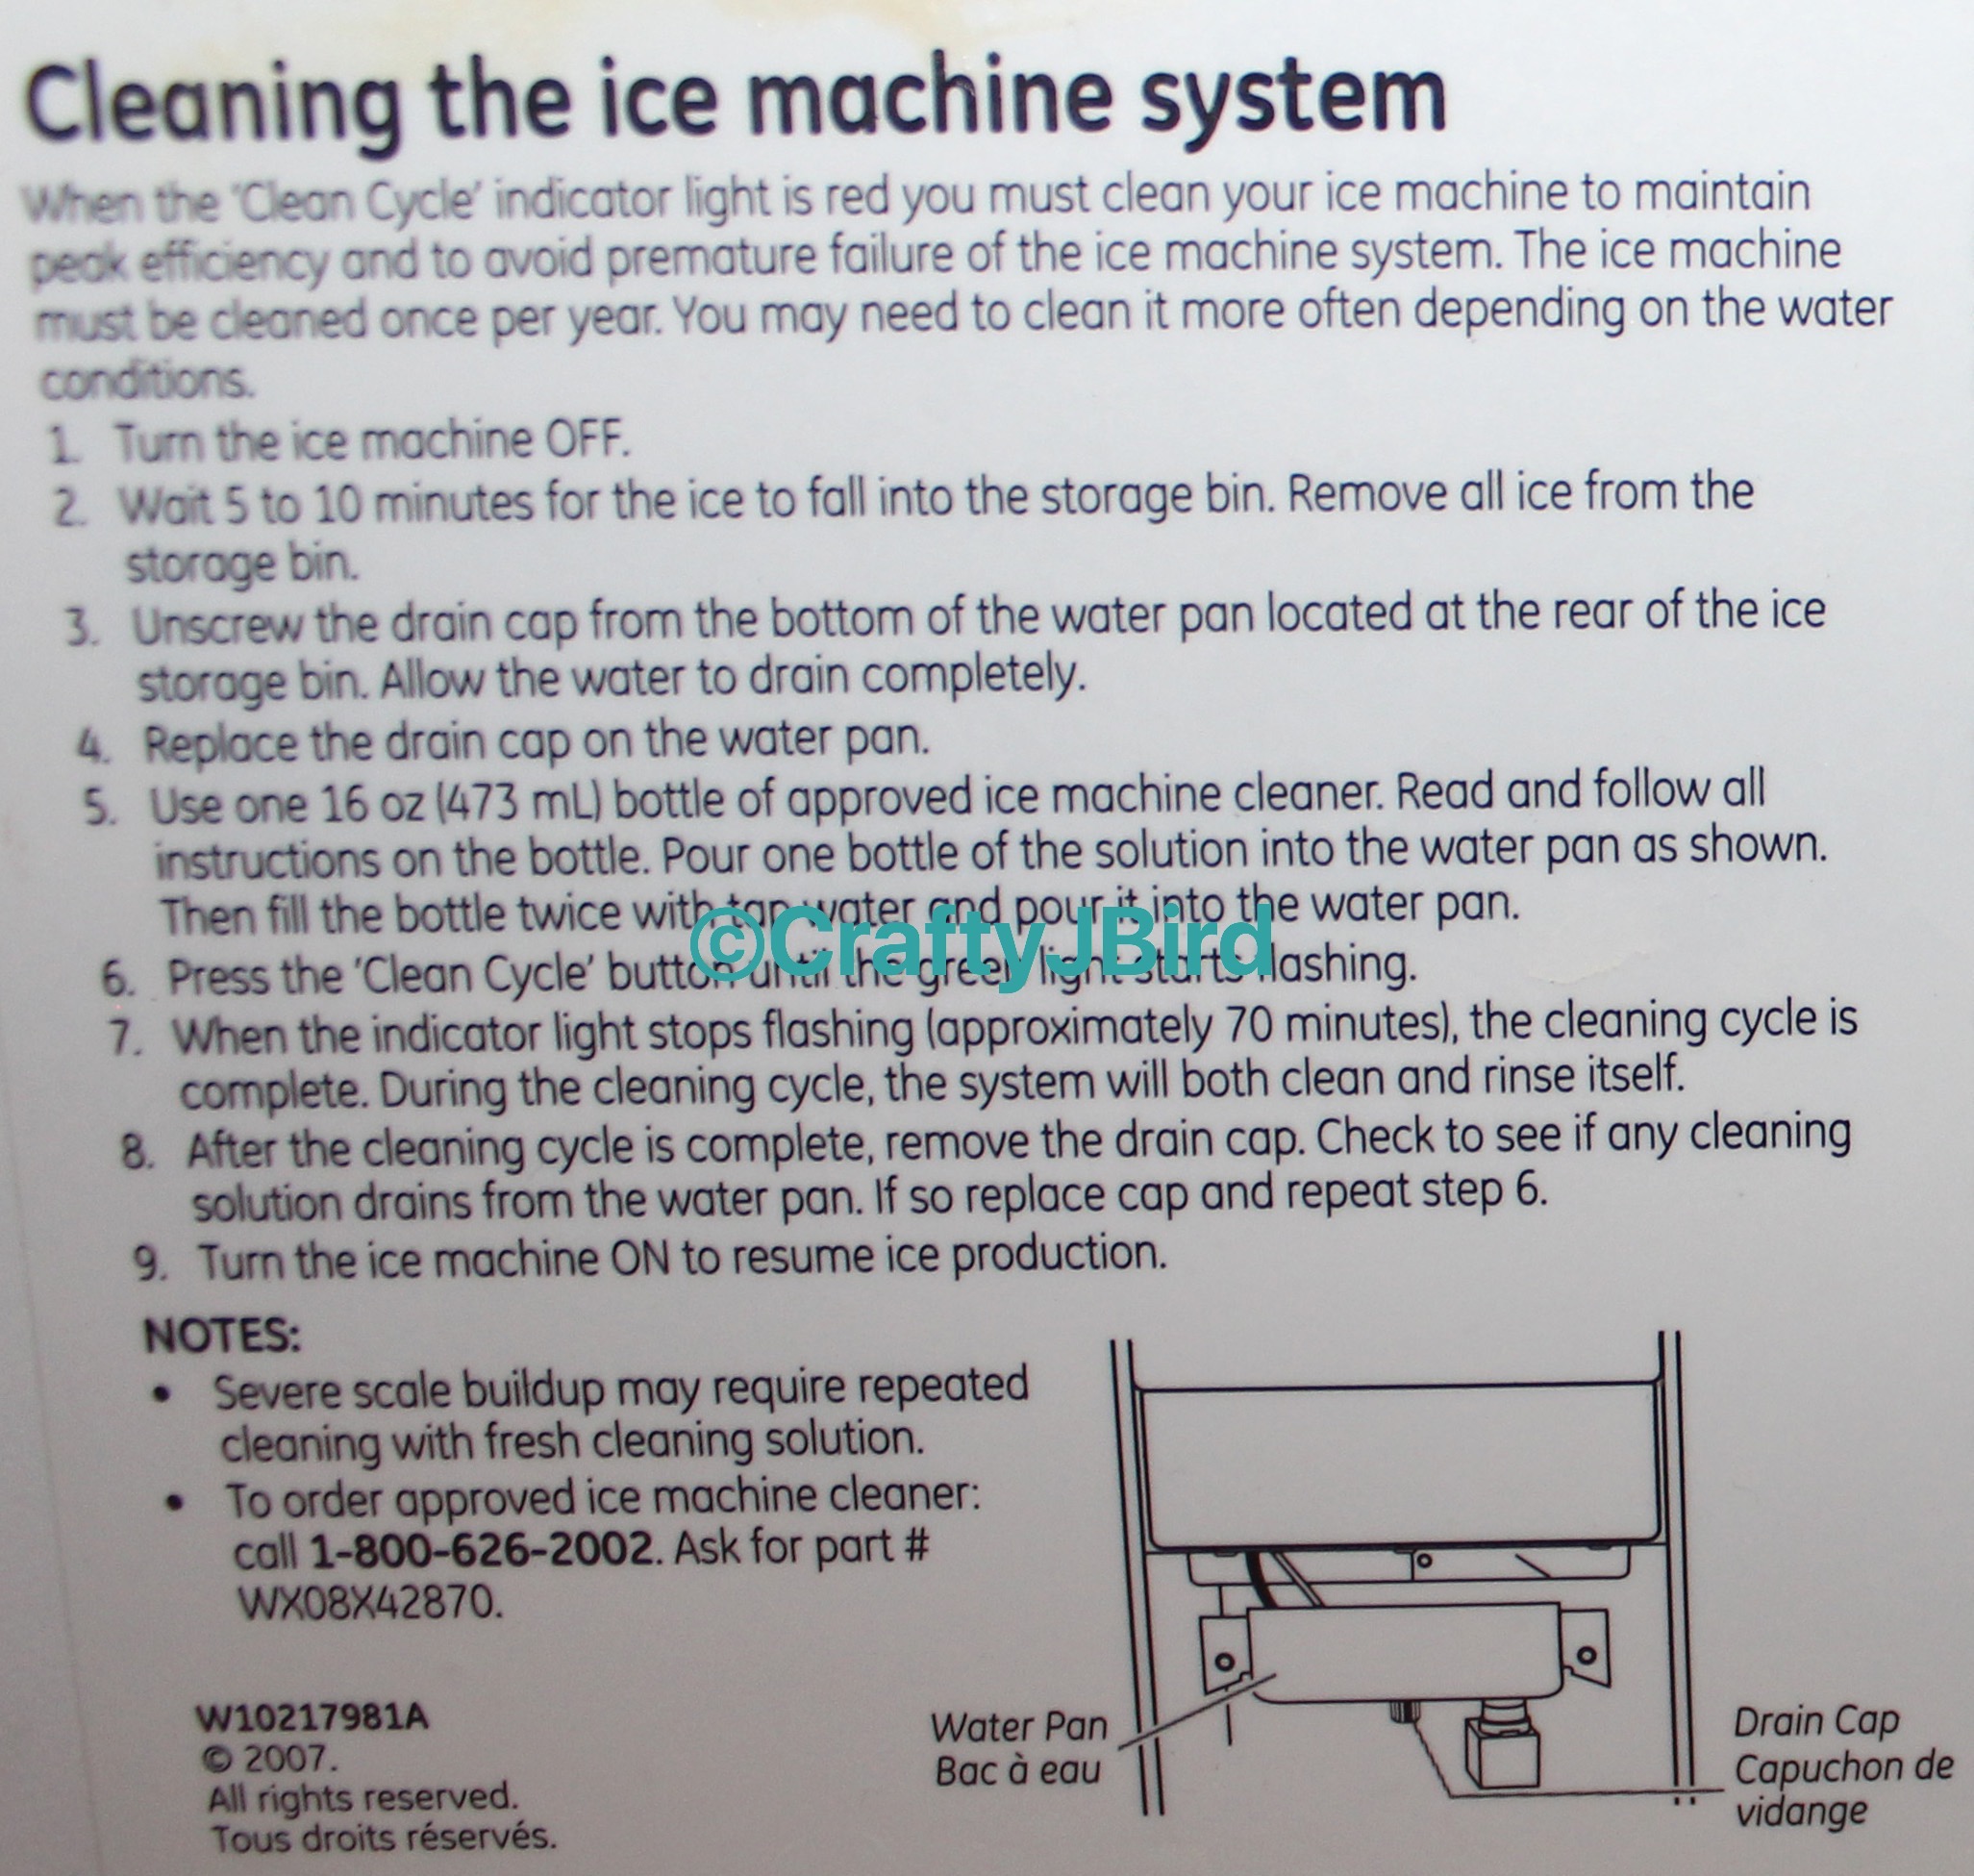 For our model, as it could be different for others, it says it takes about 70 minutes for the whole cleaning process to finish. Once finished, you removed the cap in the back once again allowing any water to drain out. Based on the instructions, it also says to repeat the cleaning process if you spot any of the cleaning solution; but I like to run it again just to be sure no matter what.
Step #5:
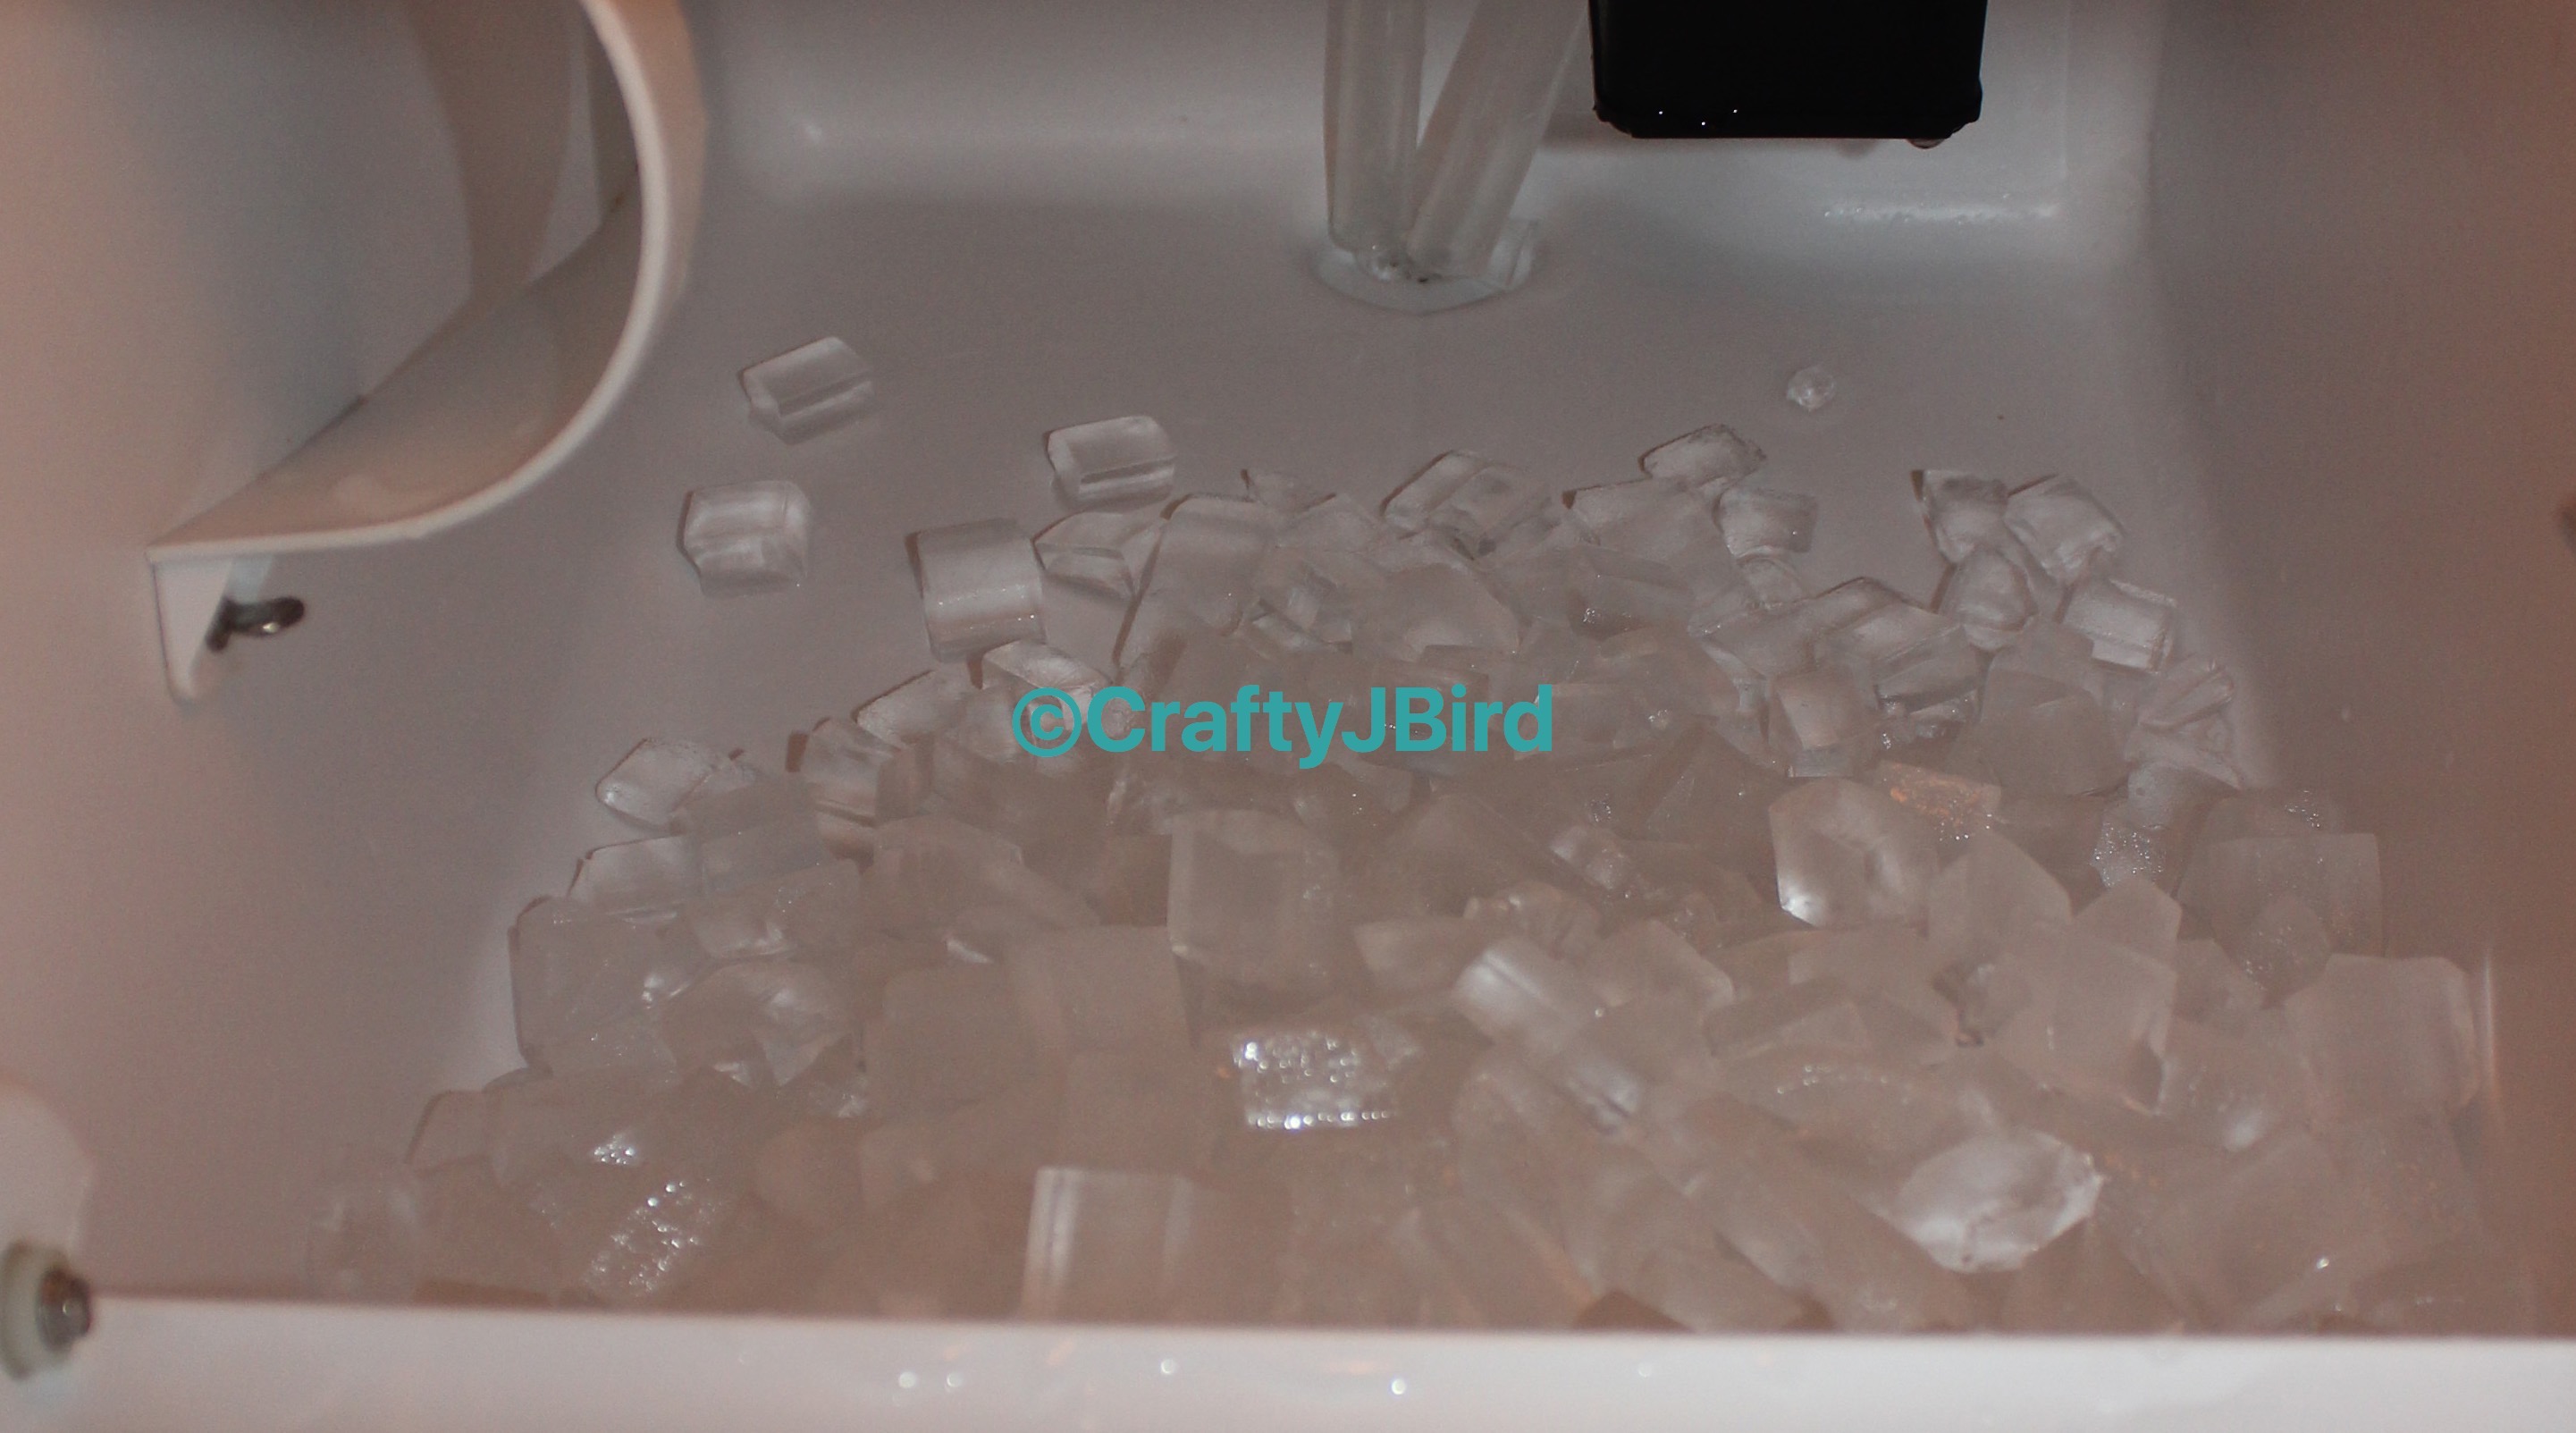 After running the cleaning cycle for the second time, I go ahead and turn the ice maker back and allow it to start making ice. Once it’s filled up the bin for a few hours I empty that ice out and allow it to start over once again. I do this just to be sure all the cleaning solution is good and out of our ice we will be using for our drinks.
There you go a nice and clean ice maker. Though it could be a long process, it’s best to make sure to clean the your ice maker when alerted it needs it rather than letting it go and having to get it fixed for whatever reason and paying more than what it’s worth.
Be aware, you will be doing quit a few leg squats and will most likely sore the next morning if you aren’t use to them. ? Due to my hip, I’m certainly not use to all those squats.
Have any questions about today’s post? Please feel free to comment below and I’ll respond back as soon as possible! Thanks for visiting! Hope to see you again!
Crafty JBird