
It’s Make It Monday!!
Hope everyone had a great awesome weekend! I know it was pretty dar n cold for most parts of the south here. Unfortunately for my area, it got super cold without the snow. ? I mean really, if it’s gonna get that cold just go ahead and give us some snow, ice, anything but just super cold temperatures! Anyways, despite the cold I decided today I would make my mom a new whale bag. She’s been using hers so much it’s just looks pathetic now. ? Let’s get started…
Whale Bag
Things Used:
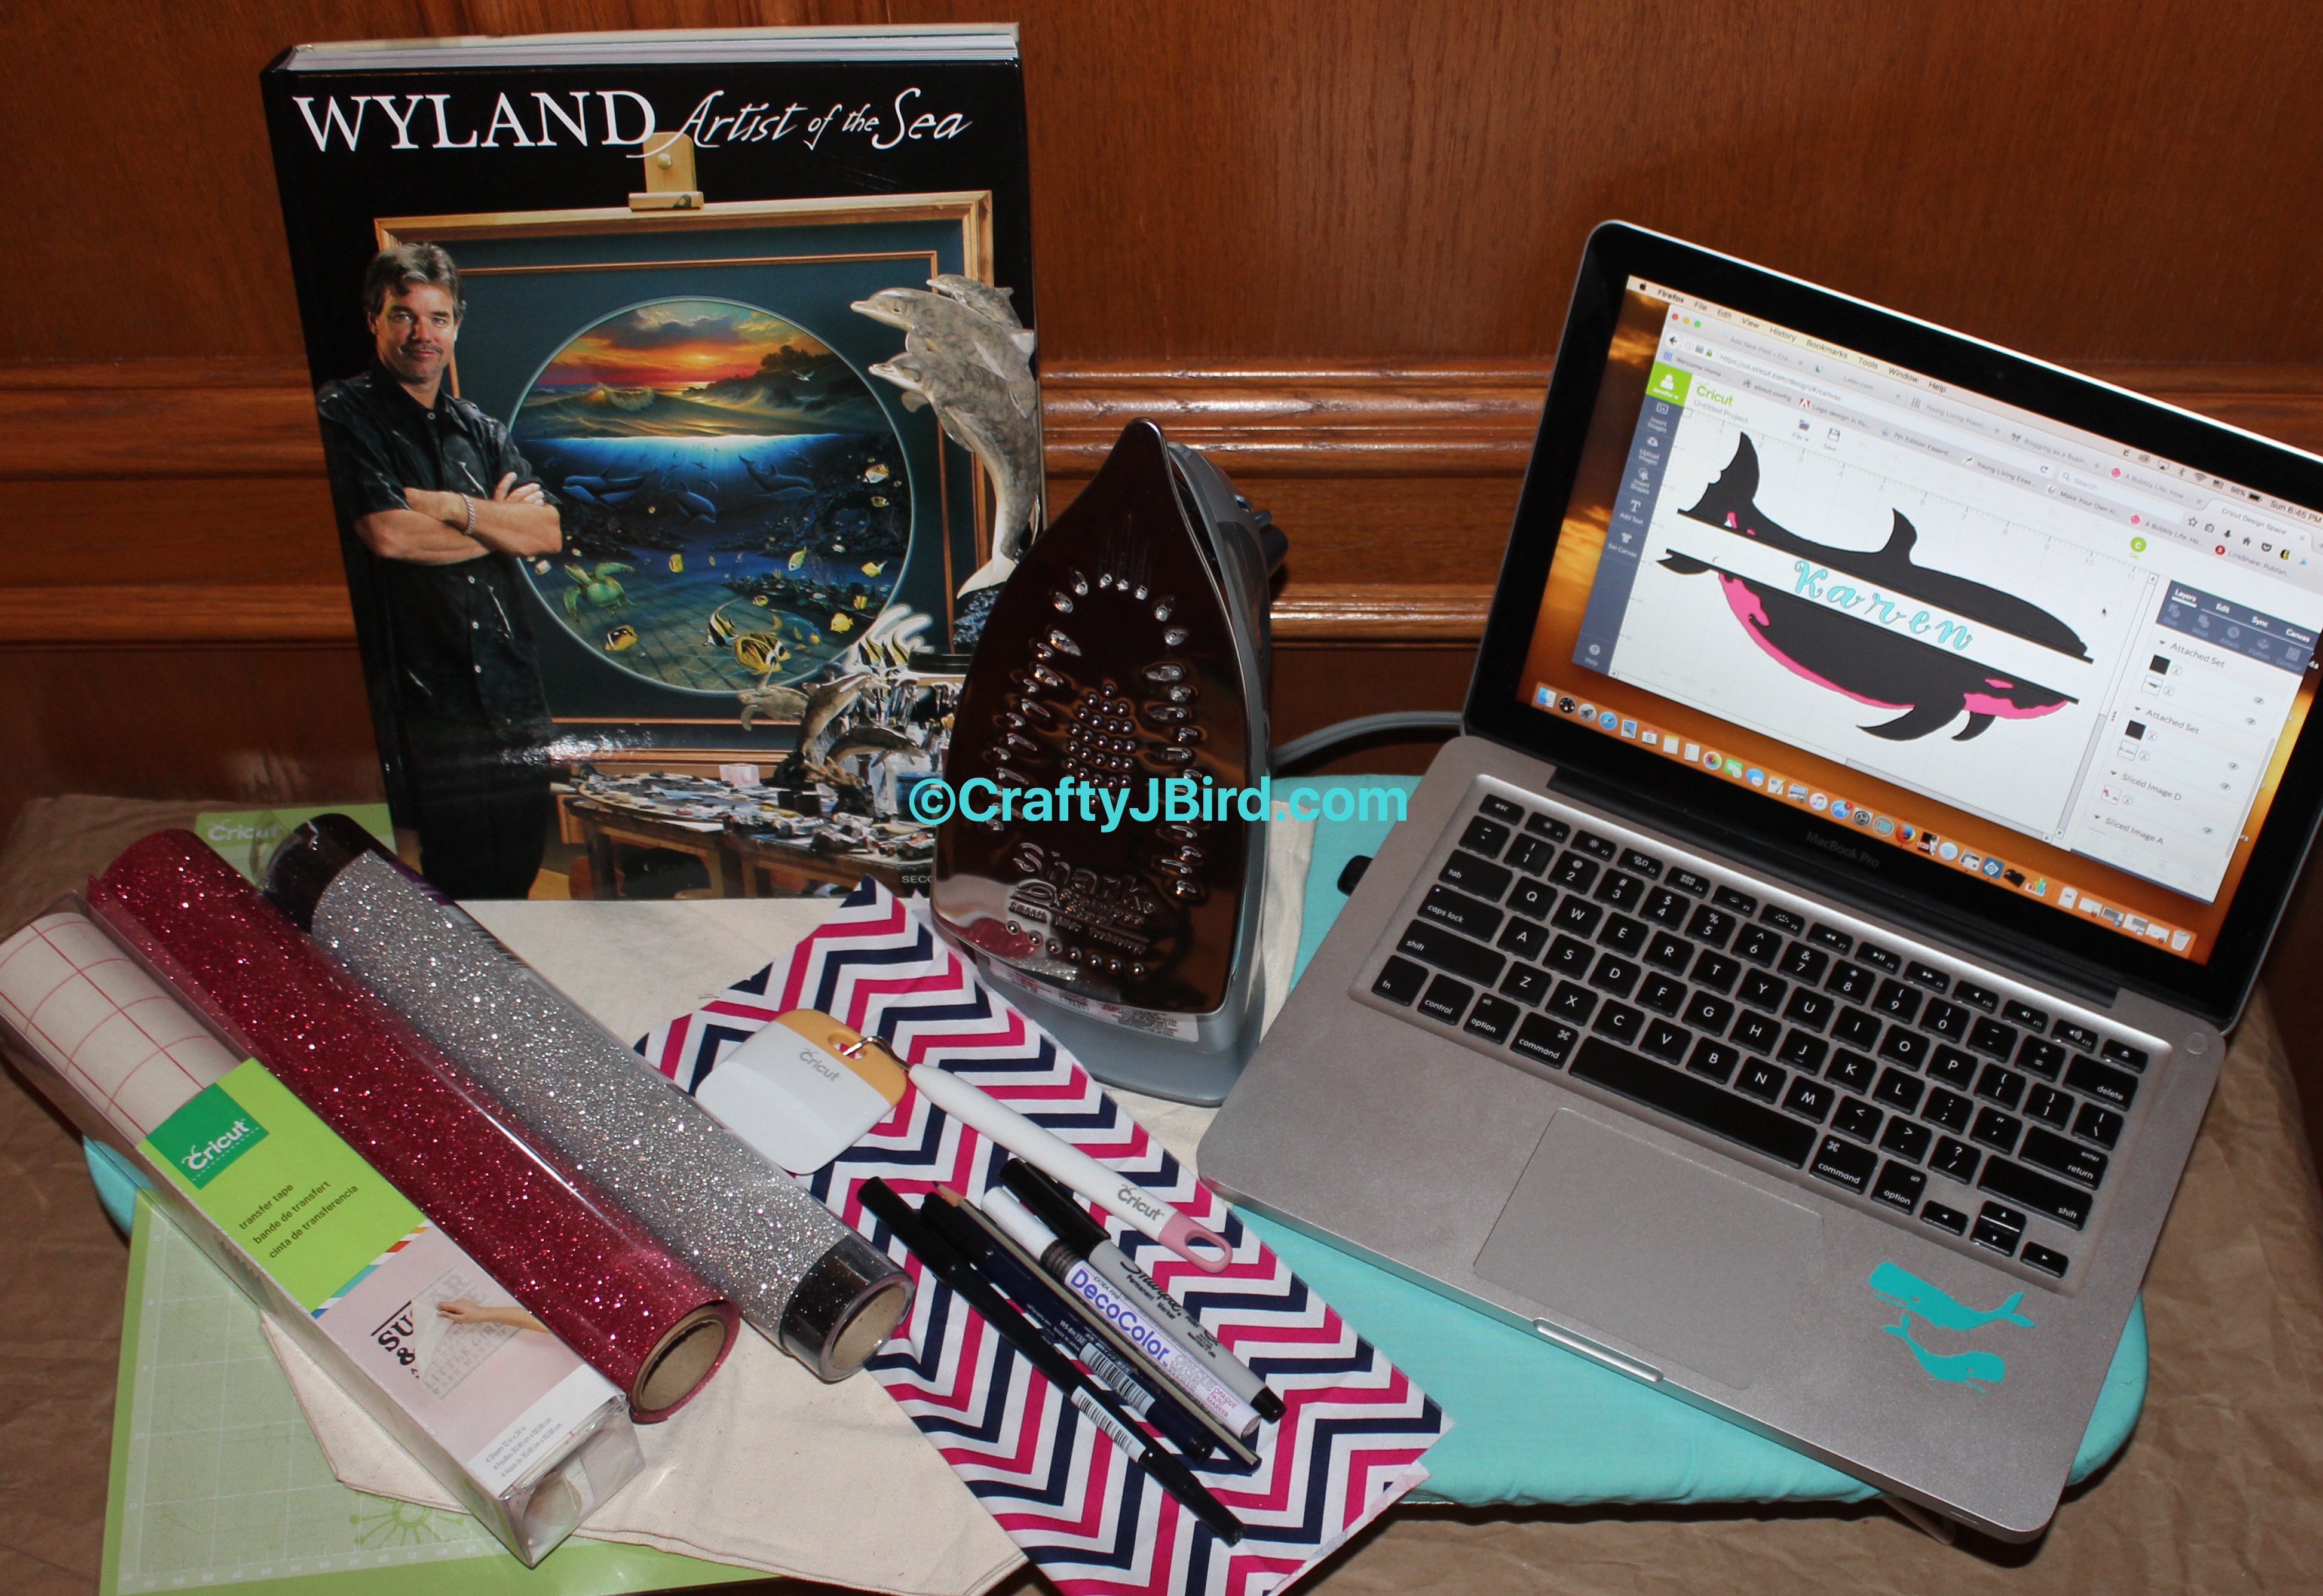
- Cricut Explore
- Design Space
- Iron-on Vinyl
- Transfer Paper
- Weeding Cricut Tool
- Cricut Mat
- Ironing Board
- Iron
- Piece of Random Fabric
**Transfer paper actually isn’t needed for this project unless you forget to click the ‘mirror’ box before cutting**
I purchased my bag from Hobby Lobby and my glitter vinyl came from Michael’s Craft Store when they had it all on 40 or 50% off.
Step #1:
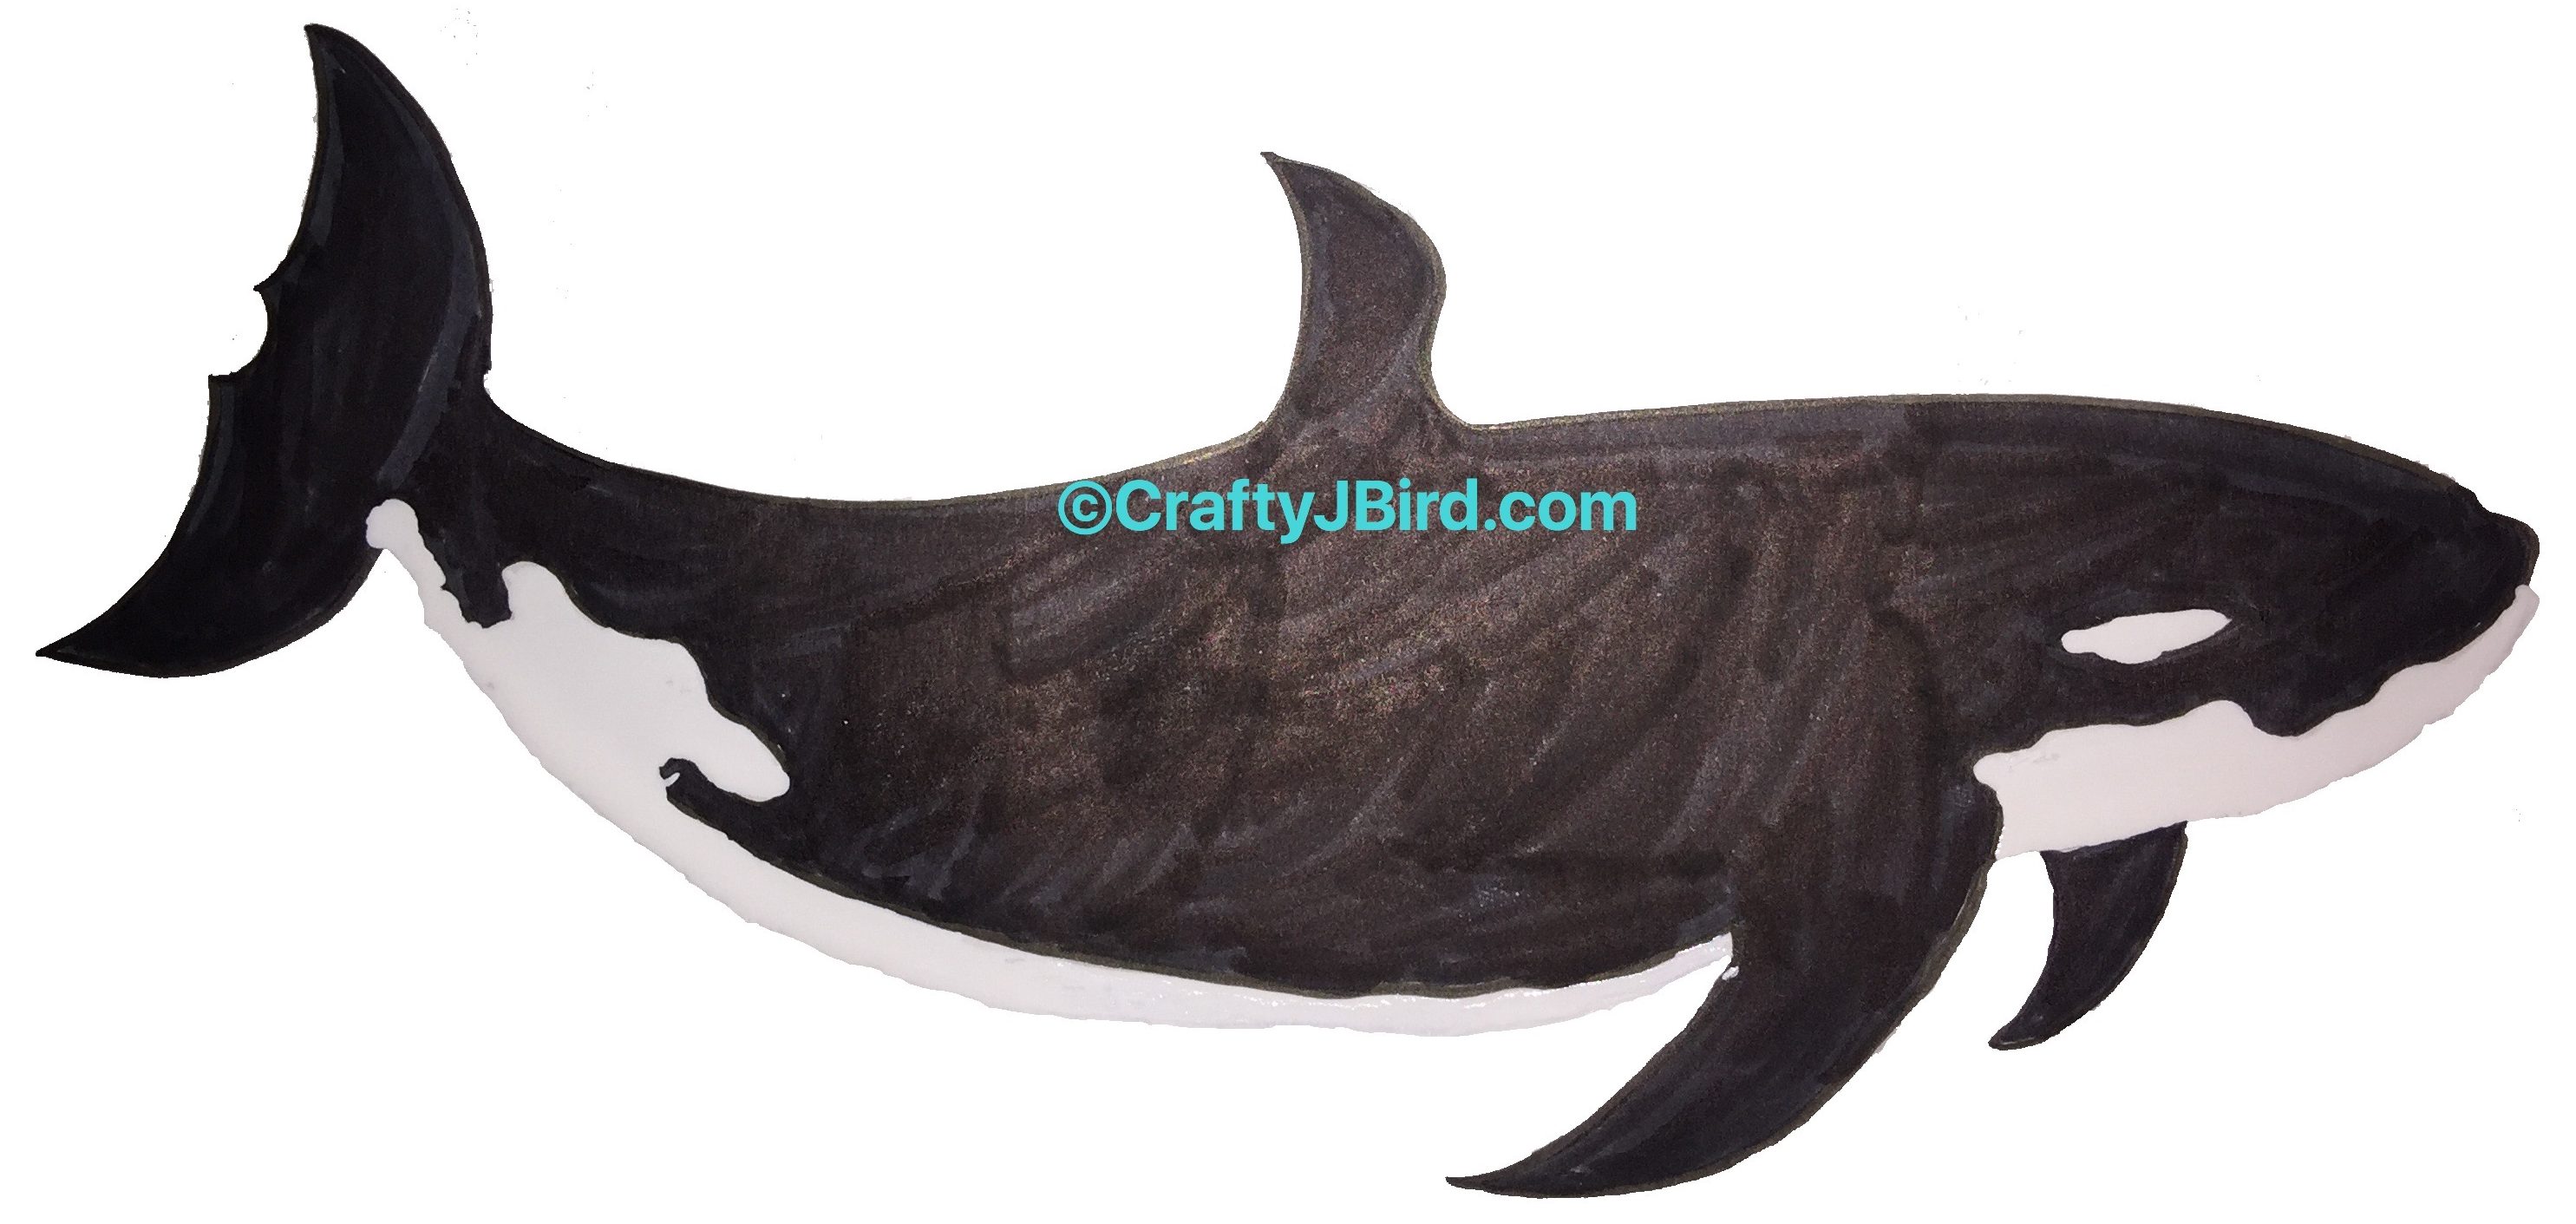
First thing I did was draw my whale. Yep! That’s right! The whale in this project is all hand-drawn! For inspiration only, I used Wyland’s “Wyland Artist of the Sea” book 2nd Edition page 115. At first I was skeptical if it would come out so well but I think, if I do say so myself, it came out pretty good!
[soliloquy id=”3481″]
Here is my steps by steps of drawing my whale this morning based on the pictures I took as I went. I used my Tombow Fudenosuke Hard tip pen to outline it them each of them. For my rough drafts I used a black fine tip sharpie to color them in but for my final product, I used my Tombow N15 Dual Brush pen to color in the black portion. Then I used my deco color opaque white #130-s for the white portion.
Step #2:
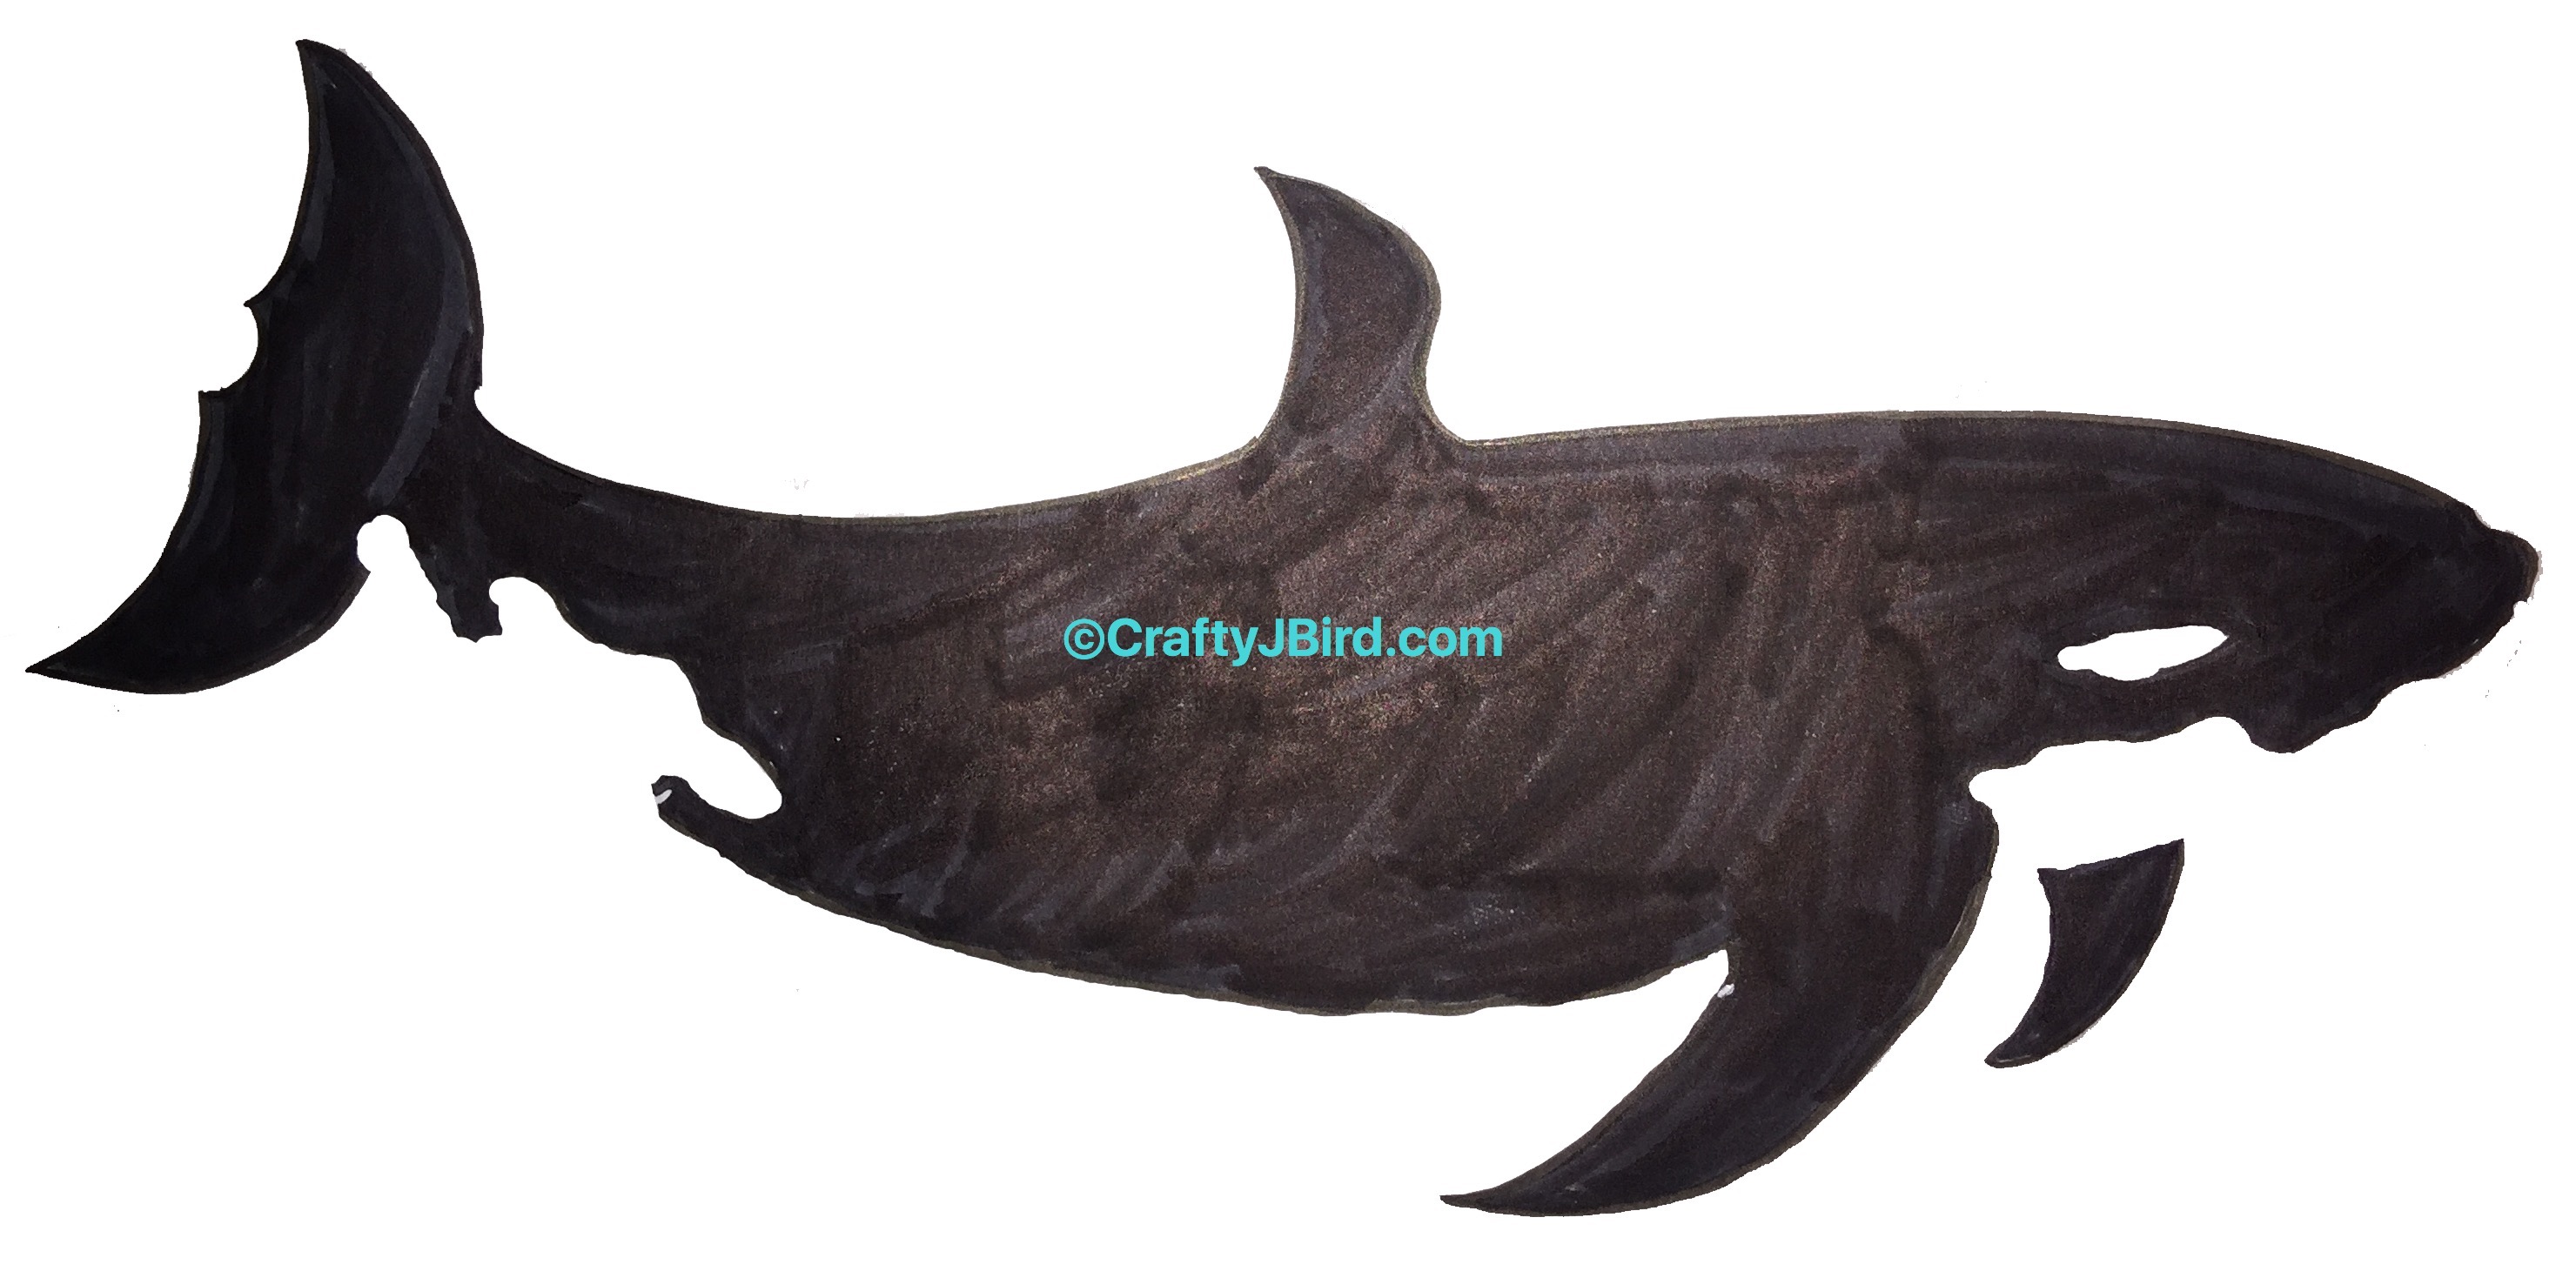
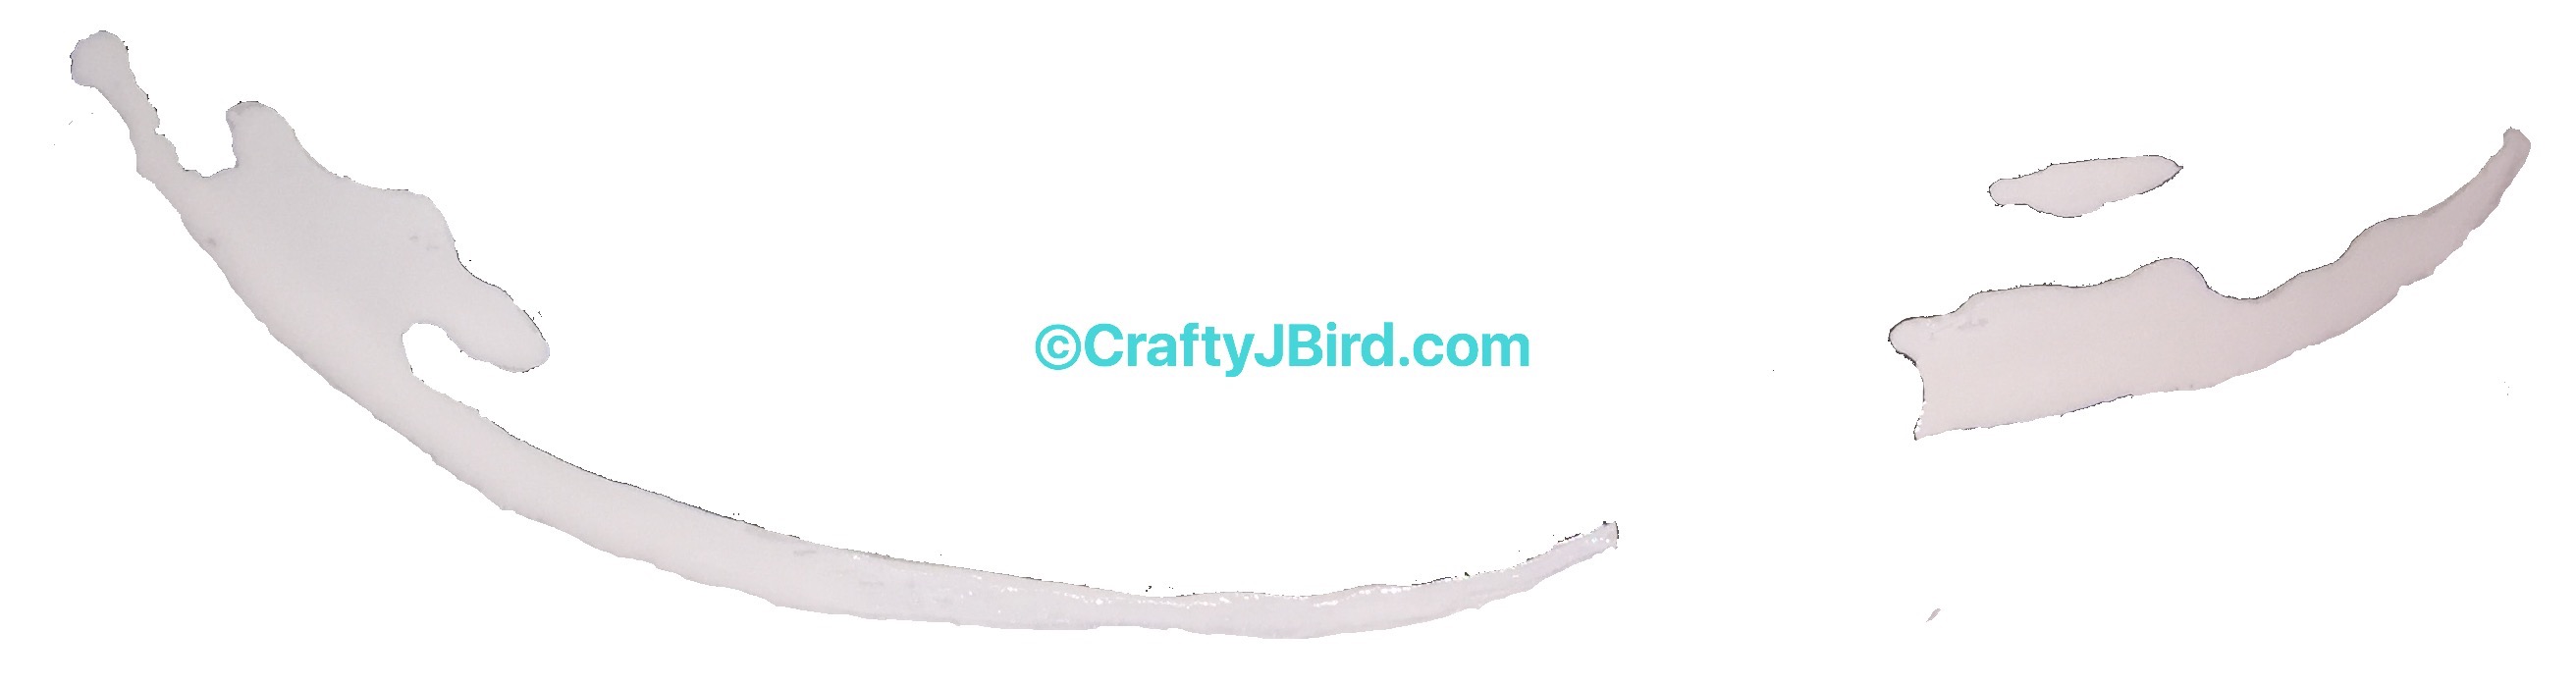 The second thing I did was import my final product into Photoshop Elements. Once imported, duplicated the picture and then erased the white part of the whale so just the black was showing. Then, on the duplicated picture, I erased the black portion leaving just the white part of the whale.
 Step #3:
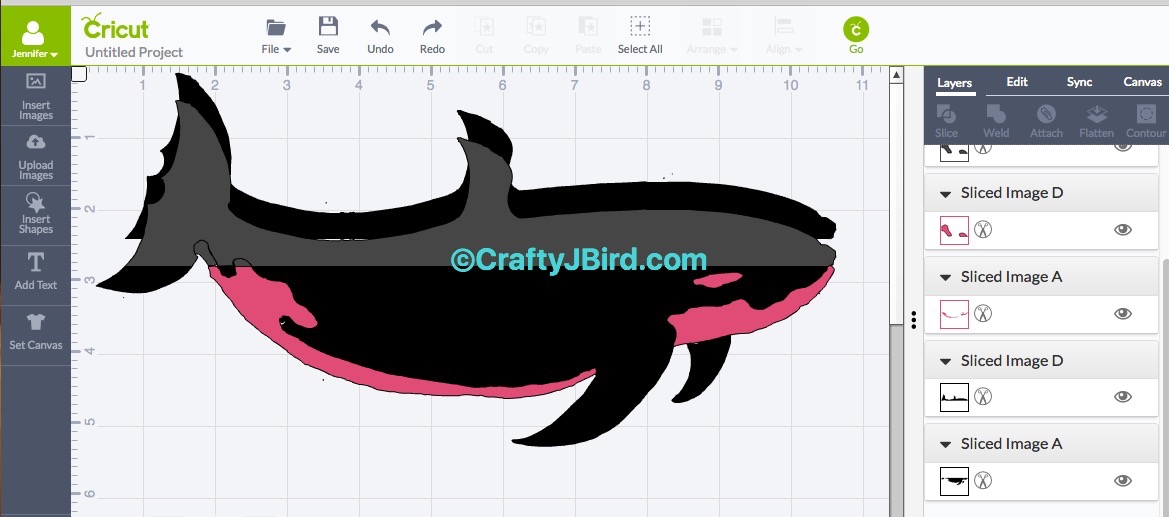
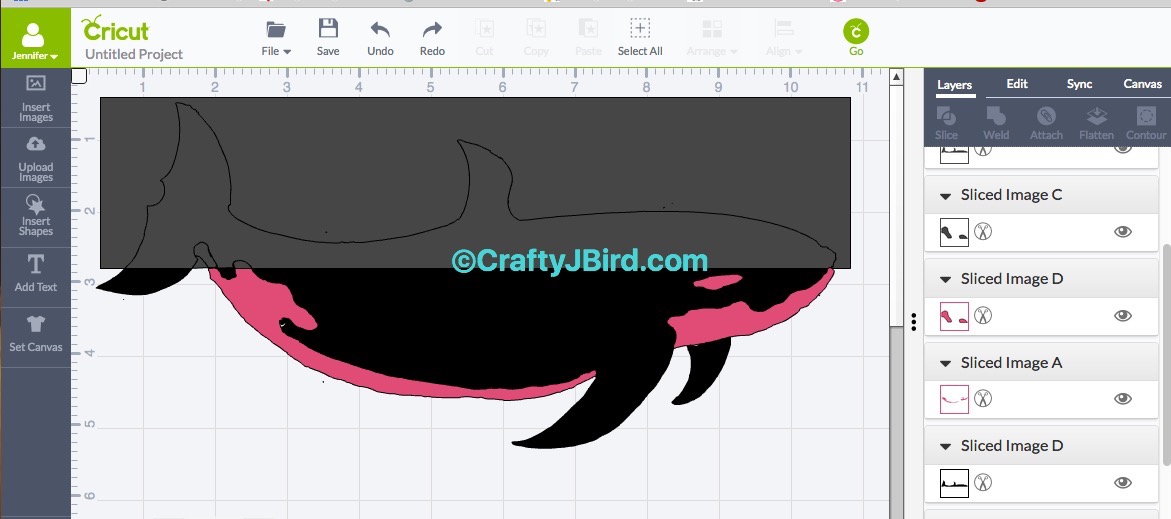 After I had my two pictures of the final product for my whale bag finished, I imported them both into Cricut Design Space. Once imported, I sized both pieces to fit within as they were one. Next, I added a ‘square’ from the ‘shapes’ option, drugged it across my whale and used the ‘slice’ button to cut my whale in half. Though, since you apparently cannot have two pieces ‘attached’ and ‘slice’ them together, I had to ‘slice’ my white (pink in Cricut Design) again to have the small pieces at the tail with the top portion of the whale. **Hope that makes sense**

Step #4:
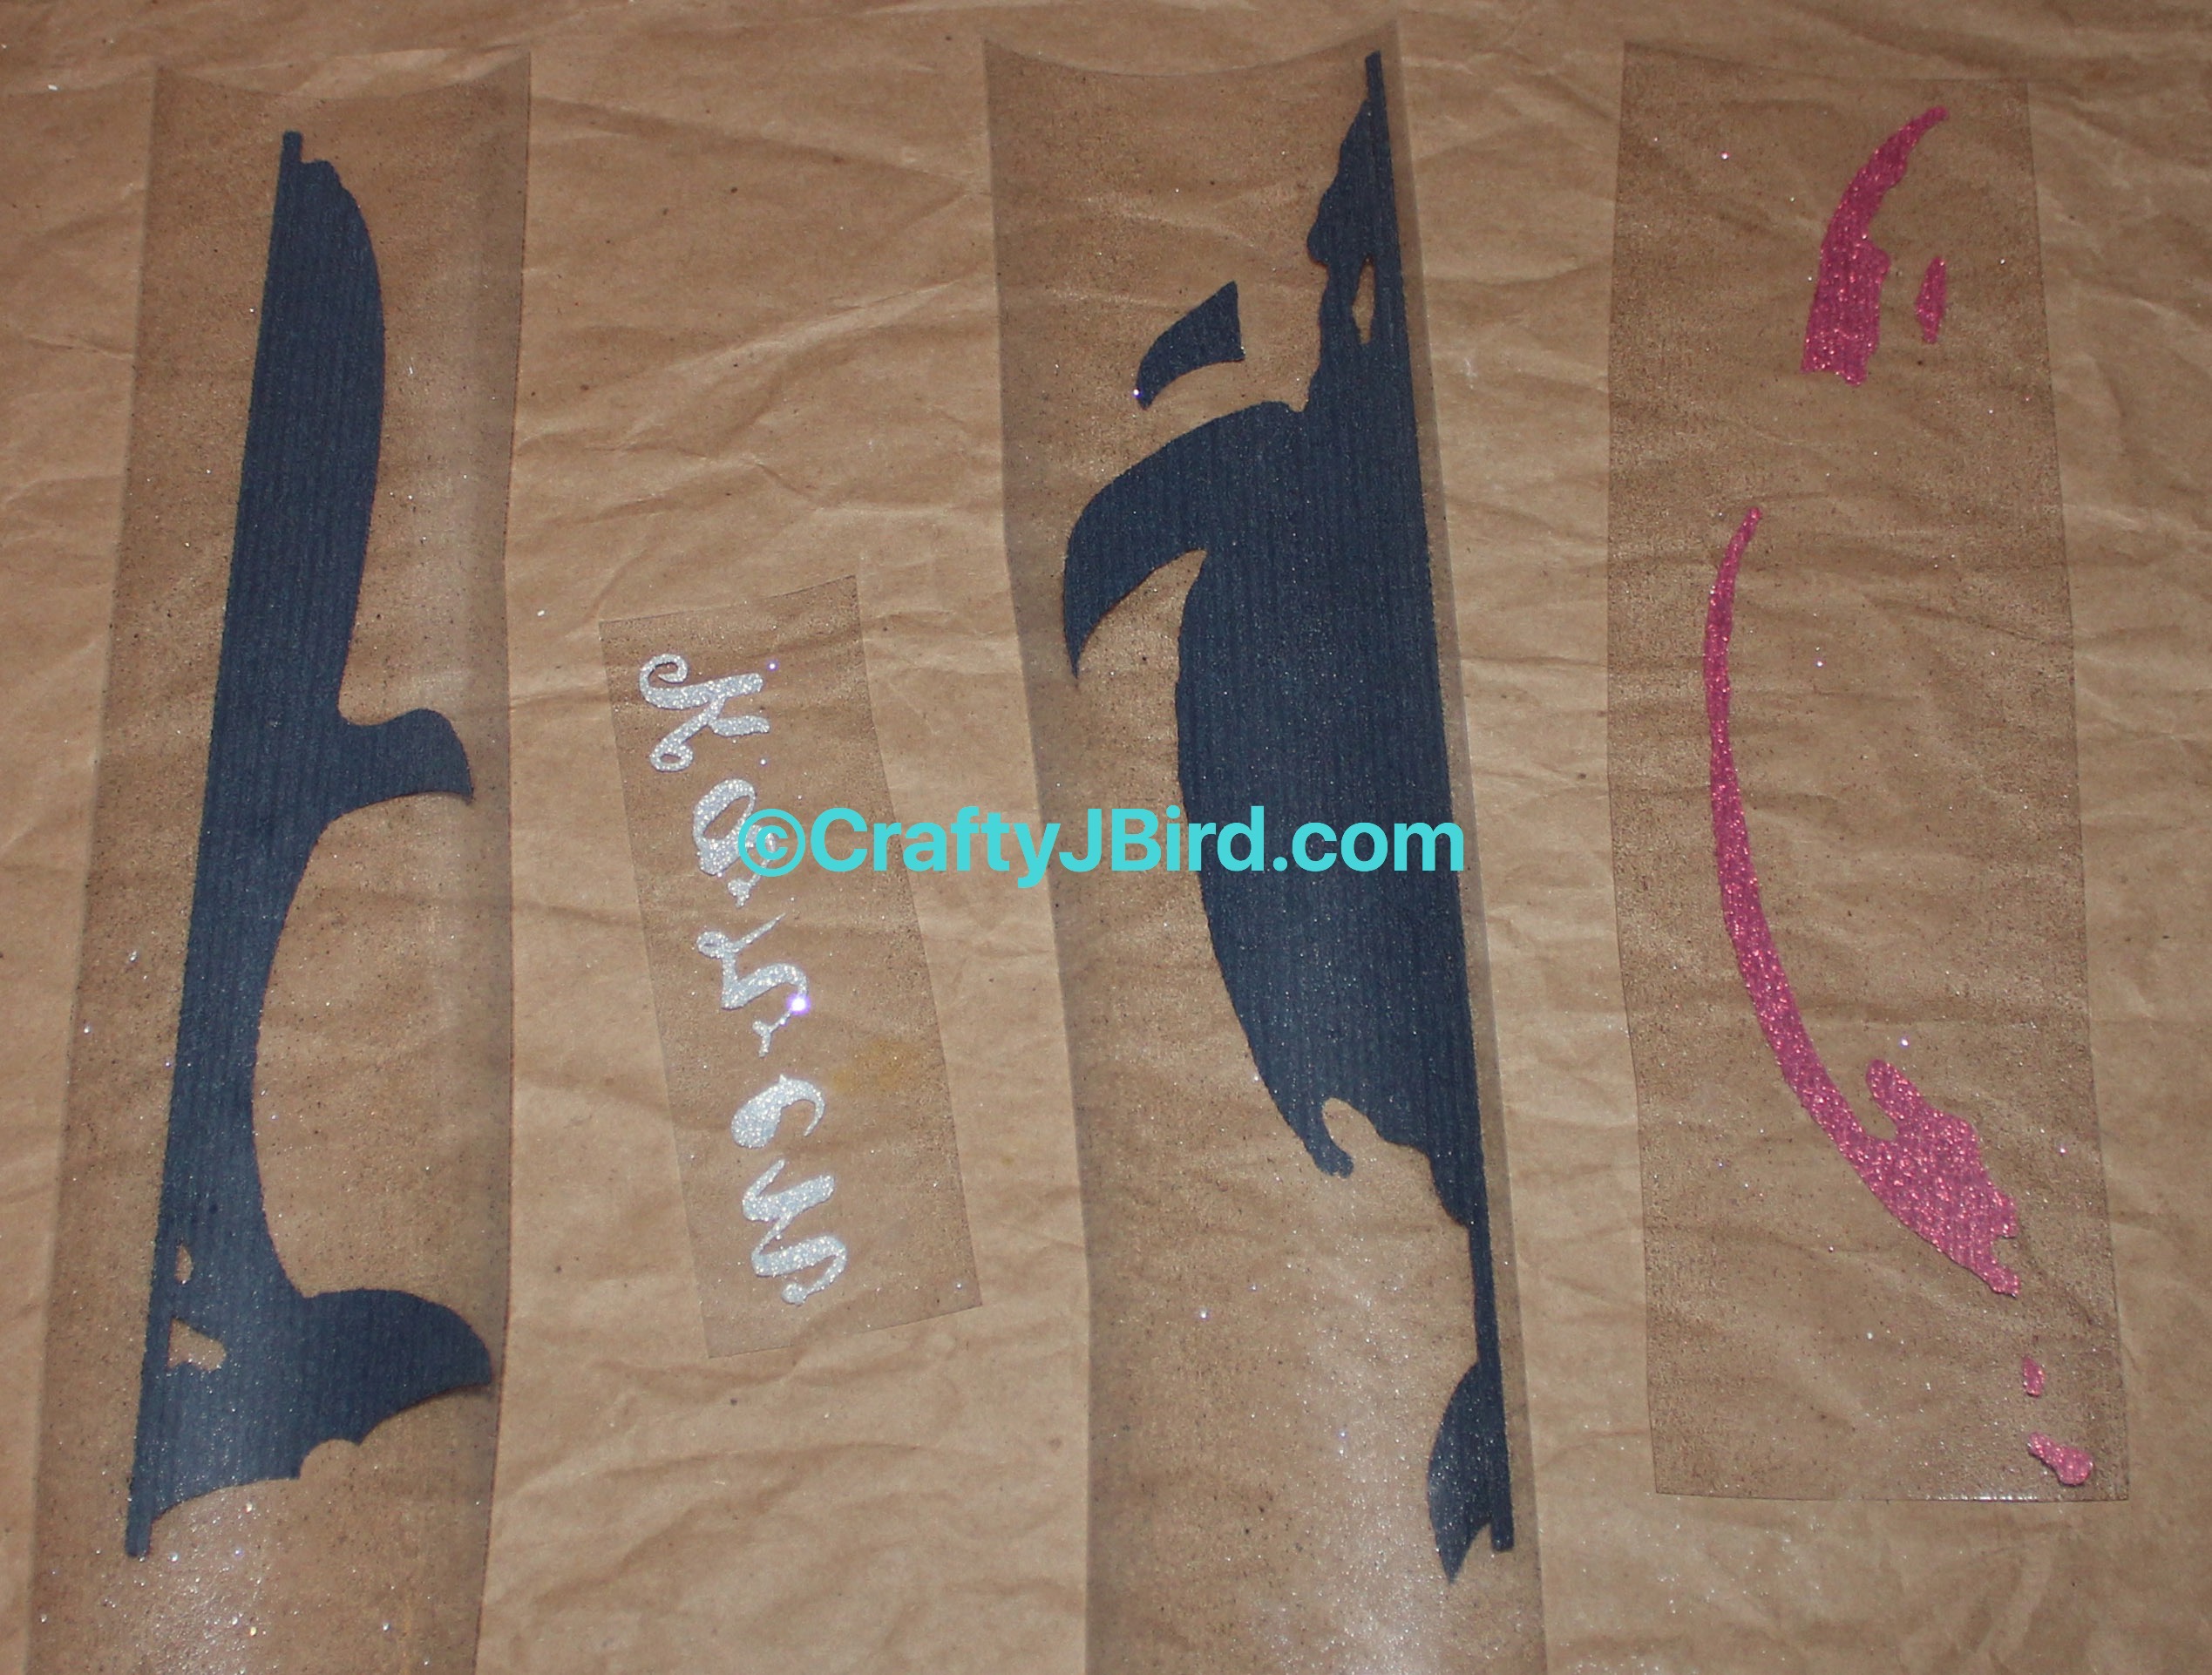 Once finished getting everything ready to cut, I had my Cricut Explore do its things. After it was finished cutting everything out, I carefully weeded all the pieces; which of course gave me trouble because my work area just doesn’t seem to have enough lighting right now for some reason.
Step #5:
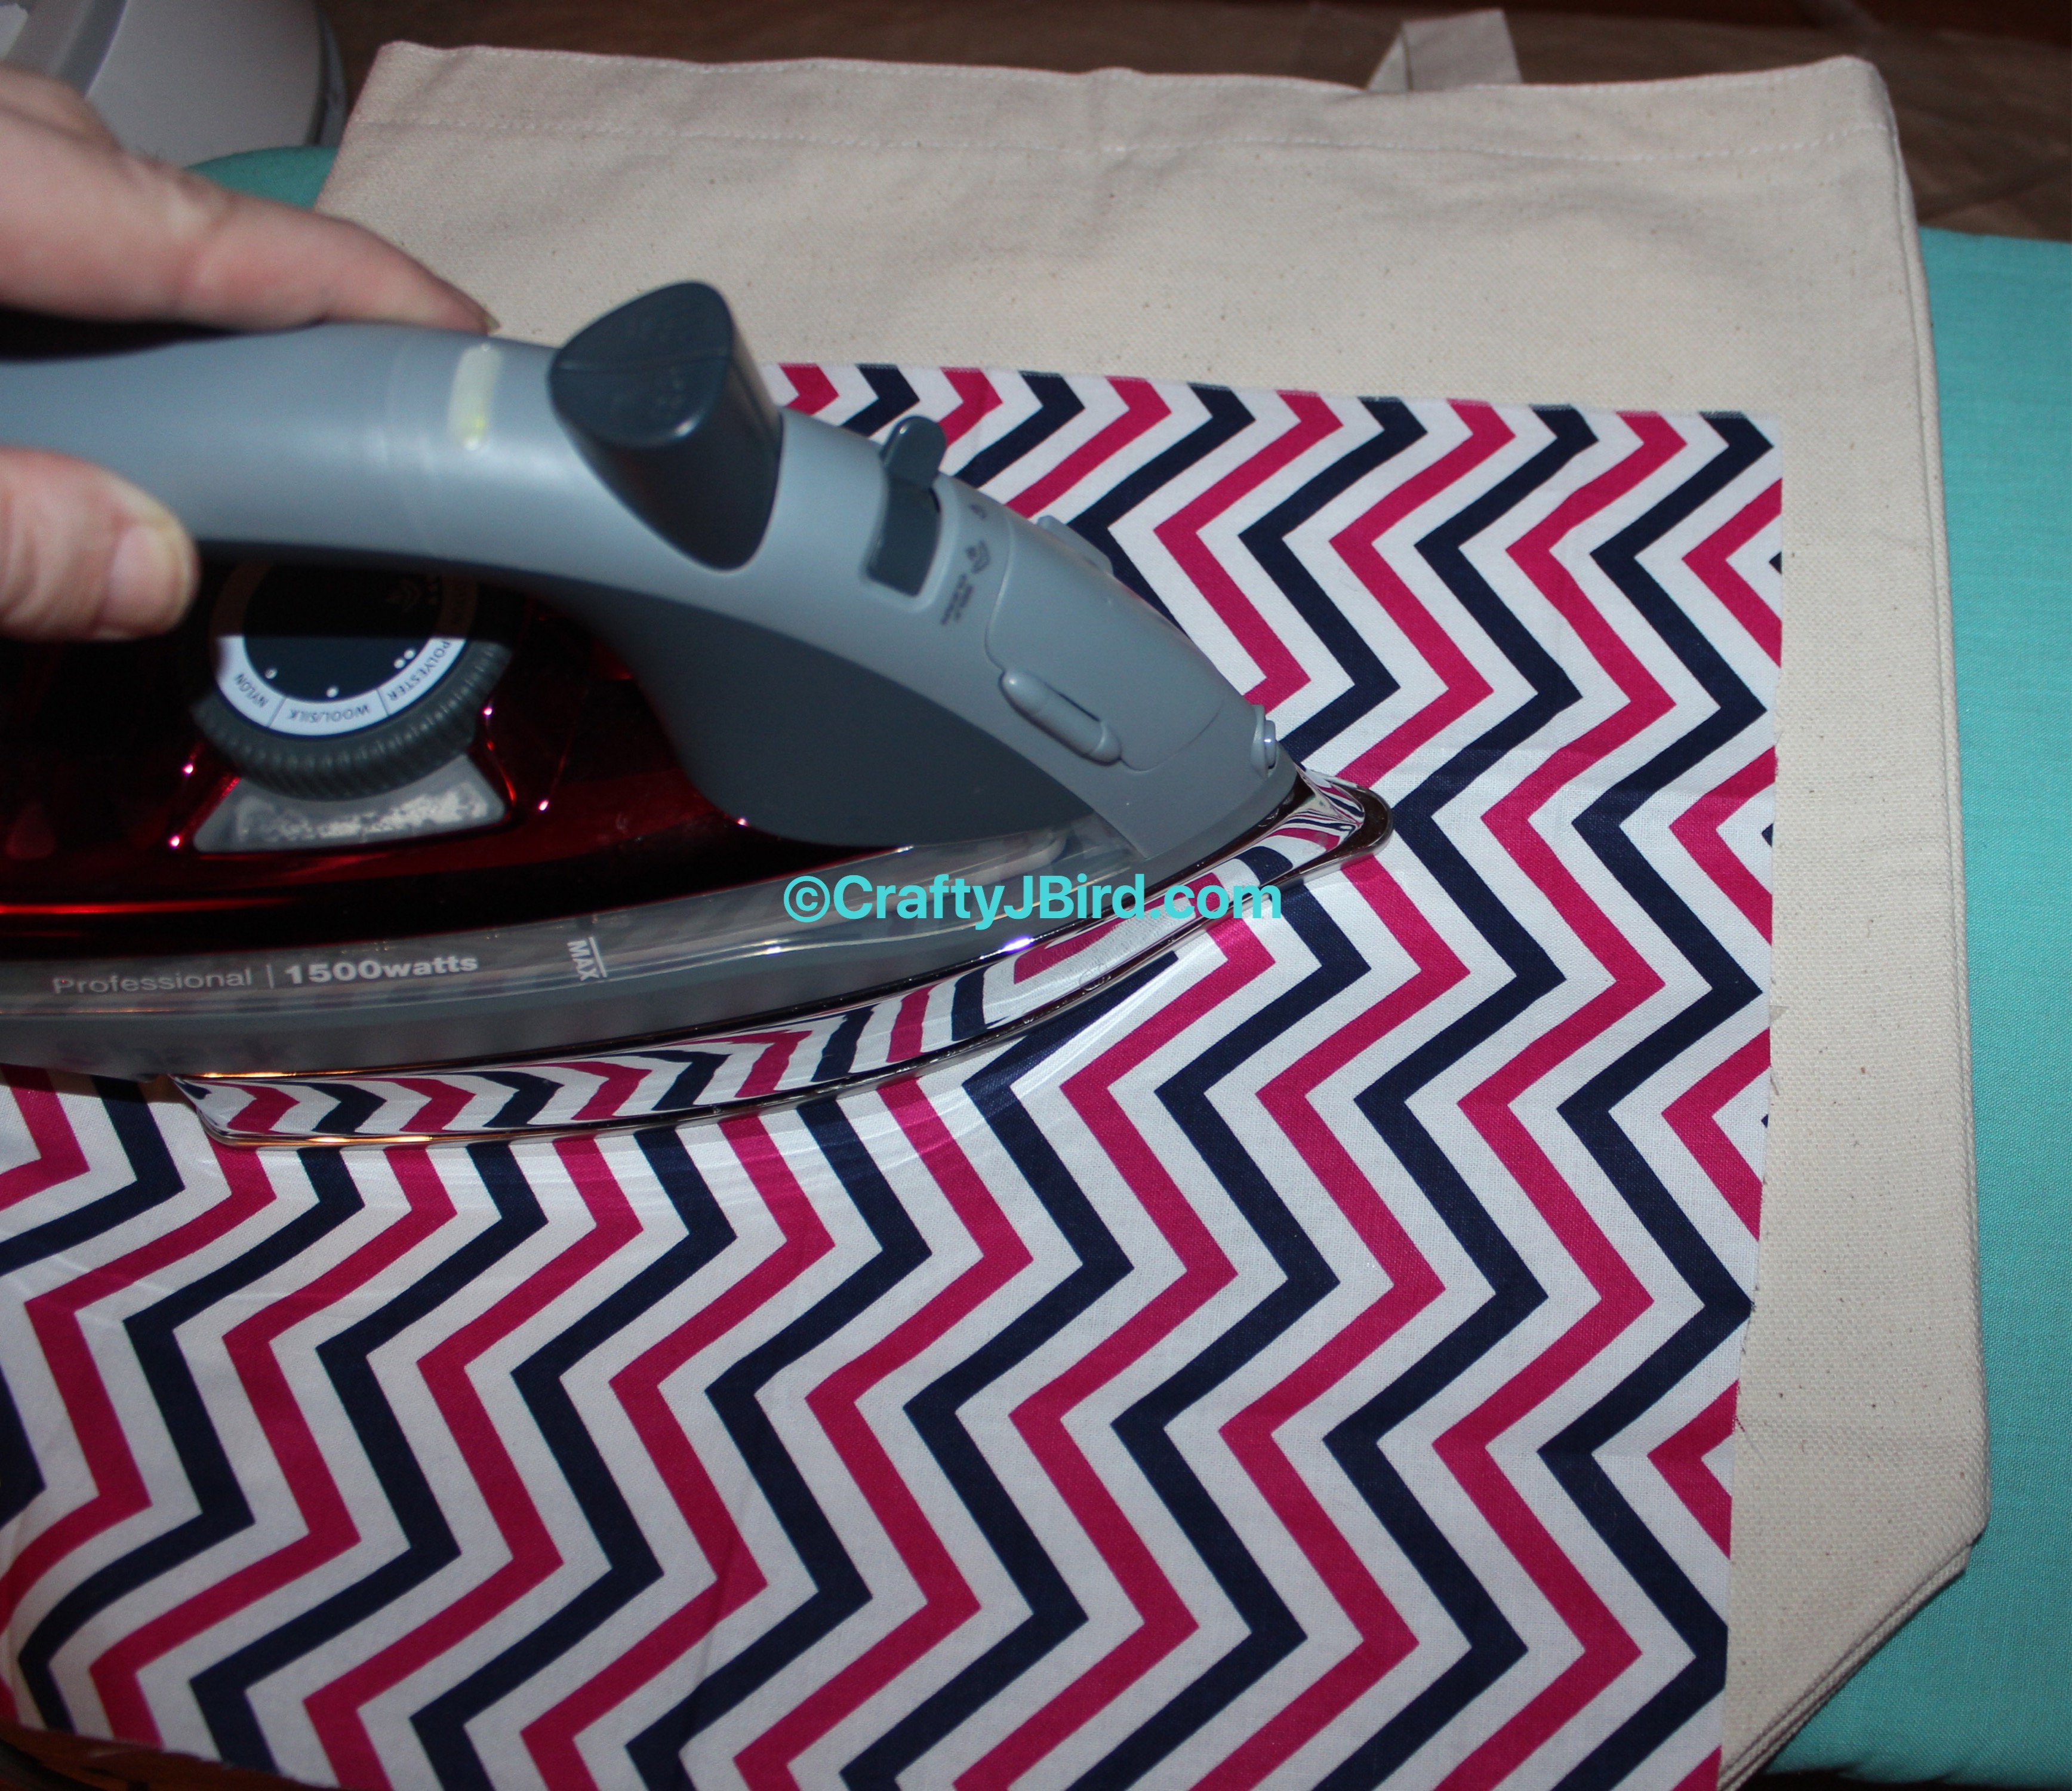
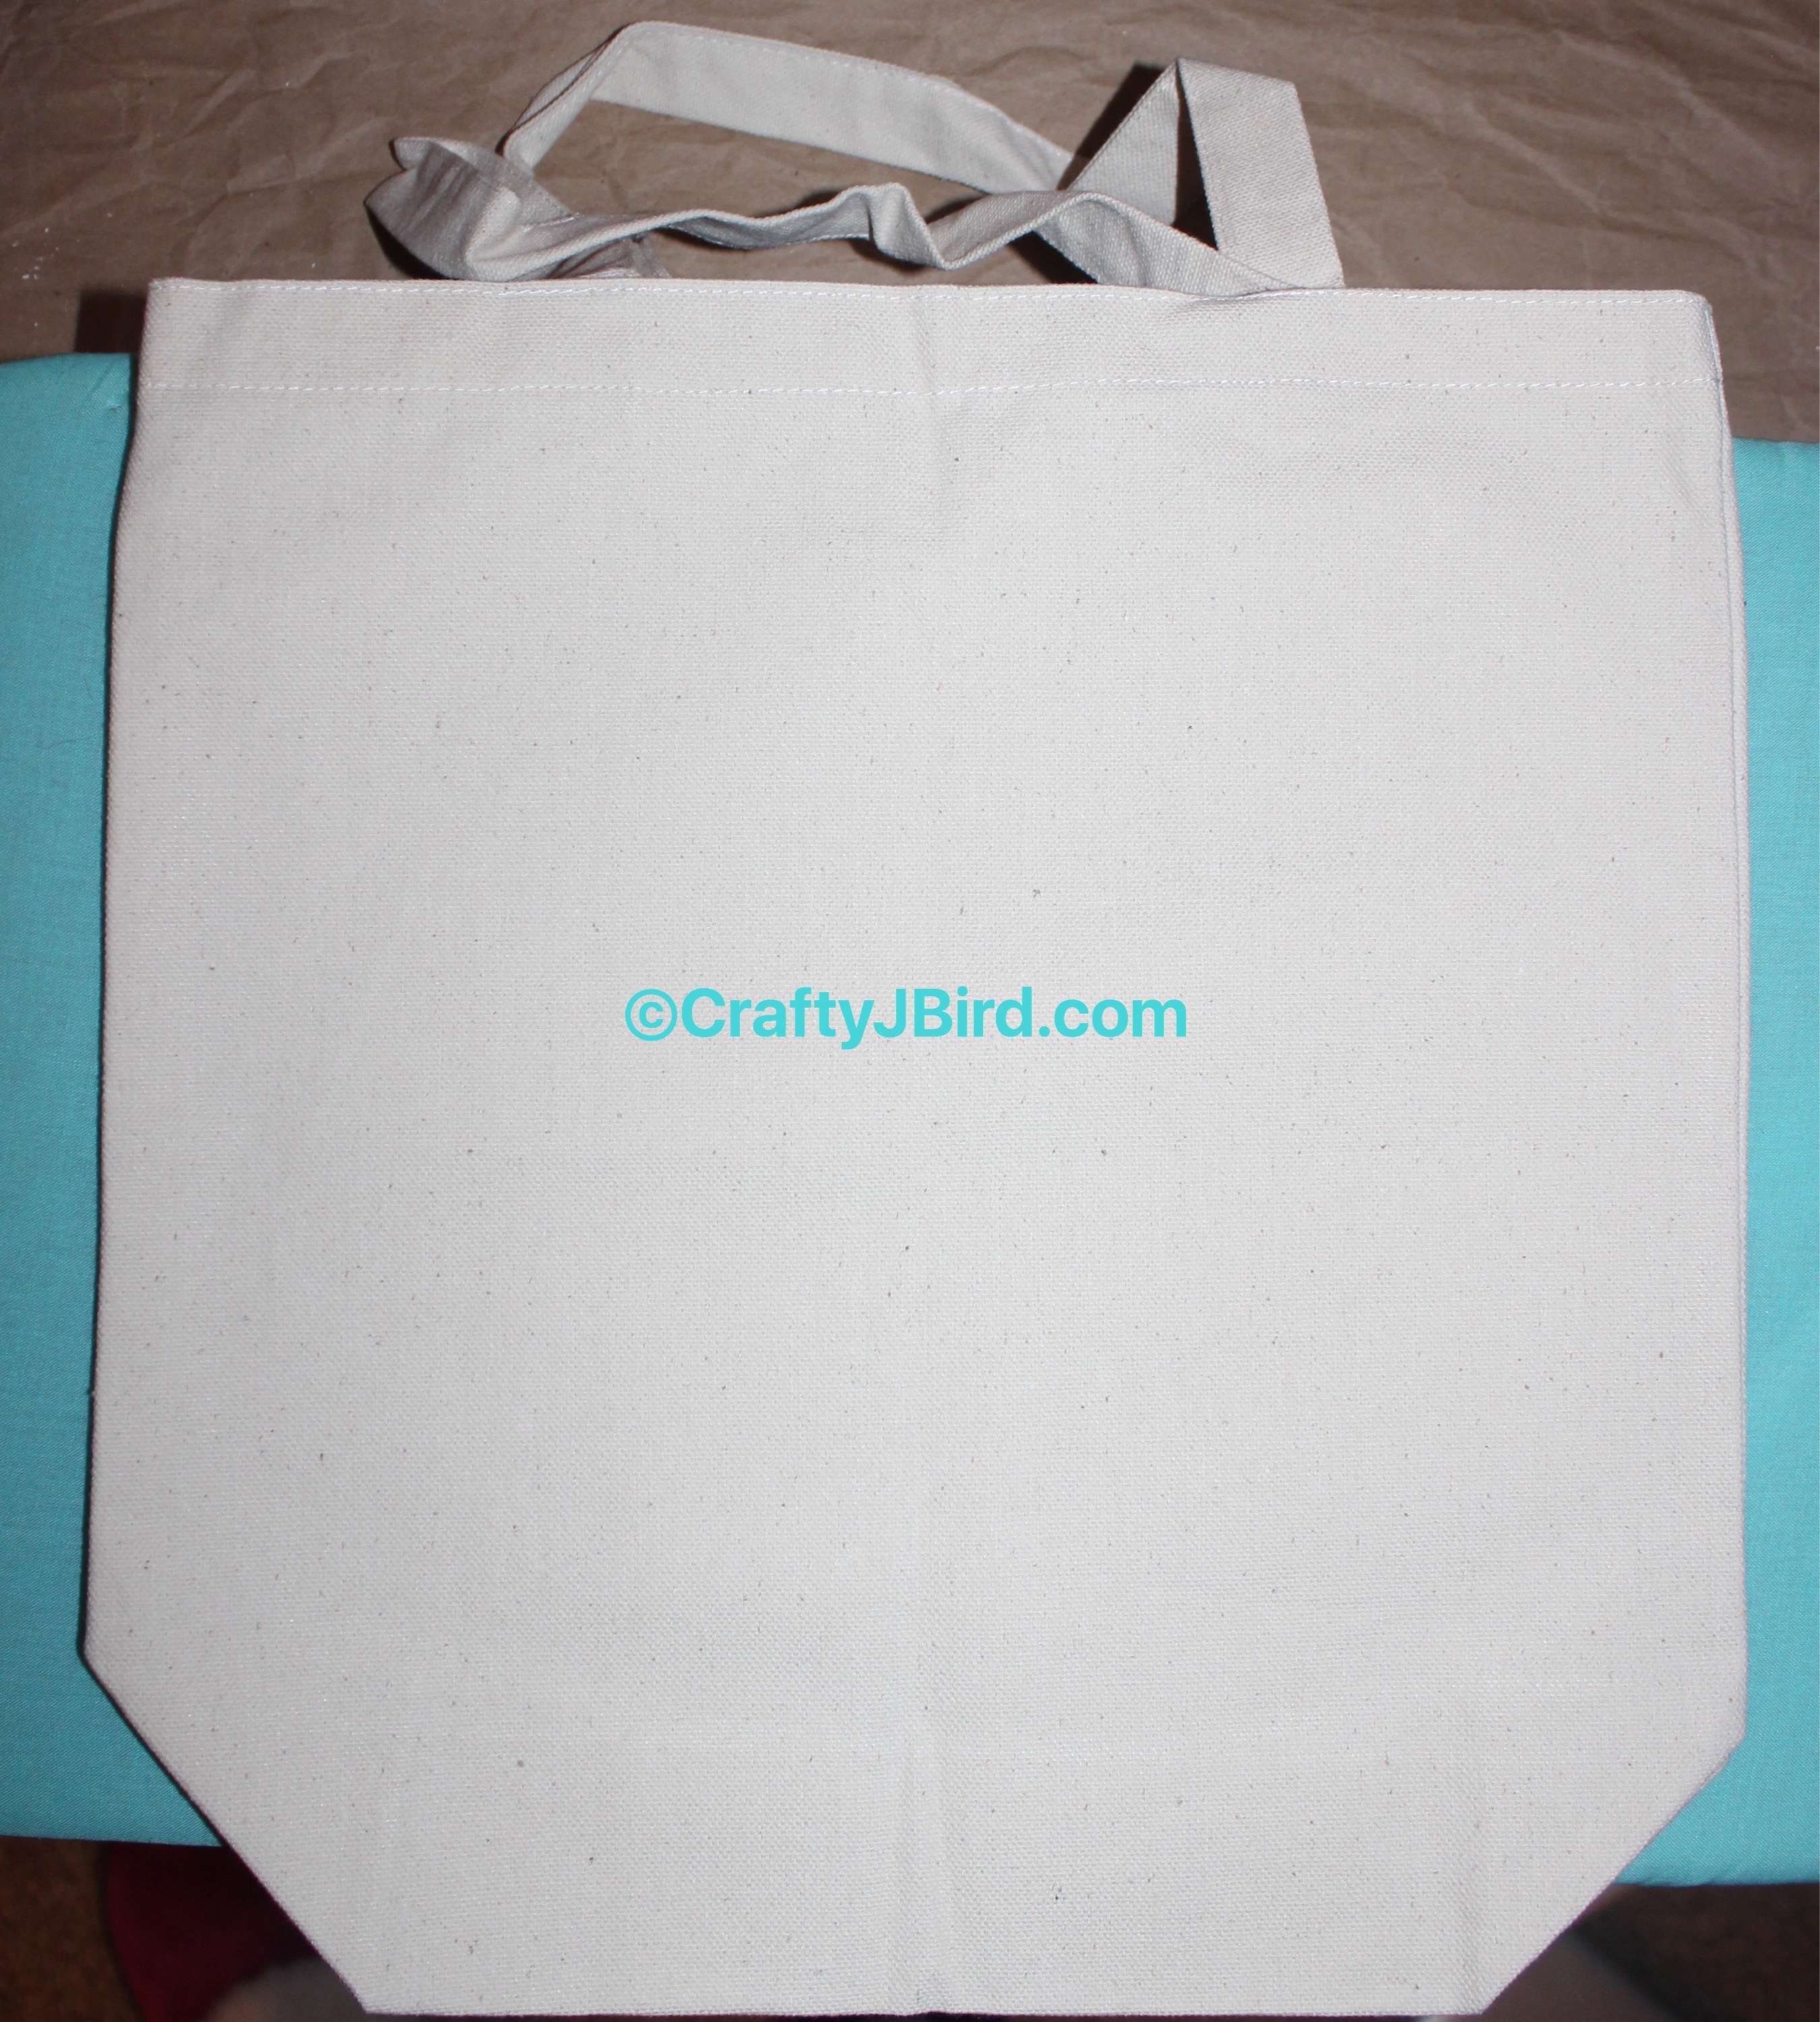 After everything was weeded out I was ready to iron everything into place. First, I ironed the bag I was using to make it as smooth as possible. Then, I placed everything where I thought would be good to go to see how I liked it before ironing it to place.
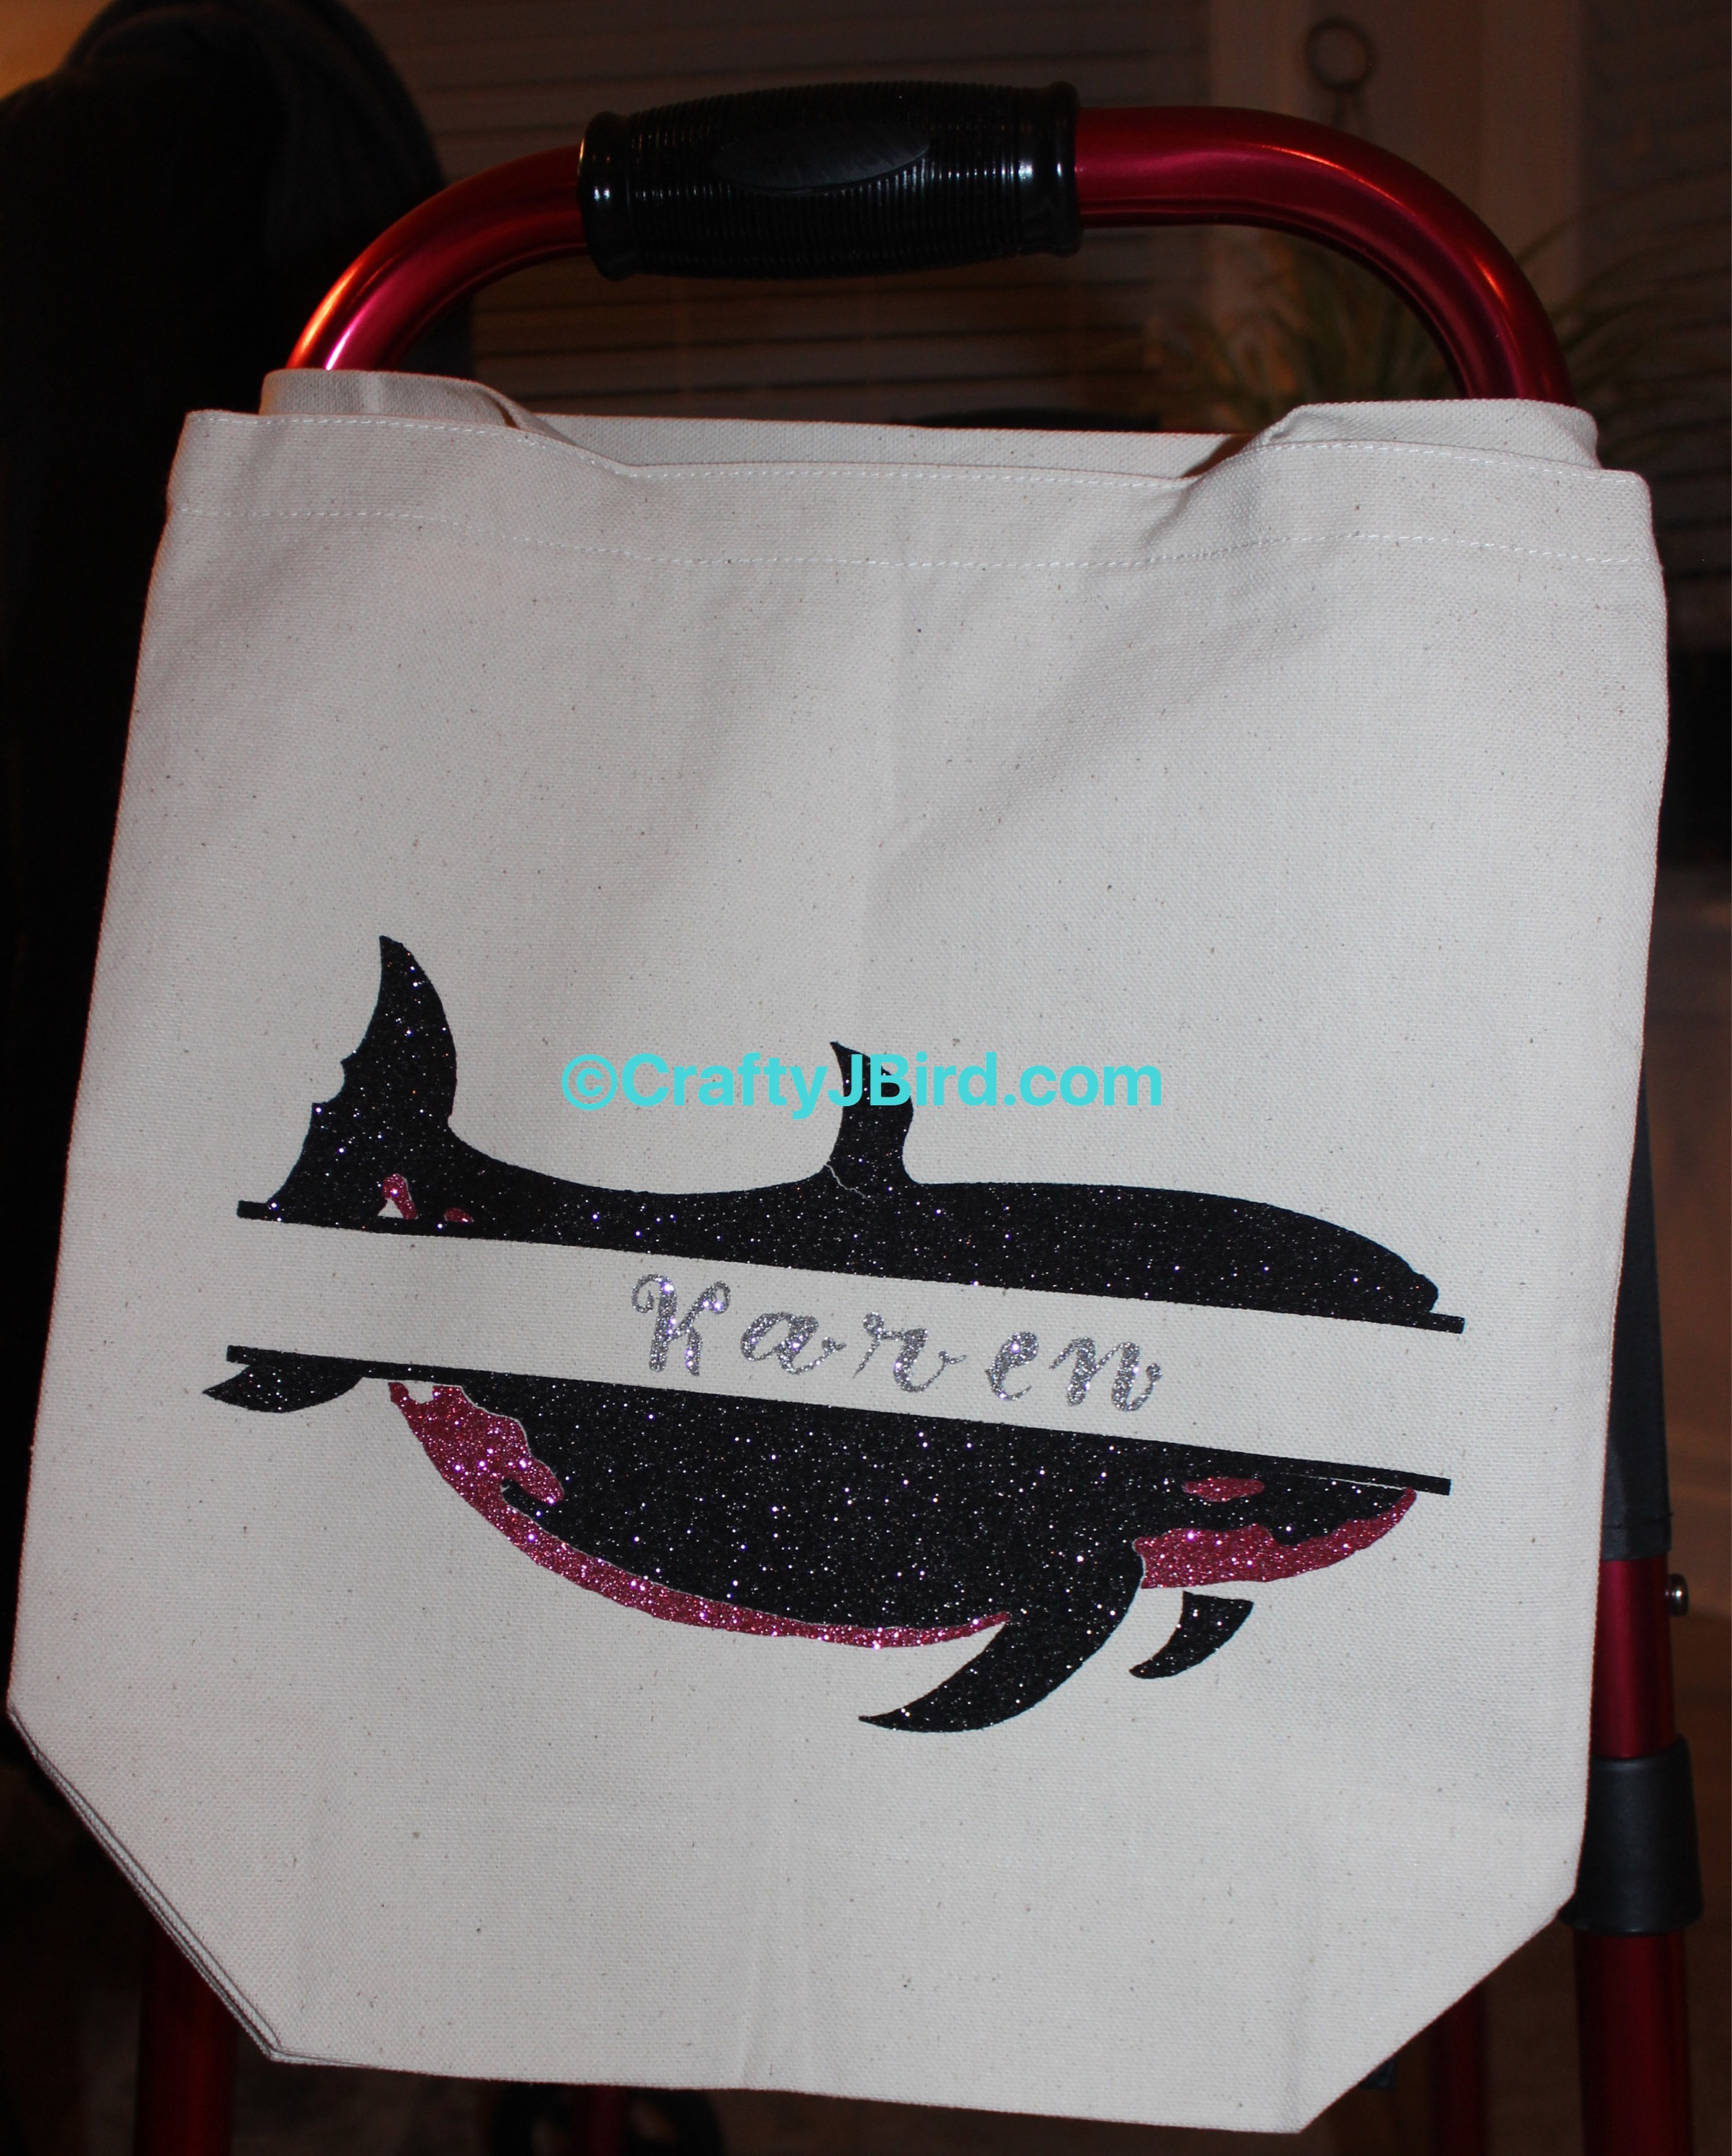
 Once I thought it was good, I carefully ironed on the black pieces first. Then, I ironed on my mom’s name. Finally, I put the white/pink area into it’s place, carefully ironing it on where it was cleared on the bag between the black pieces.
Unfortunately, my back fin managed to get out of place so it’s a bit off. Other than that I think it came out pretty good; though I think it may look a bit better with it being black and white instead of black and pink but I didn’t have any on-hand and didn’t make it to the store.
Let me know what you think! Comment below!
 And there you go! A cute little bag that doesn’t particularly take much time (as long as there is good lighting for the weeding). It took a little longer today too because I started off with drawing my whale out instead of using something already in Cricut Design Space.
Have any questions about today’s Make It Monday project? Please feel free to comment below and I’ll respond back as soon as possible! Thanks for visiting! Hope to see you again!
Crafty JBird