
Happy Monday y’all! Hope everyone is having an awesomeness four-day weekend! For those who aren’t so lucky, I’m sorry. Me? I’m heading back over to the Big D; of course, I’m most likely coming back home tomorrow since I’ve got my exam next week. Anyways, today I thought I would share something I have been very excited about and made before the scrapbook retreat we went on Father’s Day weekend. I didn’t want to share before since I didn’t want those going to see them until we were there. So, let’s get started with my “Retreat Water Bottles…”
**This post contains Affiliate Links**
Things Used:
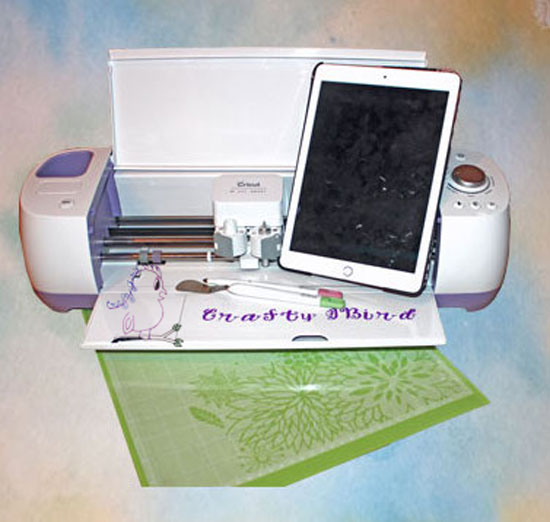
- Cricut Tools and Accessories
- Cricut Design Space
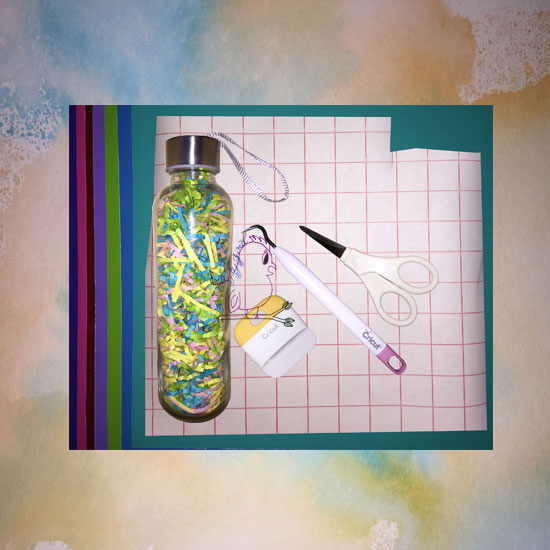
- Seacoast Glass Bottles w/ Carry Loop
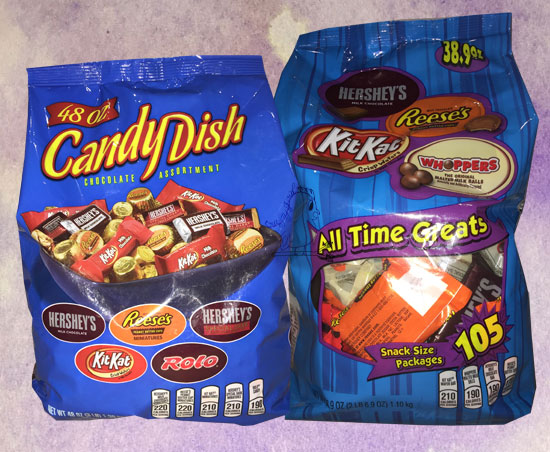
- Candy
- Photoshop Elements 13
- Expressions Vinyl – Tropical Pack 12″x12″ Permanent/Outdoor
- Cricut Explore Air™ Machine
To purchase the products used in this post click on the product you want for the link to Amazon.com.
Step #1:

Step #2:
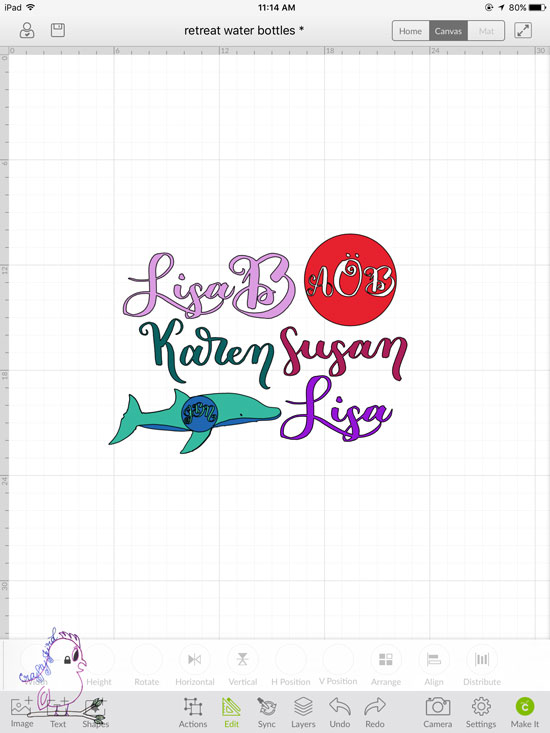
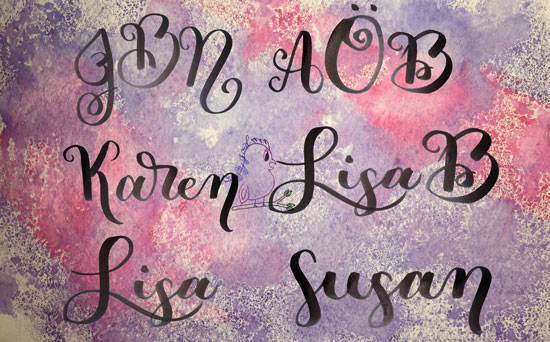
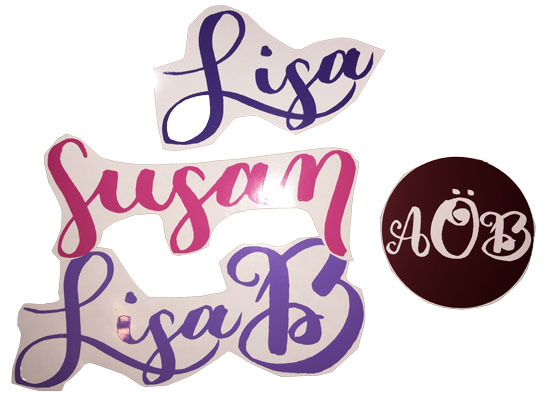
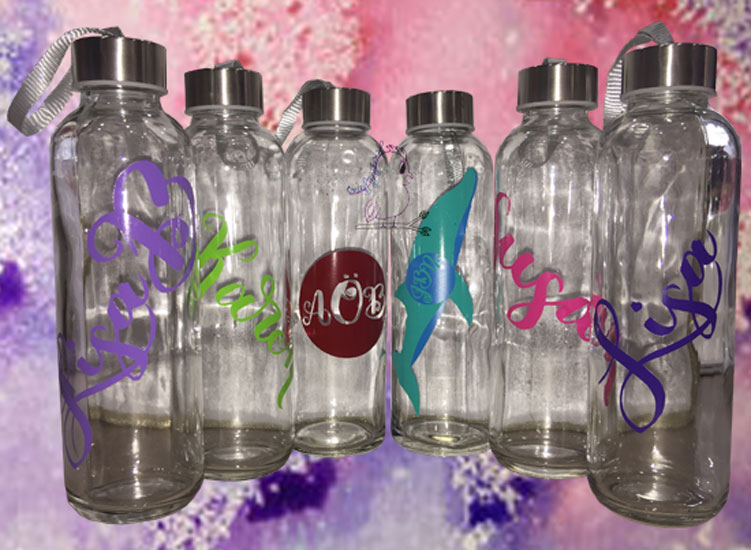
With all my names and initials finished and ready to be uploaded into Cricut Design Space, I got to work. Since I calligraphy out my mom’s, aunt’s, and the two other ladies who joined us, I only had to adjust the sizes accordingly to fit the water bottles. So for my mom’s, Karen, I made it 4.2 by 2.2; my Aunt Lisa’s, 5.8 by 2.2; Susan’s, 5.2 by 2.2; and Lisa’s 3.8 by 2.2.
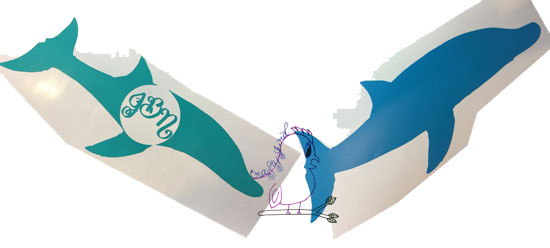
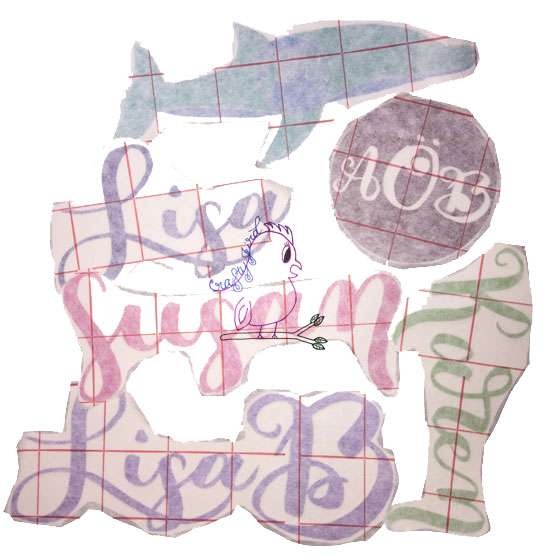
My sister only wanted her initials so I used the ‘slice’ function by adding a circle to the project and placing her initials on top of it. Then, I used the function they have added in the newest version of the Cricut Design Space of being able to center the initials within the circle. Once centered, I clicked the ‘slice’ button and then I was able to have her initials within the circle. After I was finished with creating the initials within the circle I resized the circle to be 2.5 by 2.5.
For my water bottle, I wanted to use my hand-drawn dolphin. To add my initials in a cut out circle I used the same method as I did with my sisters initials. Once I had my initials within my circle, I then placed my circle on the top layer piece of my dolphin and used the ‘slice’ function again, which then gave me my initials within the circle within my hand-drawn dolphin. Satisfied with the way it looked, I resized my dolphin to be 5.9 by 2.2.
Step #3:
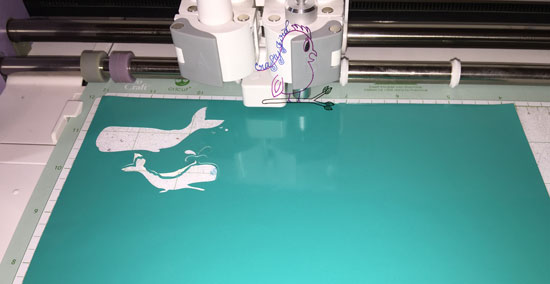
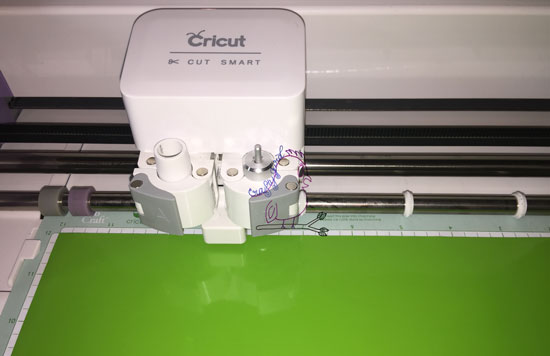

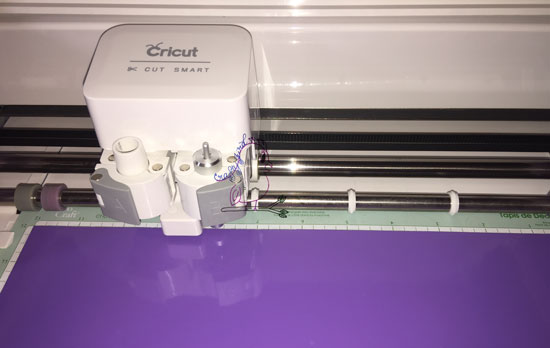
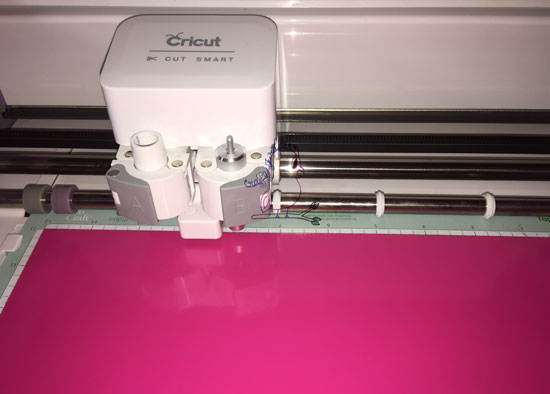


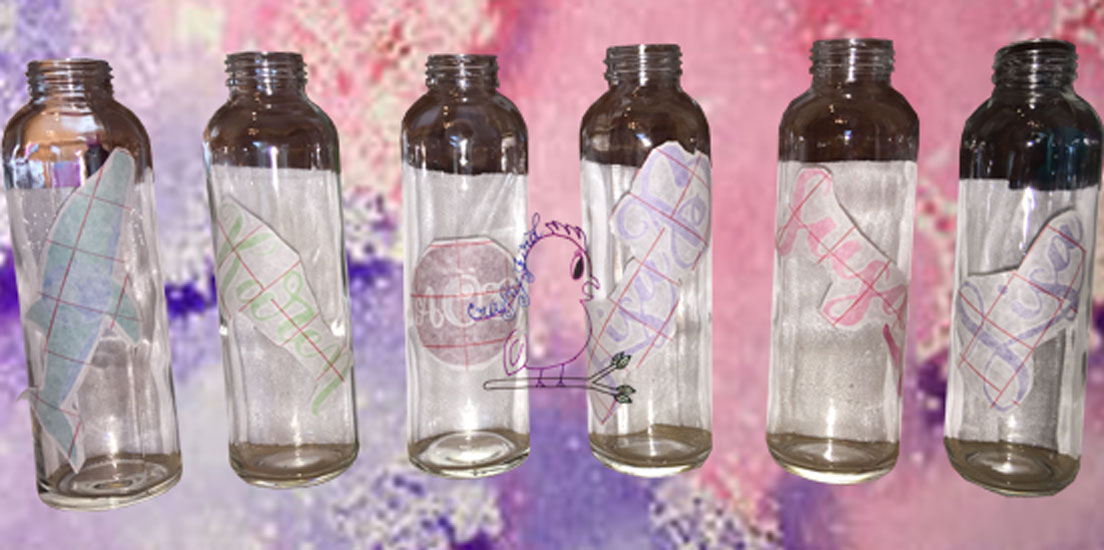
 Once everything was finished cutting out, I carefully weeded the excess pieces. After I was finished weeding, I carefully and slowly added transfer paper to each design. I then used my yellow scraper tool to make sure the transfer paper was stuck well on each design while also making sure there weren’t any bubbles that would cause any issues once I placed them each on their bottles.
Step #4:
Step #5:
Step #6:
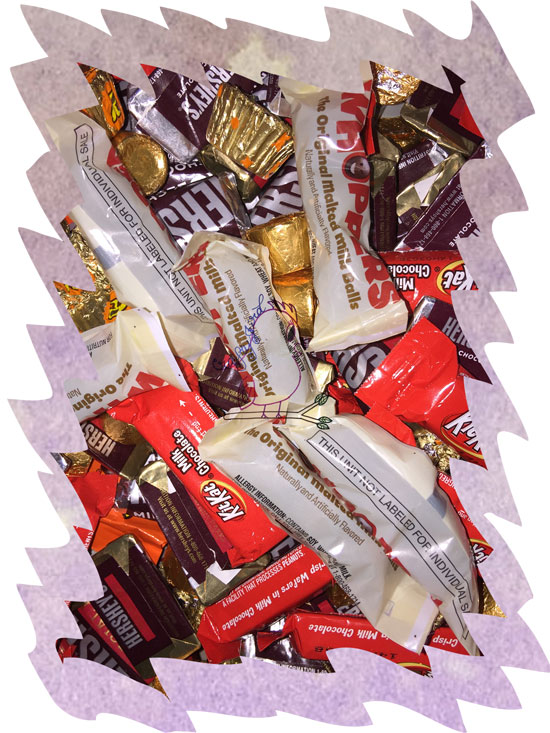
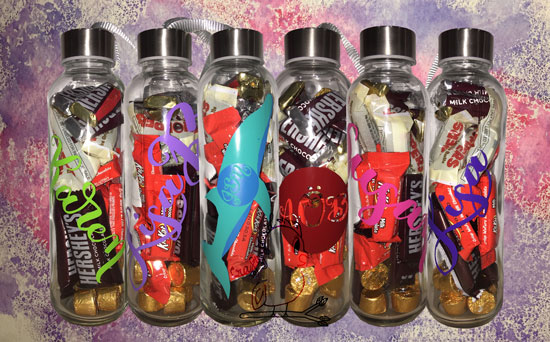
Finally, once we arrived at the scrapbooking retreat with it being so hot and not wanting it to melt, I filled each water bottle with candy. YUM!
There you go! A fun way to give out cute gifts for anyone and/or any event. I certainly cannot wait to make more in the future. Hope you enjoyed!
*Be sure to stay tuned and/or sign up for email so you never miss a post! I’ve got more of what I did to these water bottles!*
Need an awesome getaway place to go to make all your creative ideas? Visit Memory Lane Inn! I absolutely love going to this place!
Have any questions about today’s “Make It Monday” “Retreat Water Bottles” post? Please feel free to comment below. Thanks for visiting! Hope to see you again!
Crafty JBird
**This post contains Affiliate Links**