
Oh Scrap It Friday….
Why are you here already?! Yes, I am sad it’s already but only because it’s another day closer to me leaving my beach. Which also means another day closer to the scrapbook retreat my mom and I are attending being over. On a good note, it will be on day closer to us being in New Orleans! Certainly cannot be 45 minutes away and not have some yummy beignets! Anyway, since yesterday was my best friends birthday, I thought I would put together a double page to place a few pictures of us from over the years. We have been my best friends forever, as in since preschool. Let’s get started!…
Best Friends Forever
Things Used:
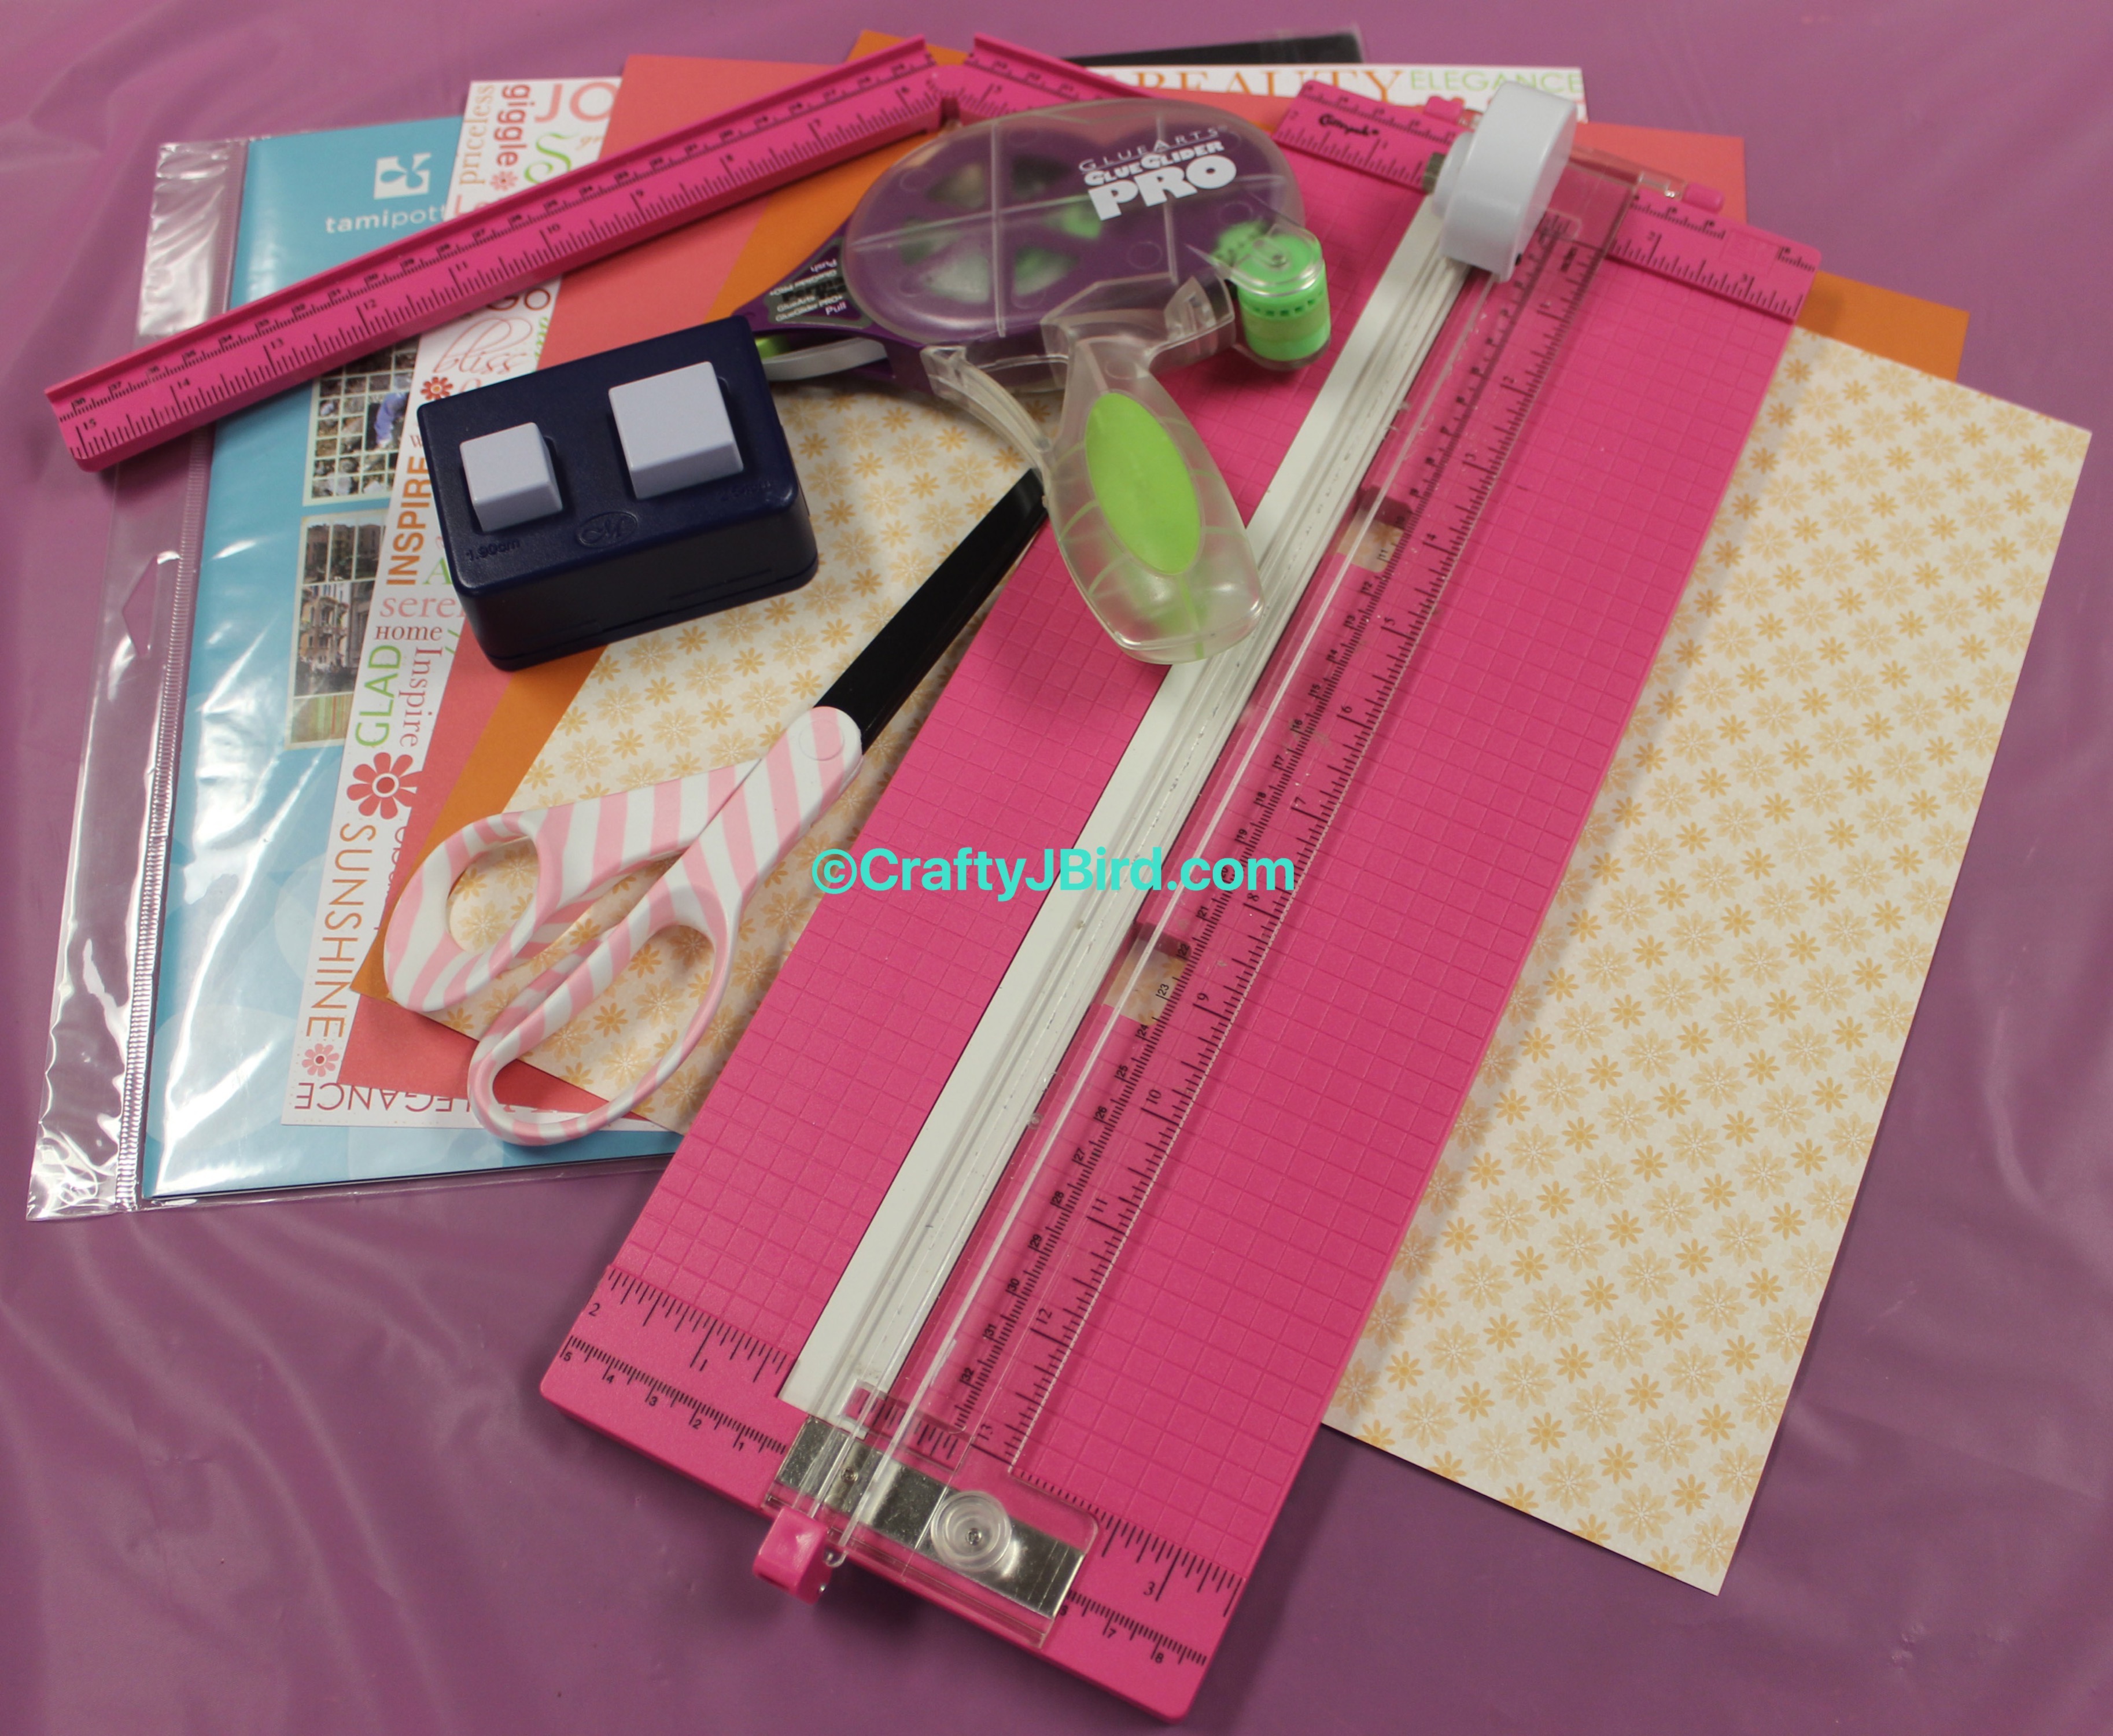
- Creative Memories 1 inch square maker
- Mosaic Moments White Grid Paper
- Close To My Heart Cardstock and Pattern Paper
- Close To My Heart Ribbon
- Scissors
- Paper Trimmer
- Adhesive
Step #1:
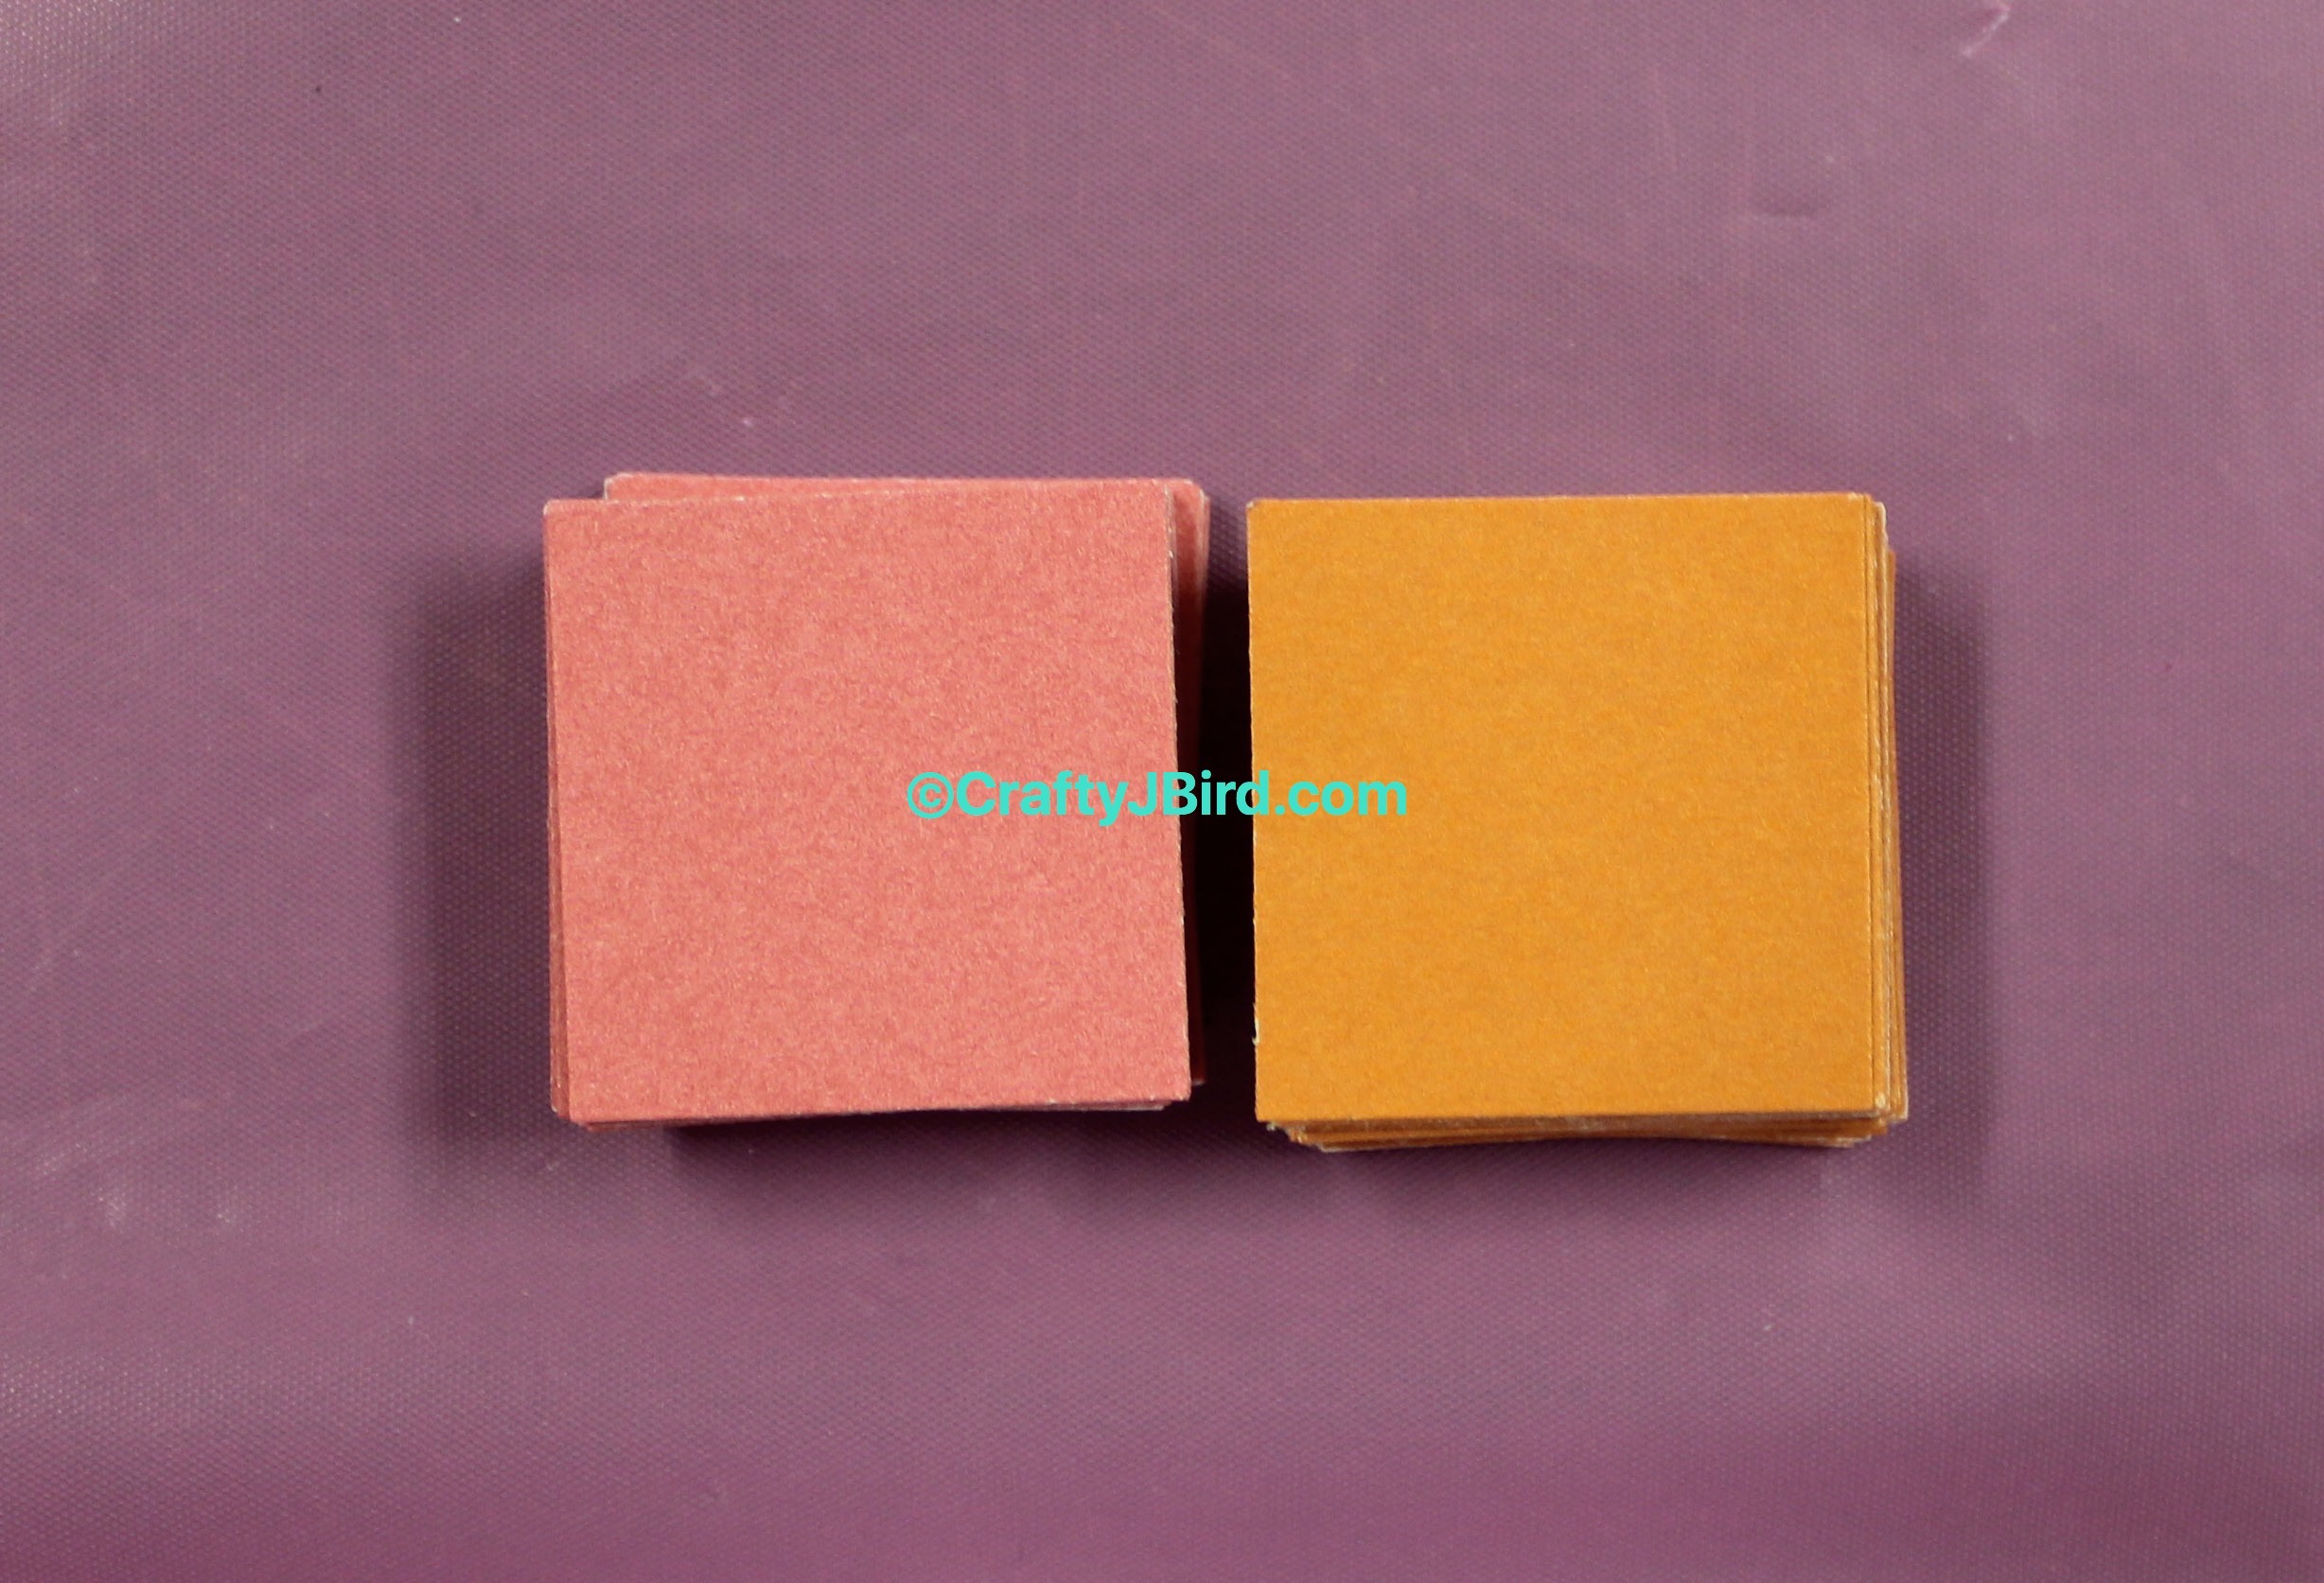
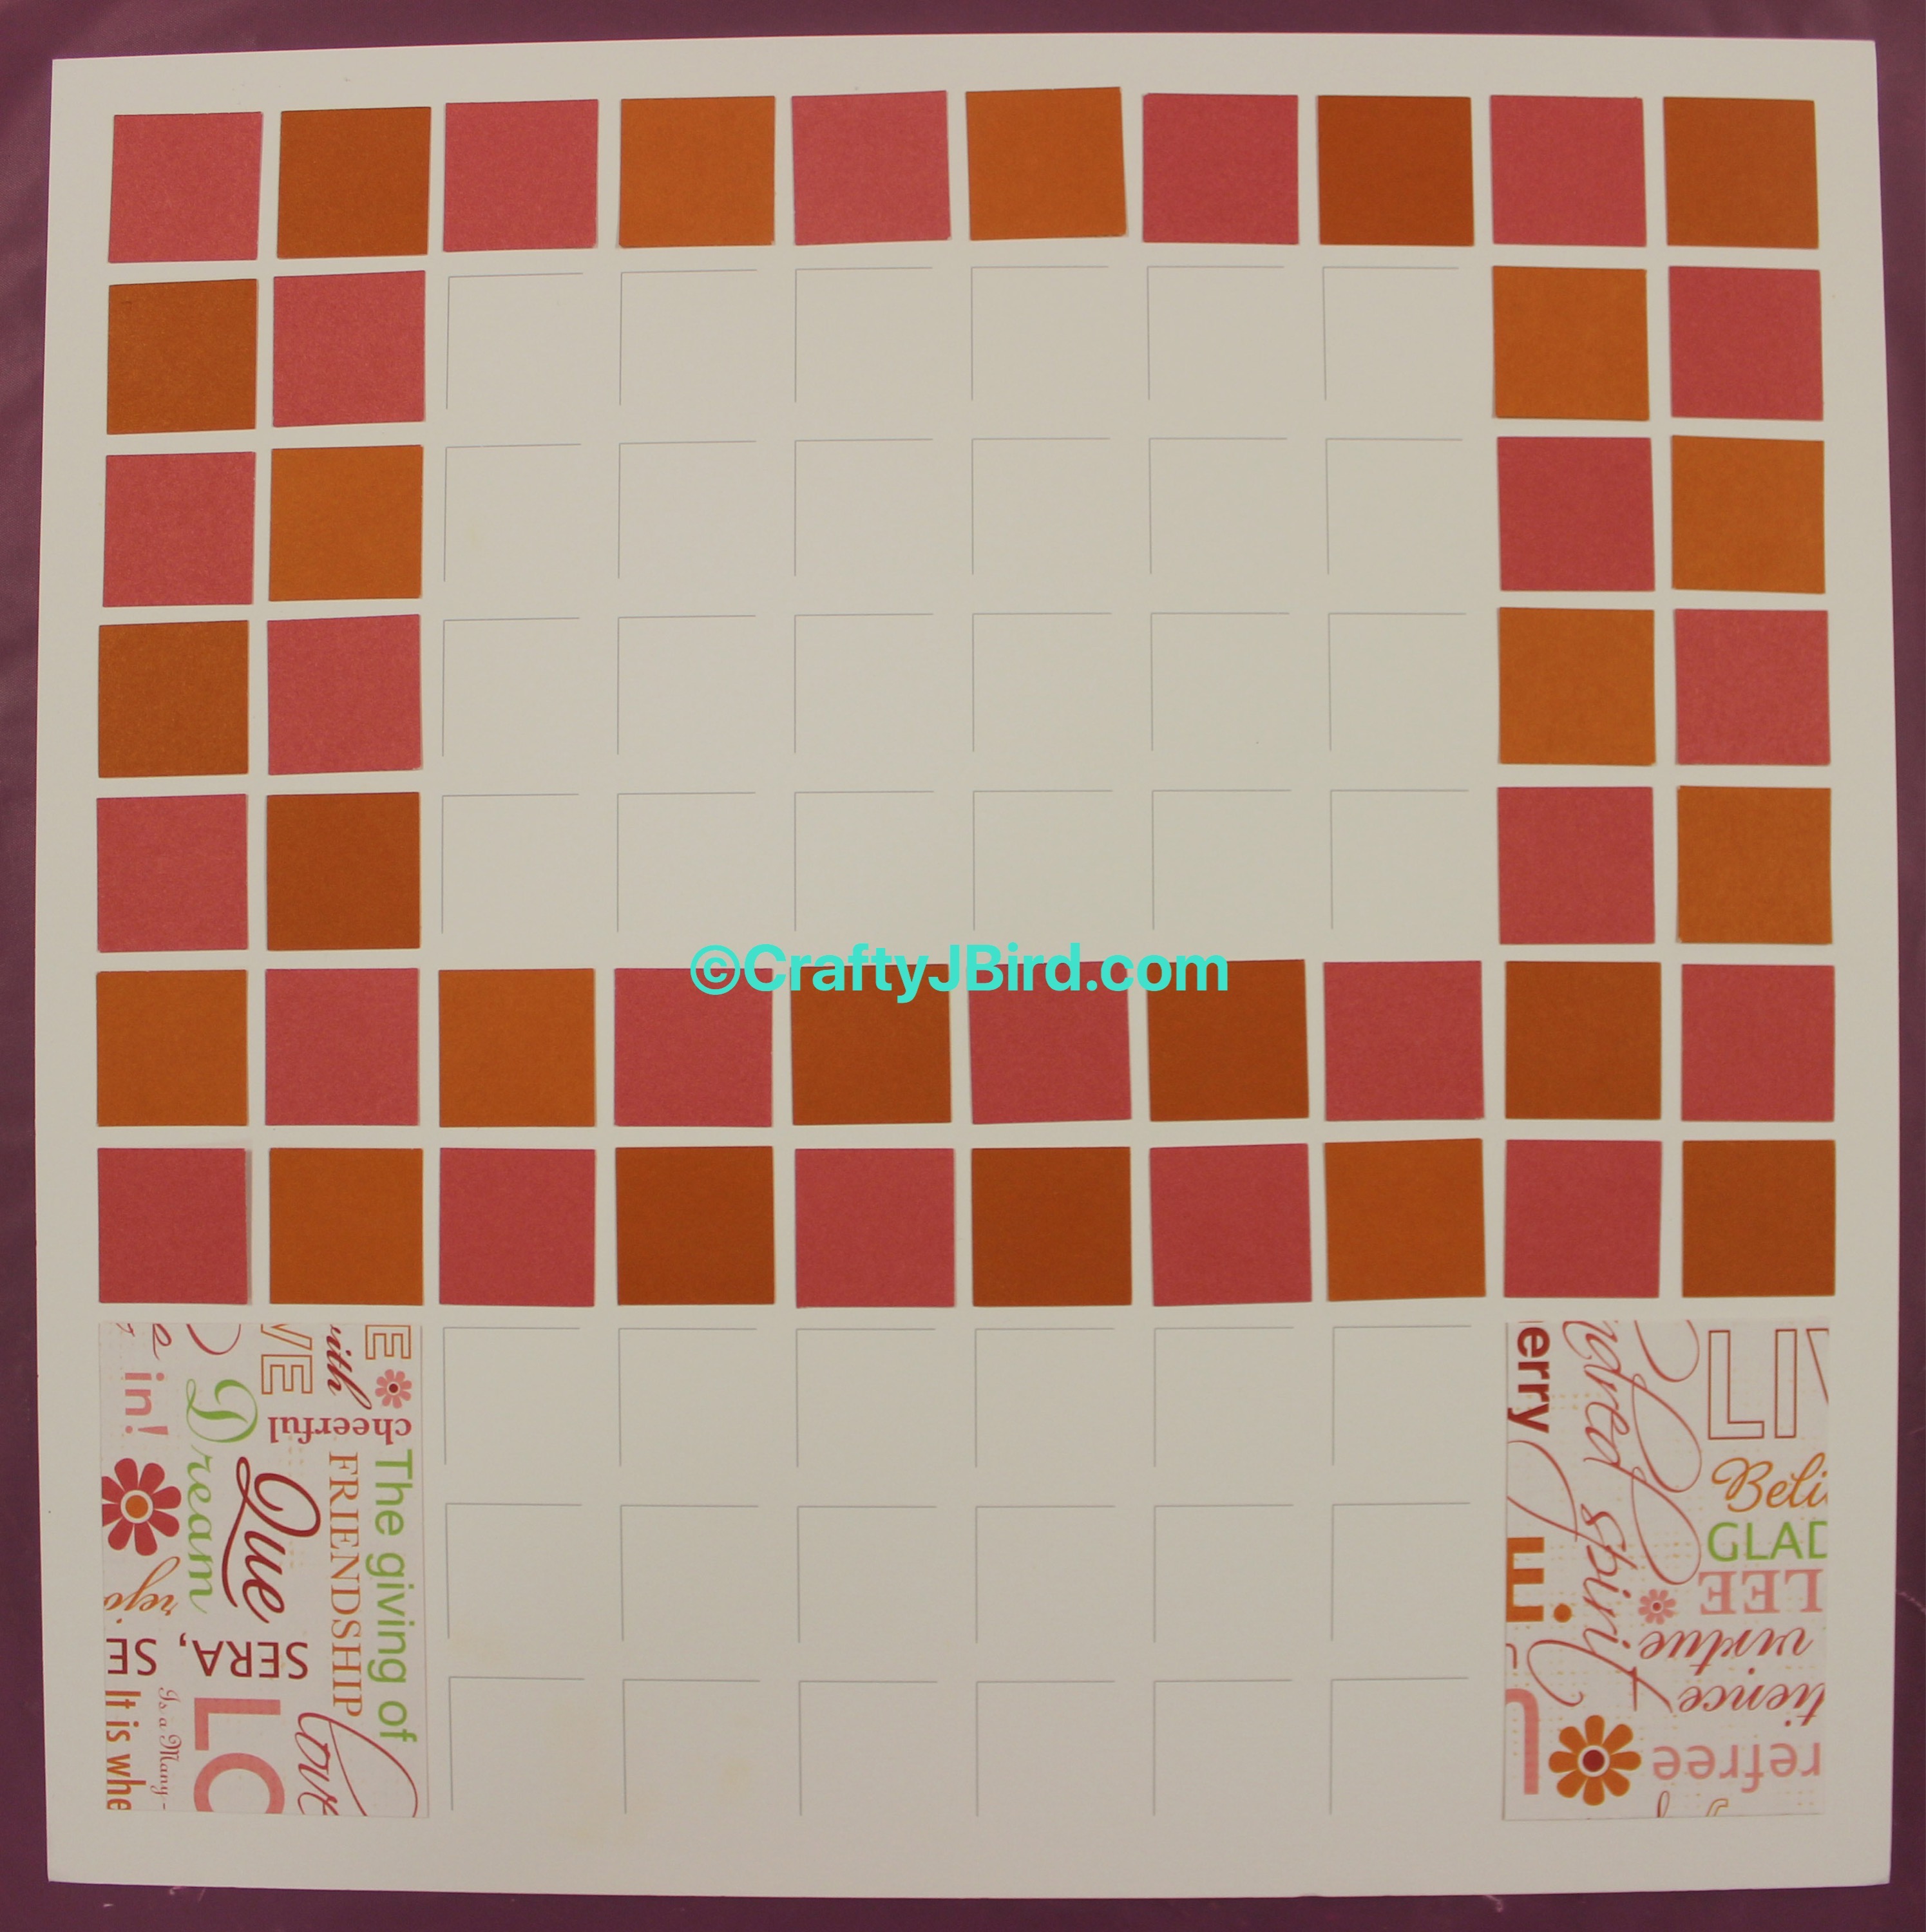
Using my Creative Memories 1 inch square maker, I punched out a 34 squares making it a total of 68 to go on the two pages. The pinkish color on the left, is Close To My Hearts Hollyhock color. The one on the right is I believe their Autumn Terracotta color. Click here for a quick video of me punch the squares out.
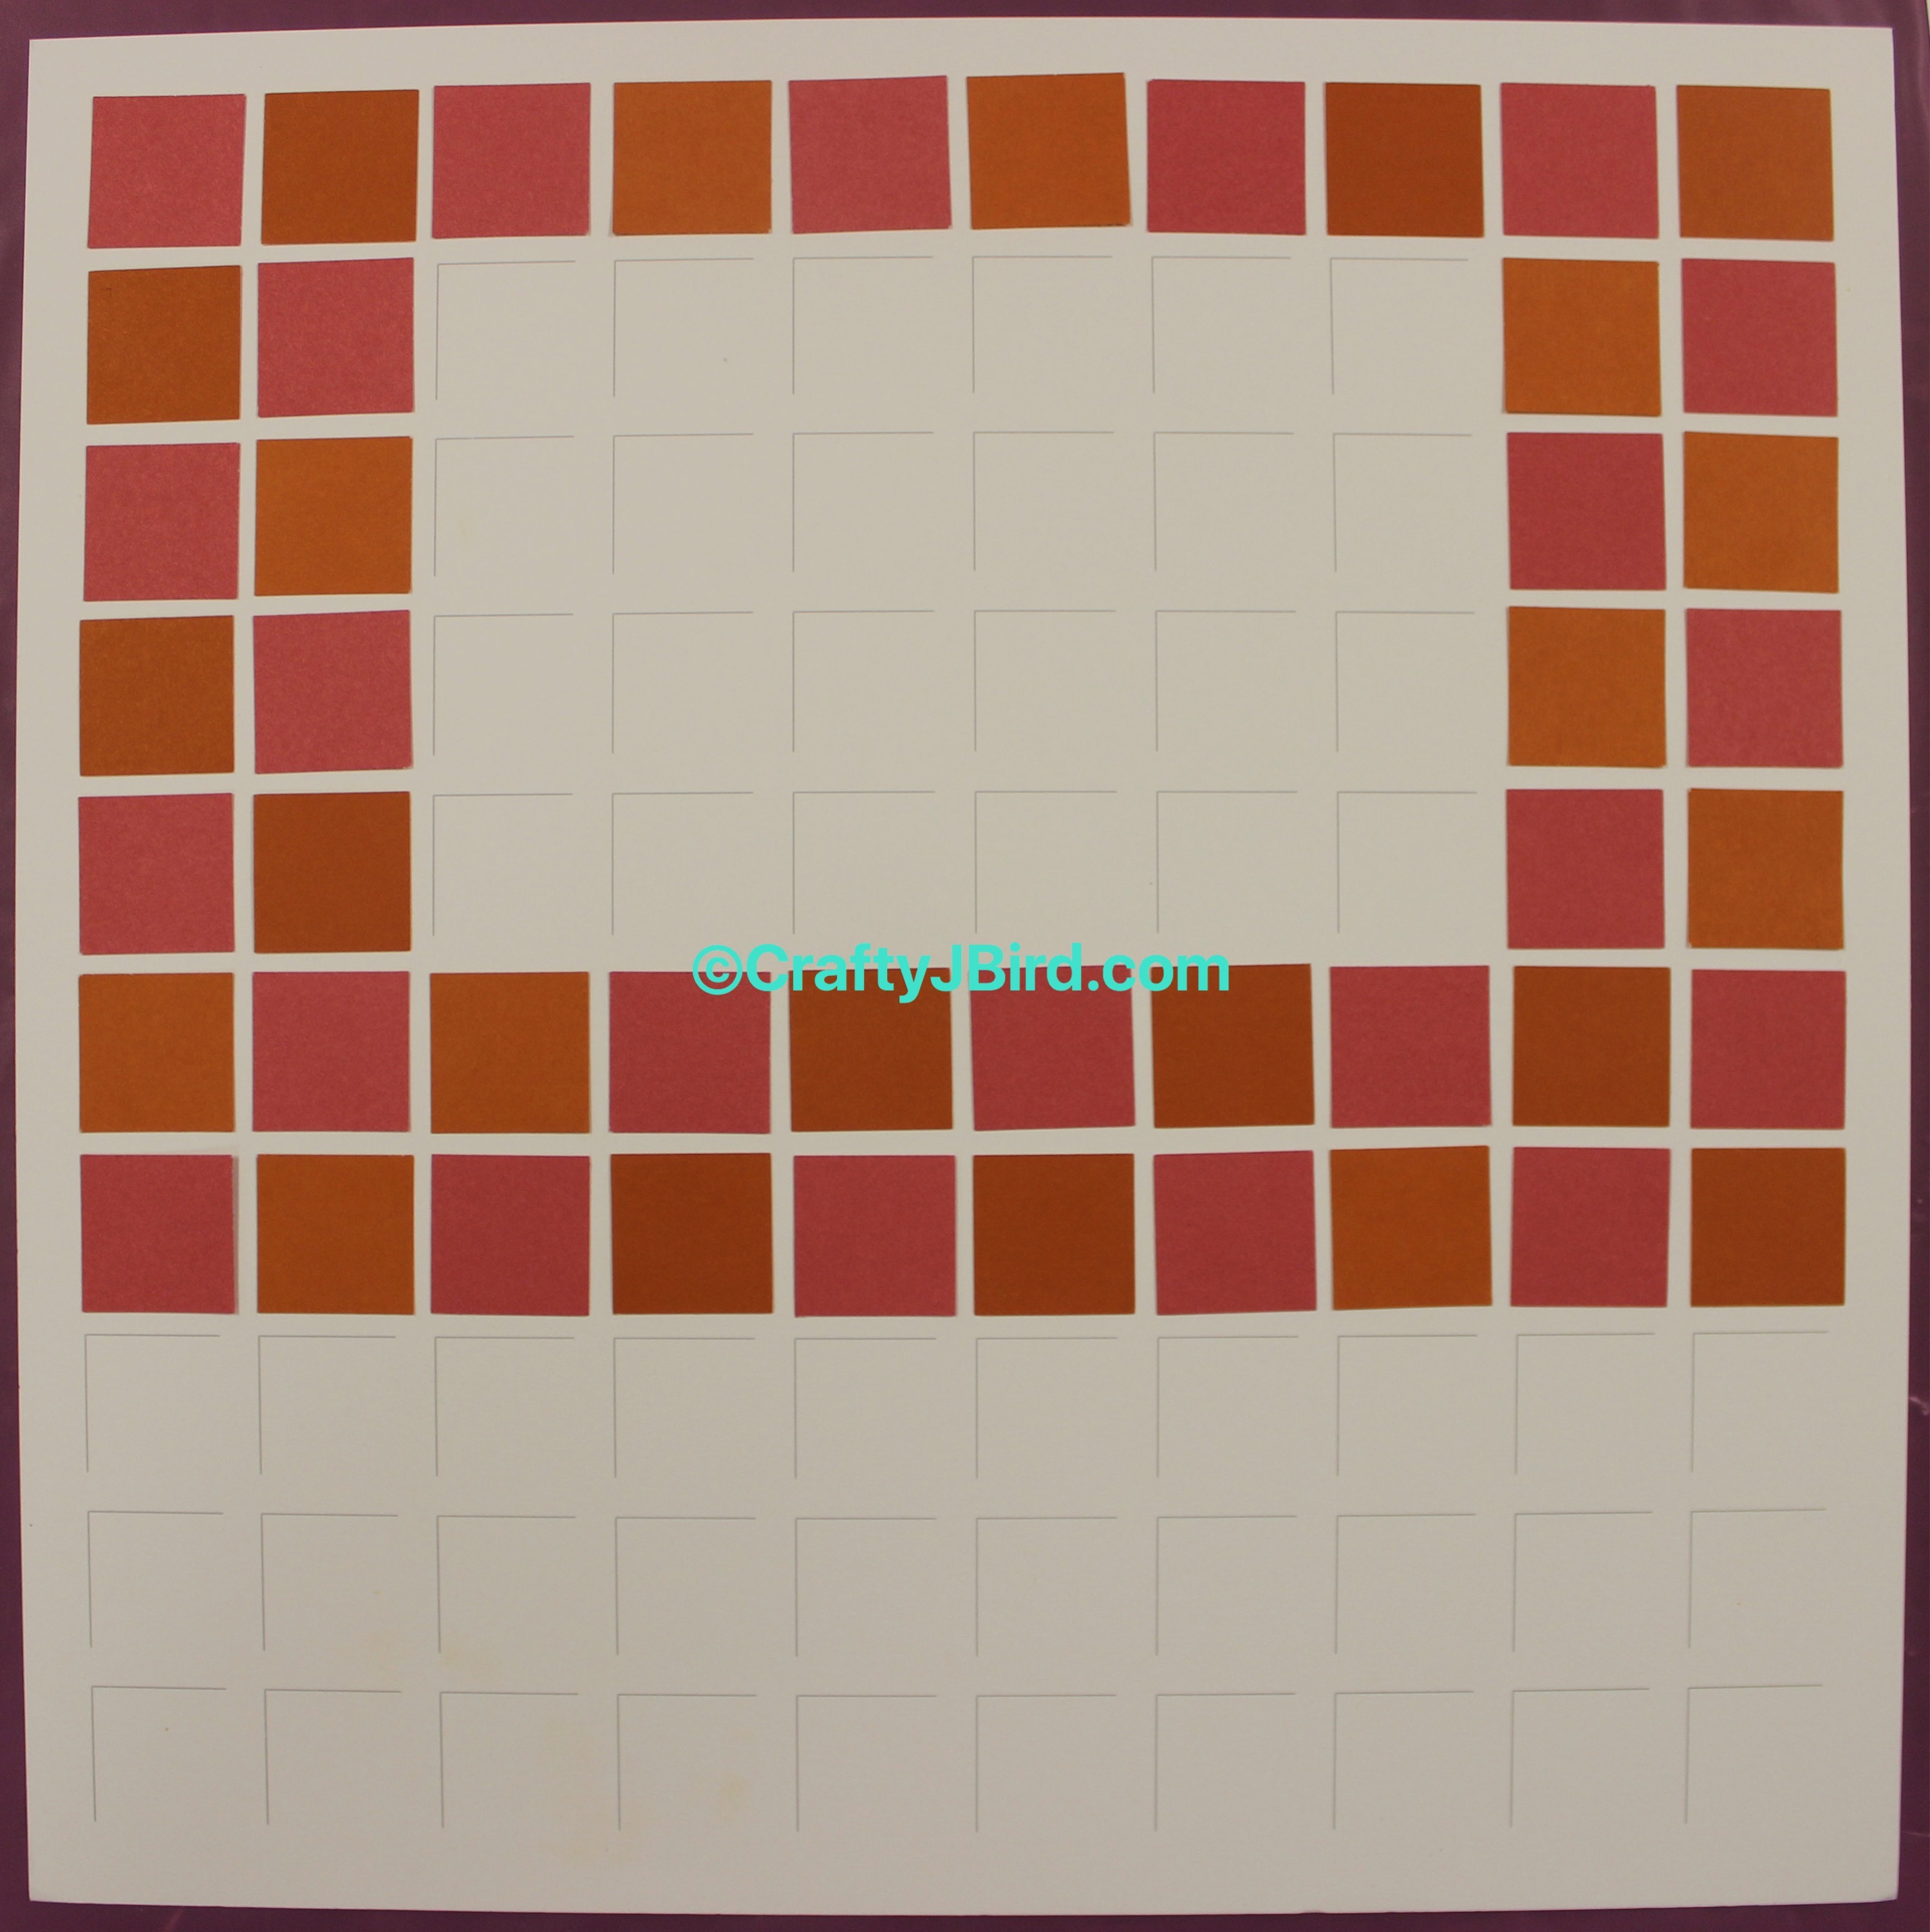
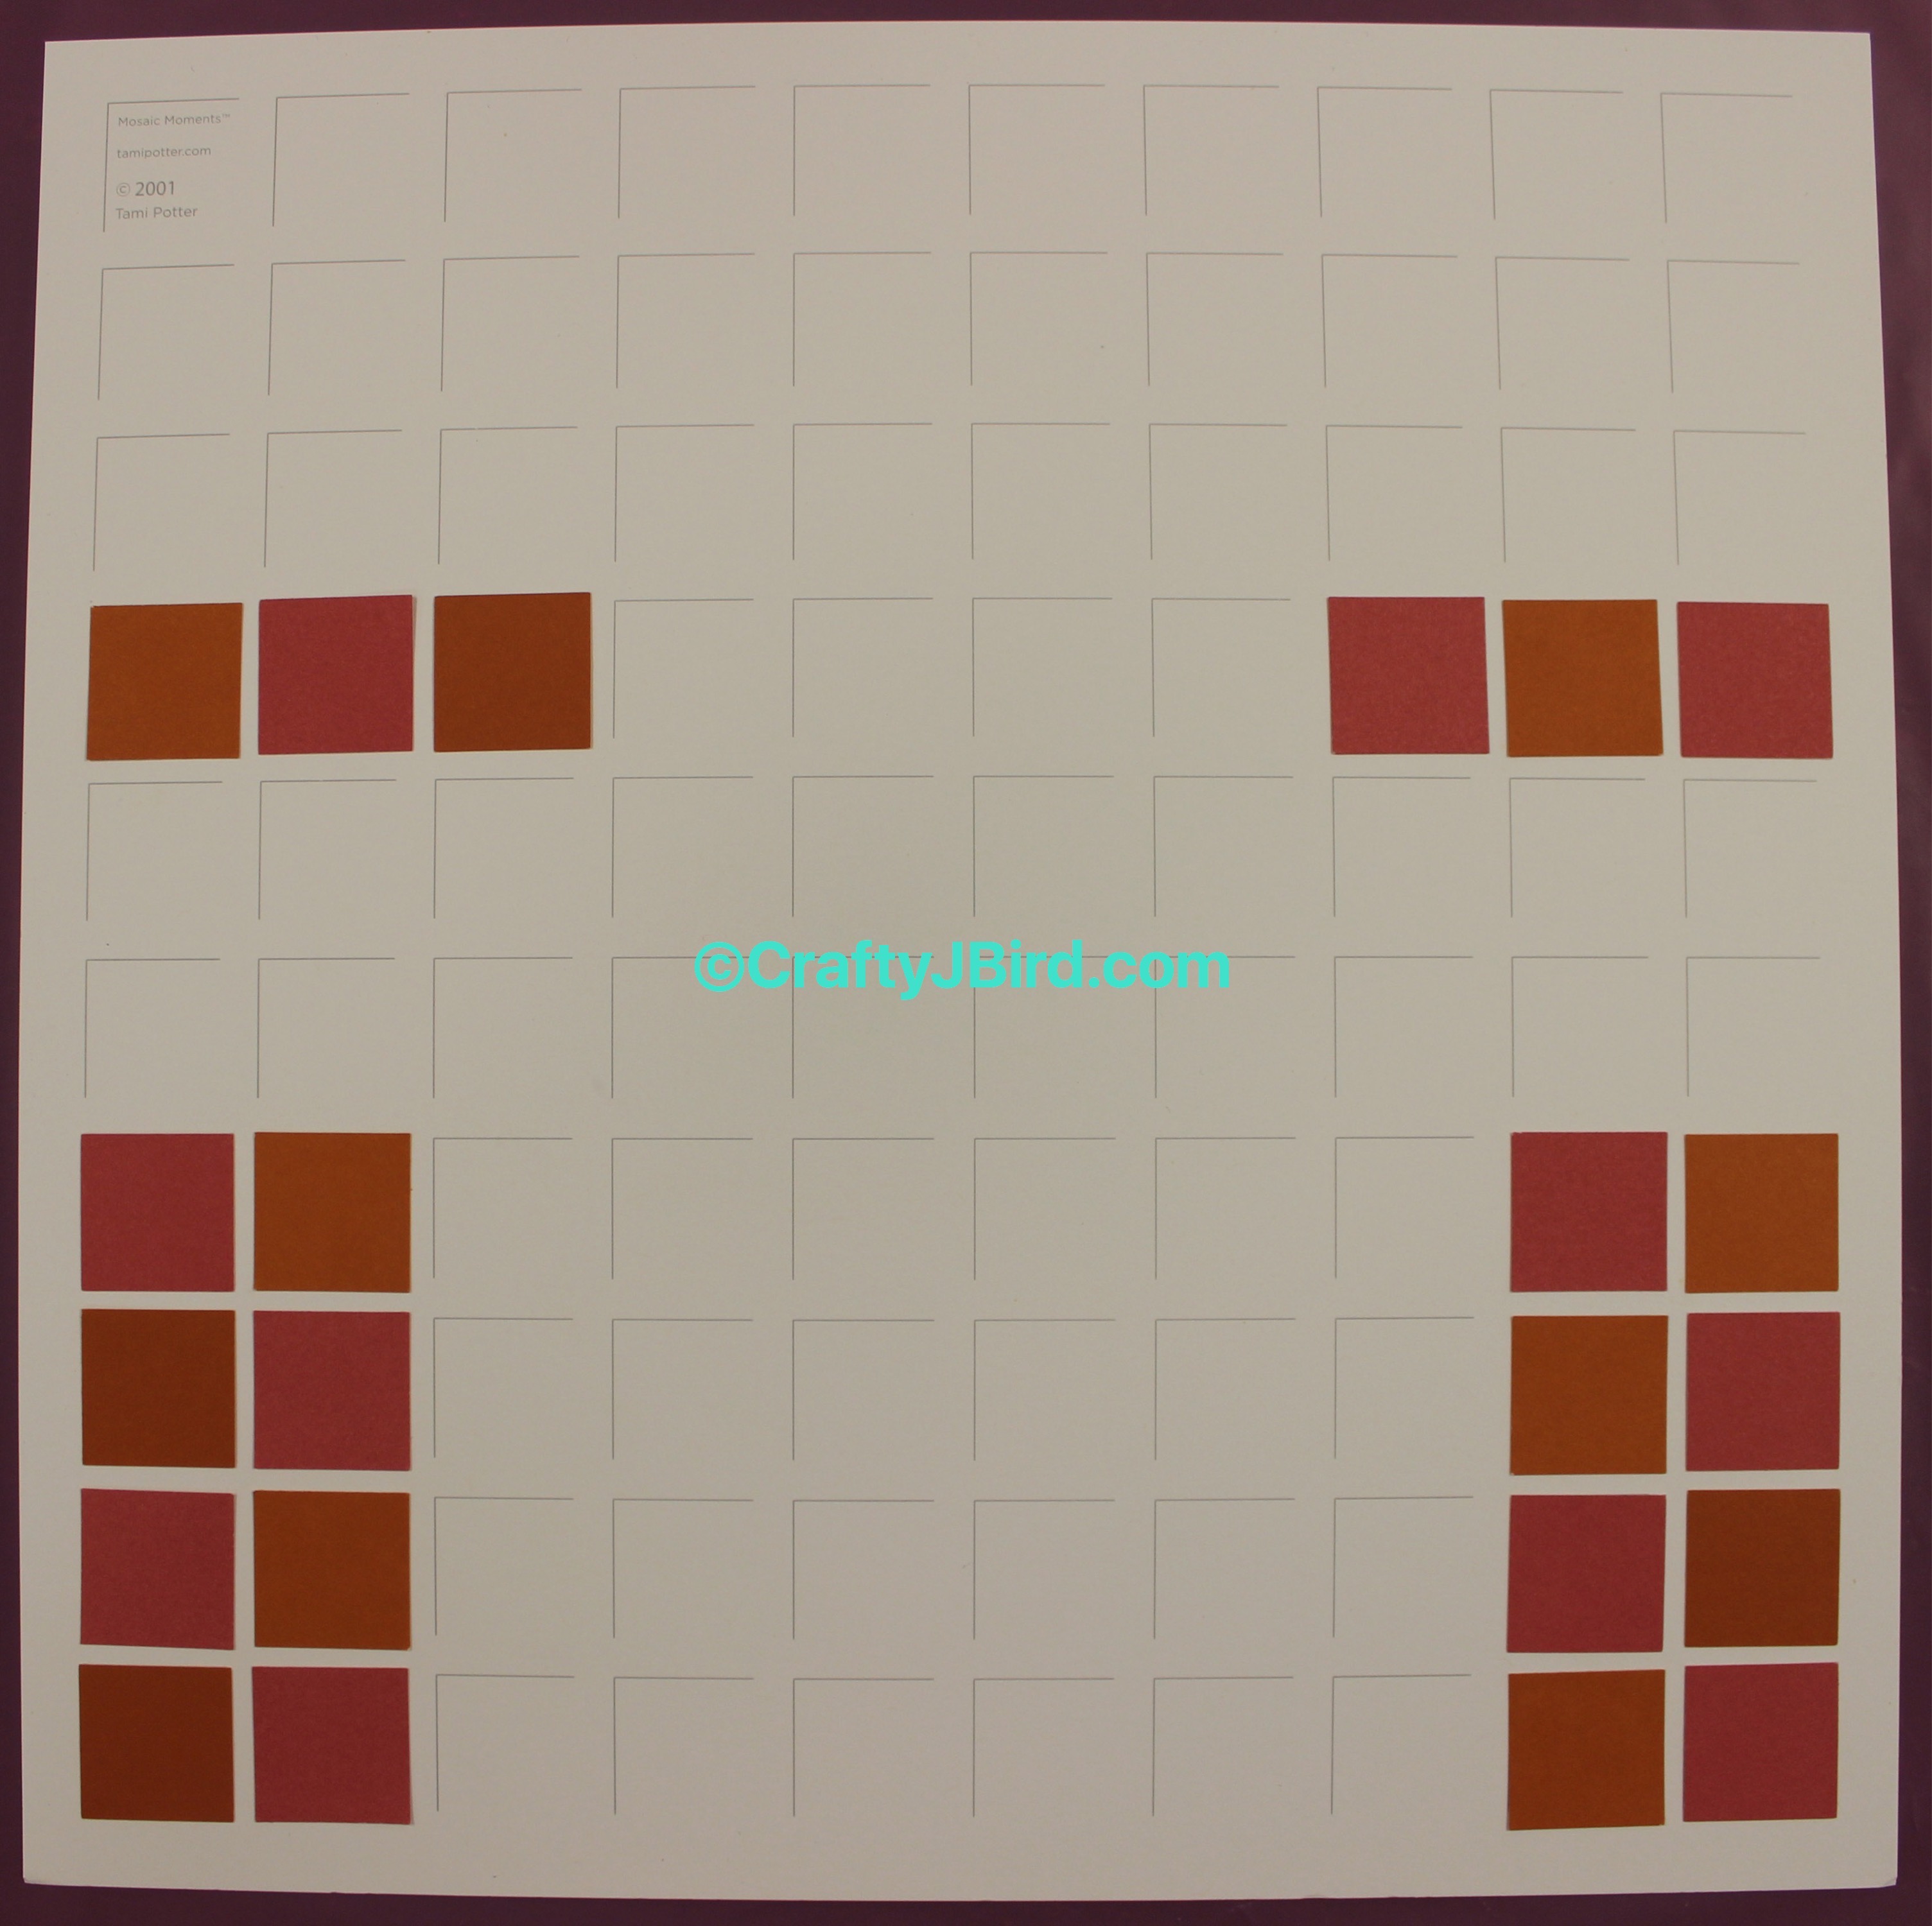
Once I had all the small squares punched out, I used my adhesive to put them in their places on the white grid cardstock alternating the colors.
Step #3:

After getting all 68 squares in place, I figured out the rest of my measurements for what I knew I wanted my page to look like. Using the pattern paper with all the words on it, I used my paper trimmer to cut four small rectangles to 3 1/4 by 2 1/8. Then I trimmed down two big squares to 3 1/4 by 3 1/4. Once finished I used my adhesive to put them in place.
Step #4:
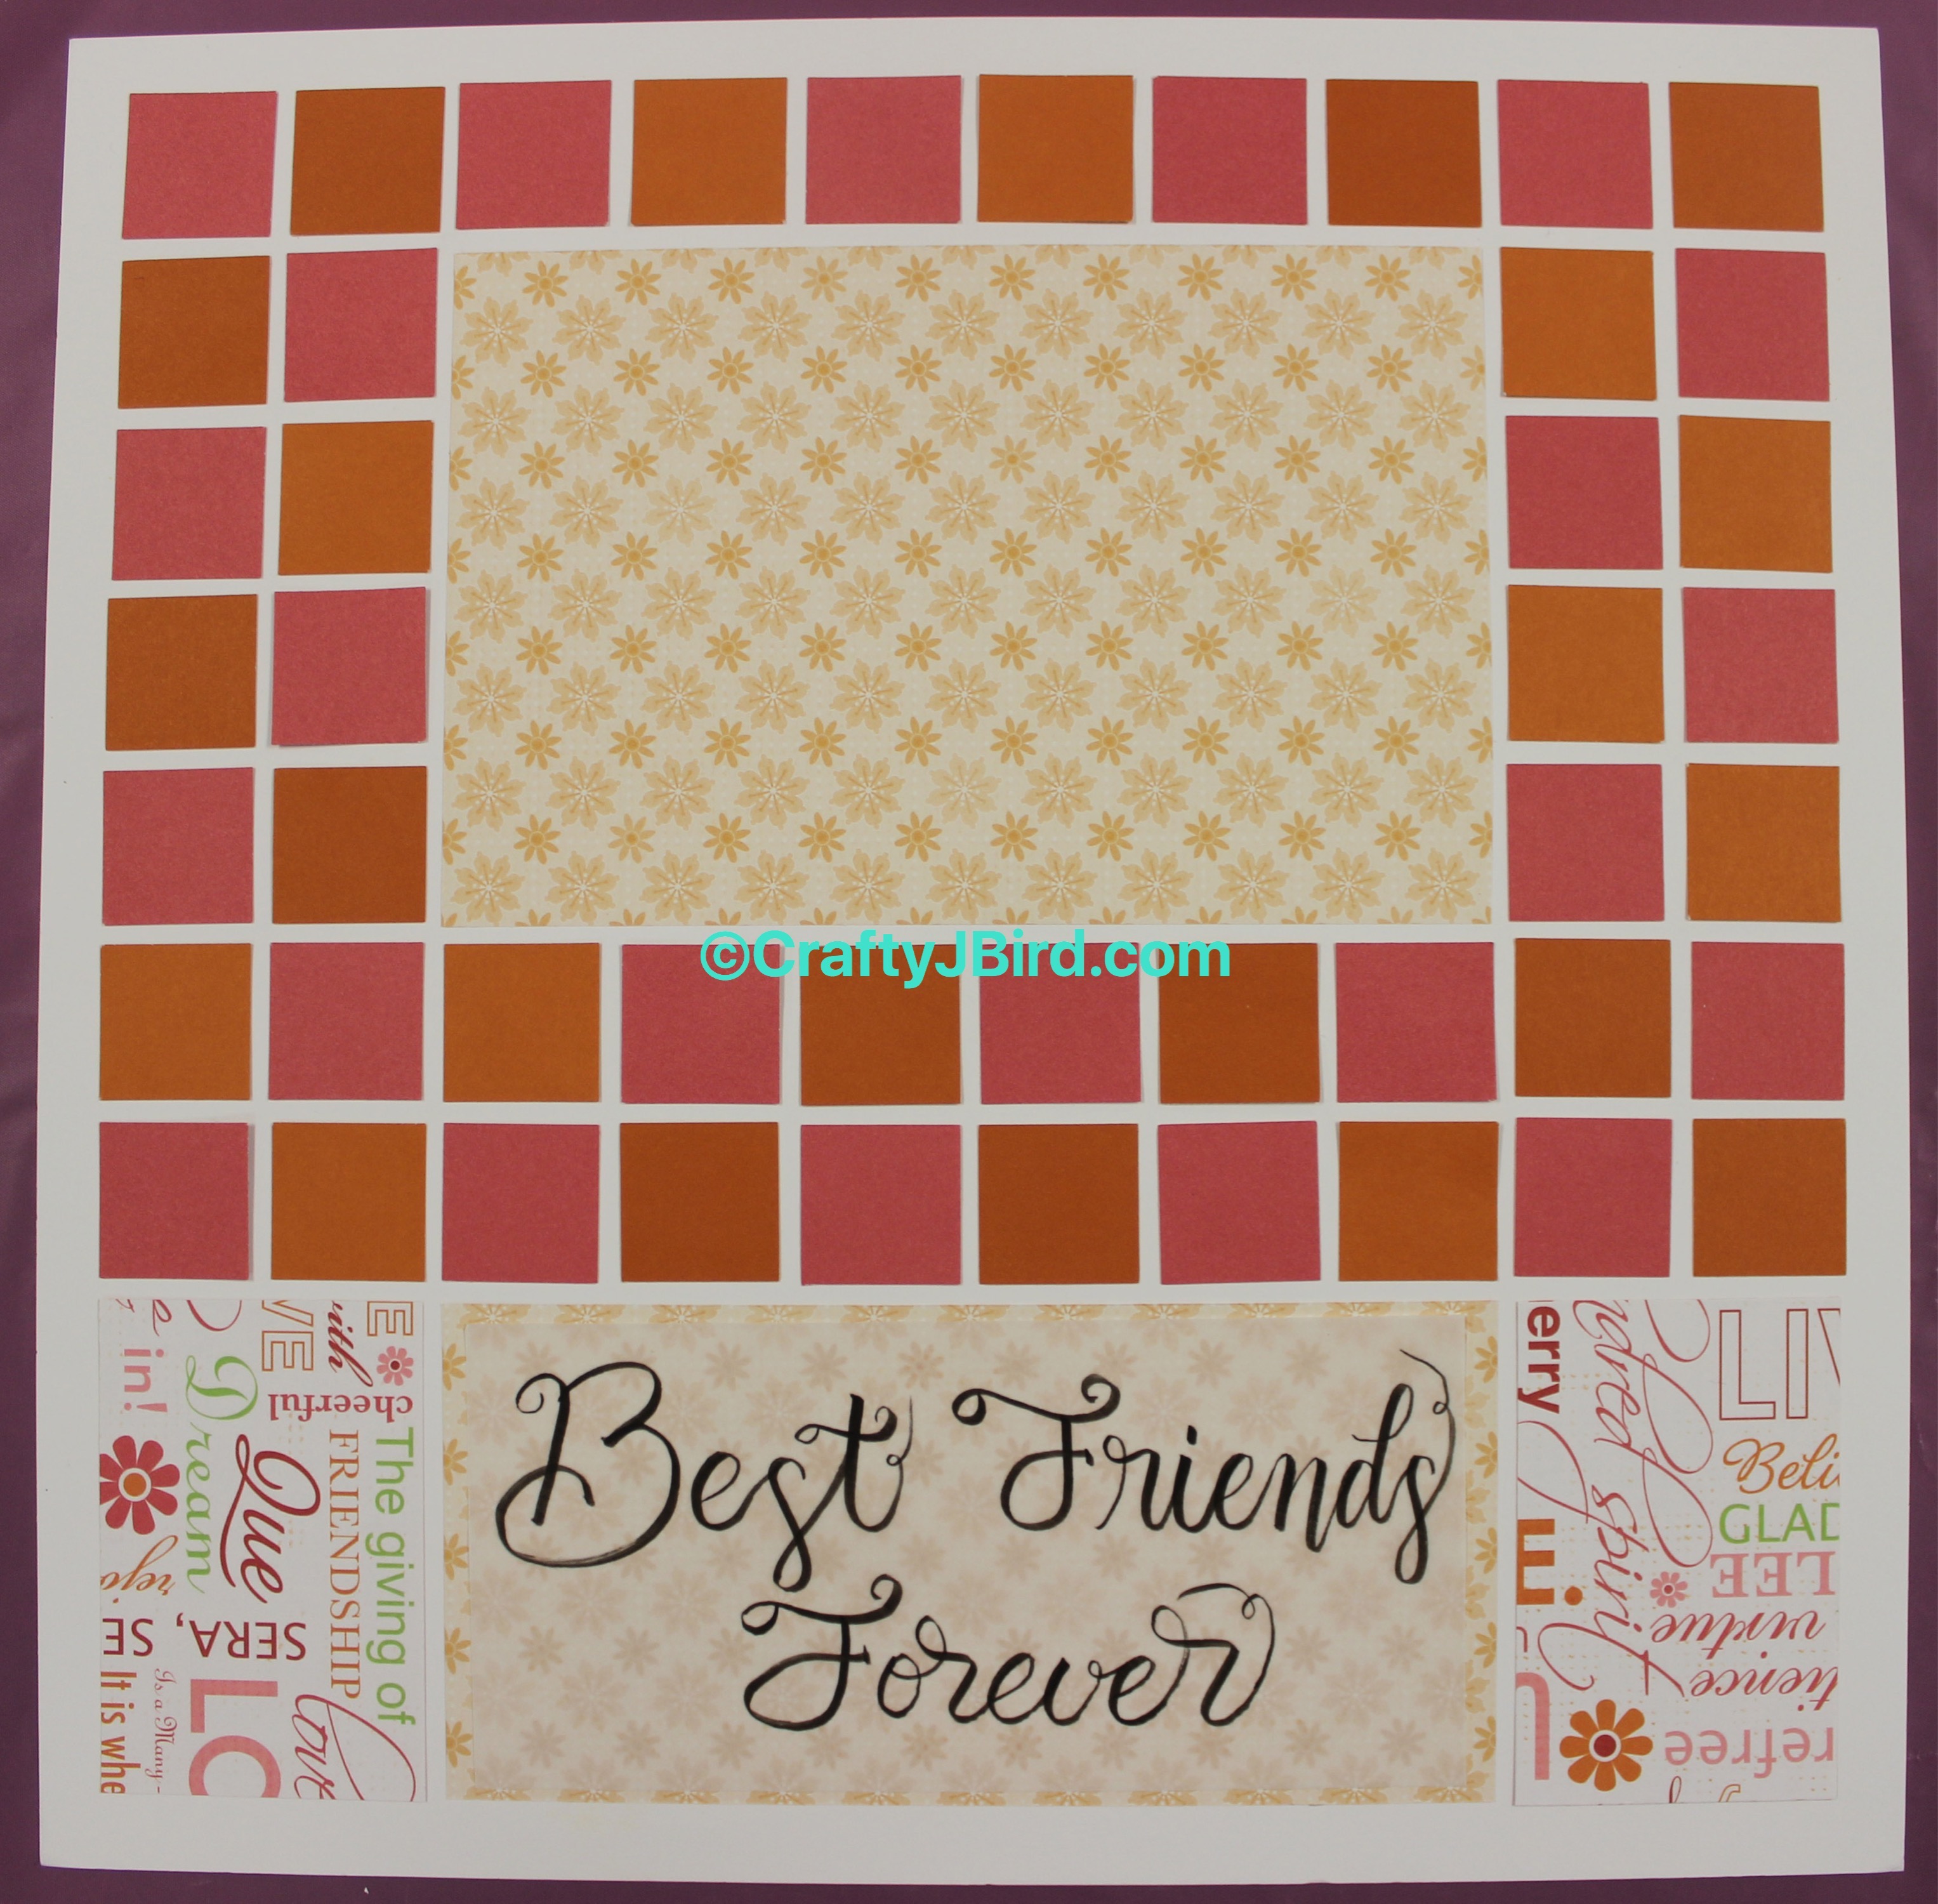
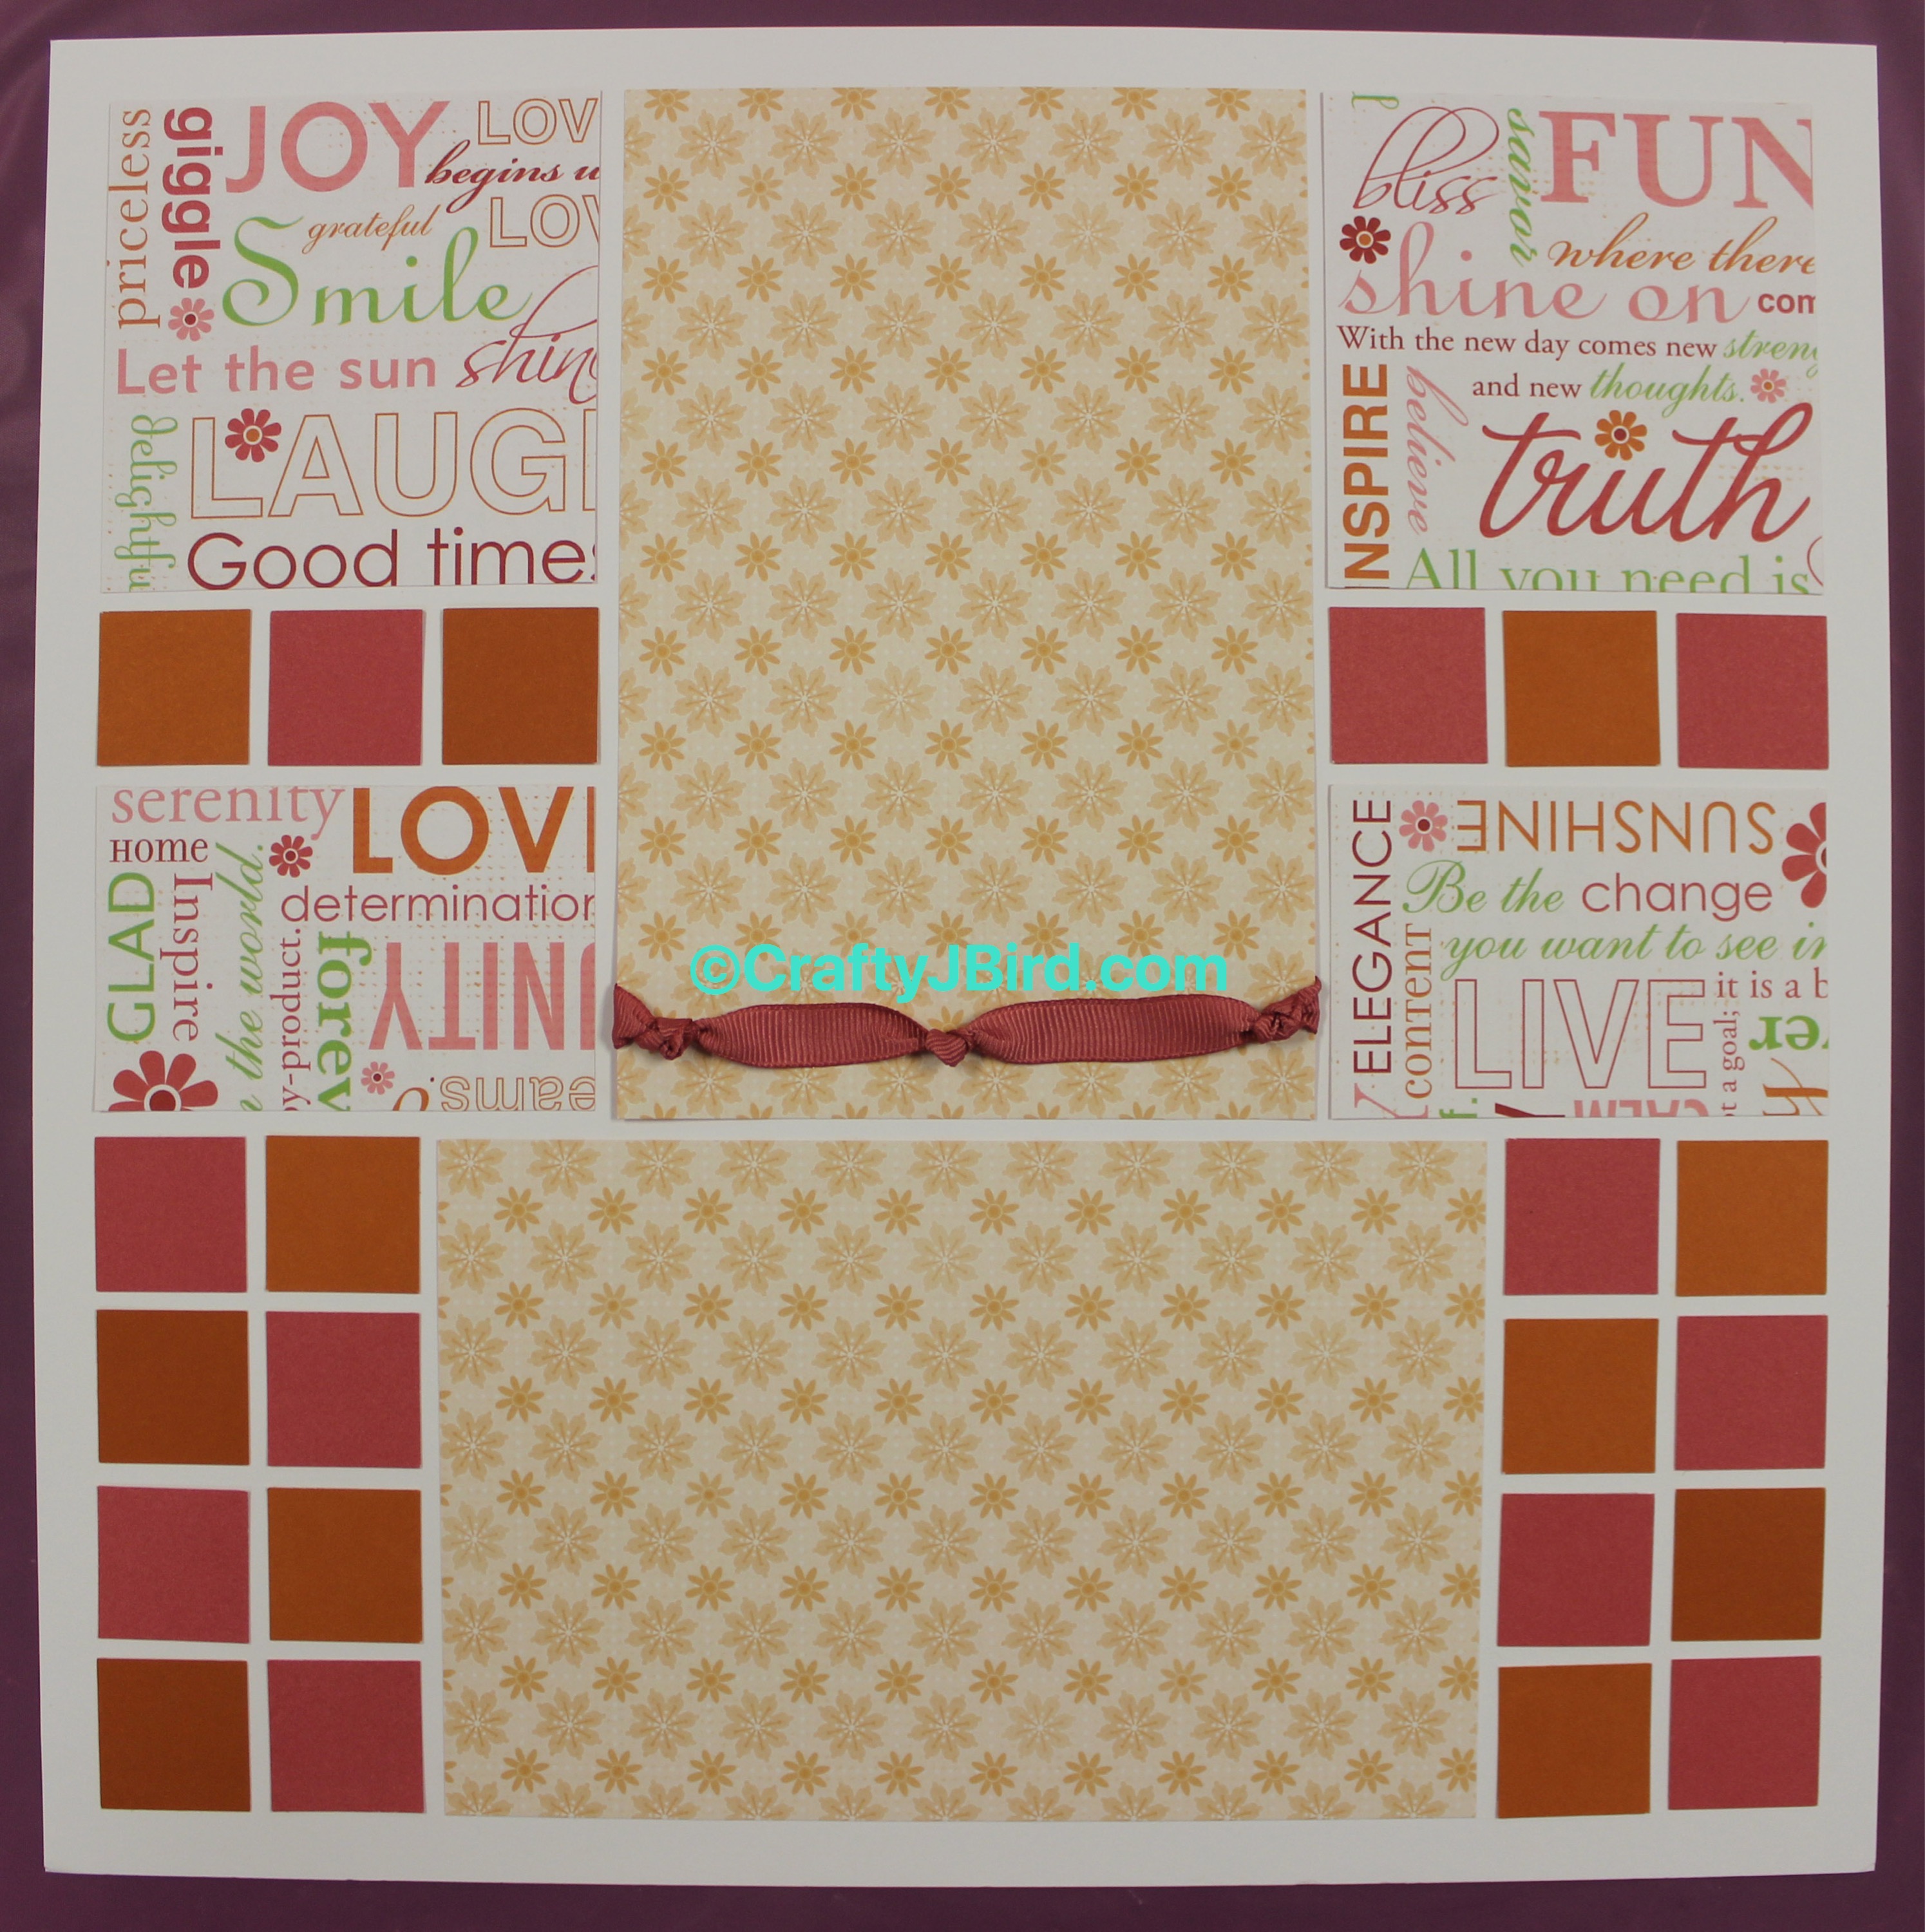
Finally, using the other pattern paper, I trimmed down three big rectangles to 4 3/8 by 6 5/8 as well as my last piece being the smaller rectangle to 3 1/4 by 6 5/8. Once finished adhering each of those pieces down I added some Close To My Heart Hollyhock colored ribbon. Then I calligraphied out “Best Friends Forever” using my Tombow Fudenosuke Soft Tip pen.
And there you go, a fun and cute mosaic double page. Though I putting pictures of my best friend and I throughout the years, this double page would be super cute for anything girlie. Need pictures printed but don’t have time or access to the right printer? Visit Snapfish for all your picture needs. You can even use their website for storing all your photos and sorting them in albums so you know what is what. Also, don’t forget to go through eBates for a 10% cash back for Snapfish and other various stores.
Have any questions about today’s Mosaic double page? Please feel free to comment below and I’ll respond back as soon as possible! Thanks for visiting! Hope to see you again!
Crafty JBird