
It’s SCRAP IT FRIDAY Again!
Which means…. The WEEKEND is here!
Need a quick but memorable birthday or wedding gift? Today, I have put together a simple Beach Braggin’ Tag album together. I got my inspiration from when I was at the Close To My Heart Convention in 2006, but it all created by me. I purchased everything from Hobby Lobby and Michael’s Craft Store. Let’s get started.
Beach Braggin’ Tag Album
Things You’ll Need:
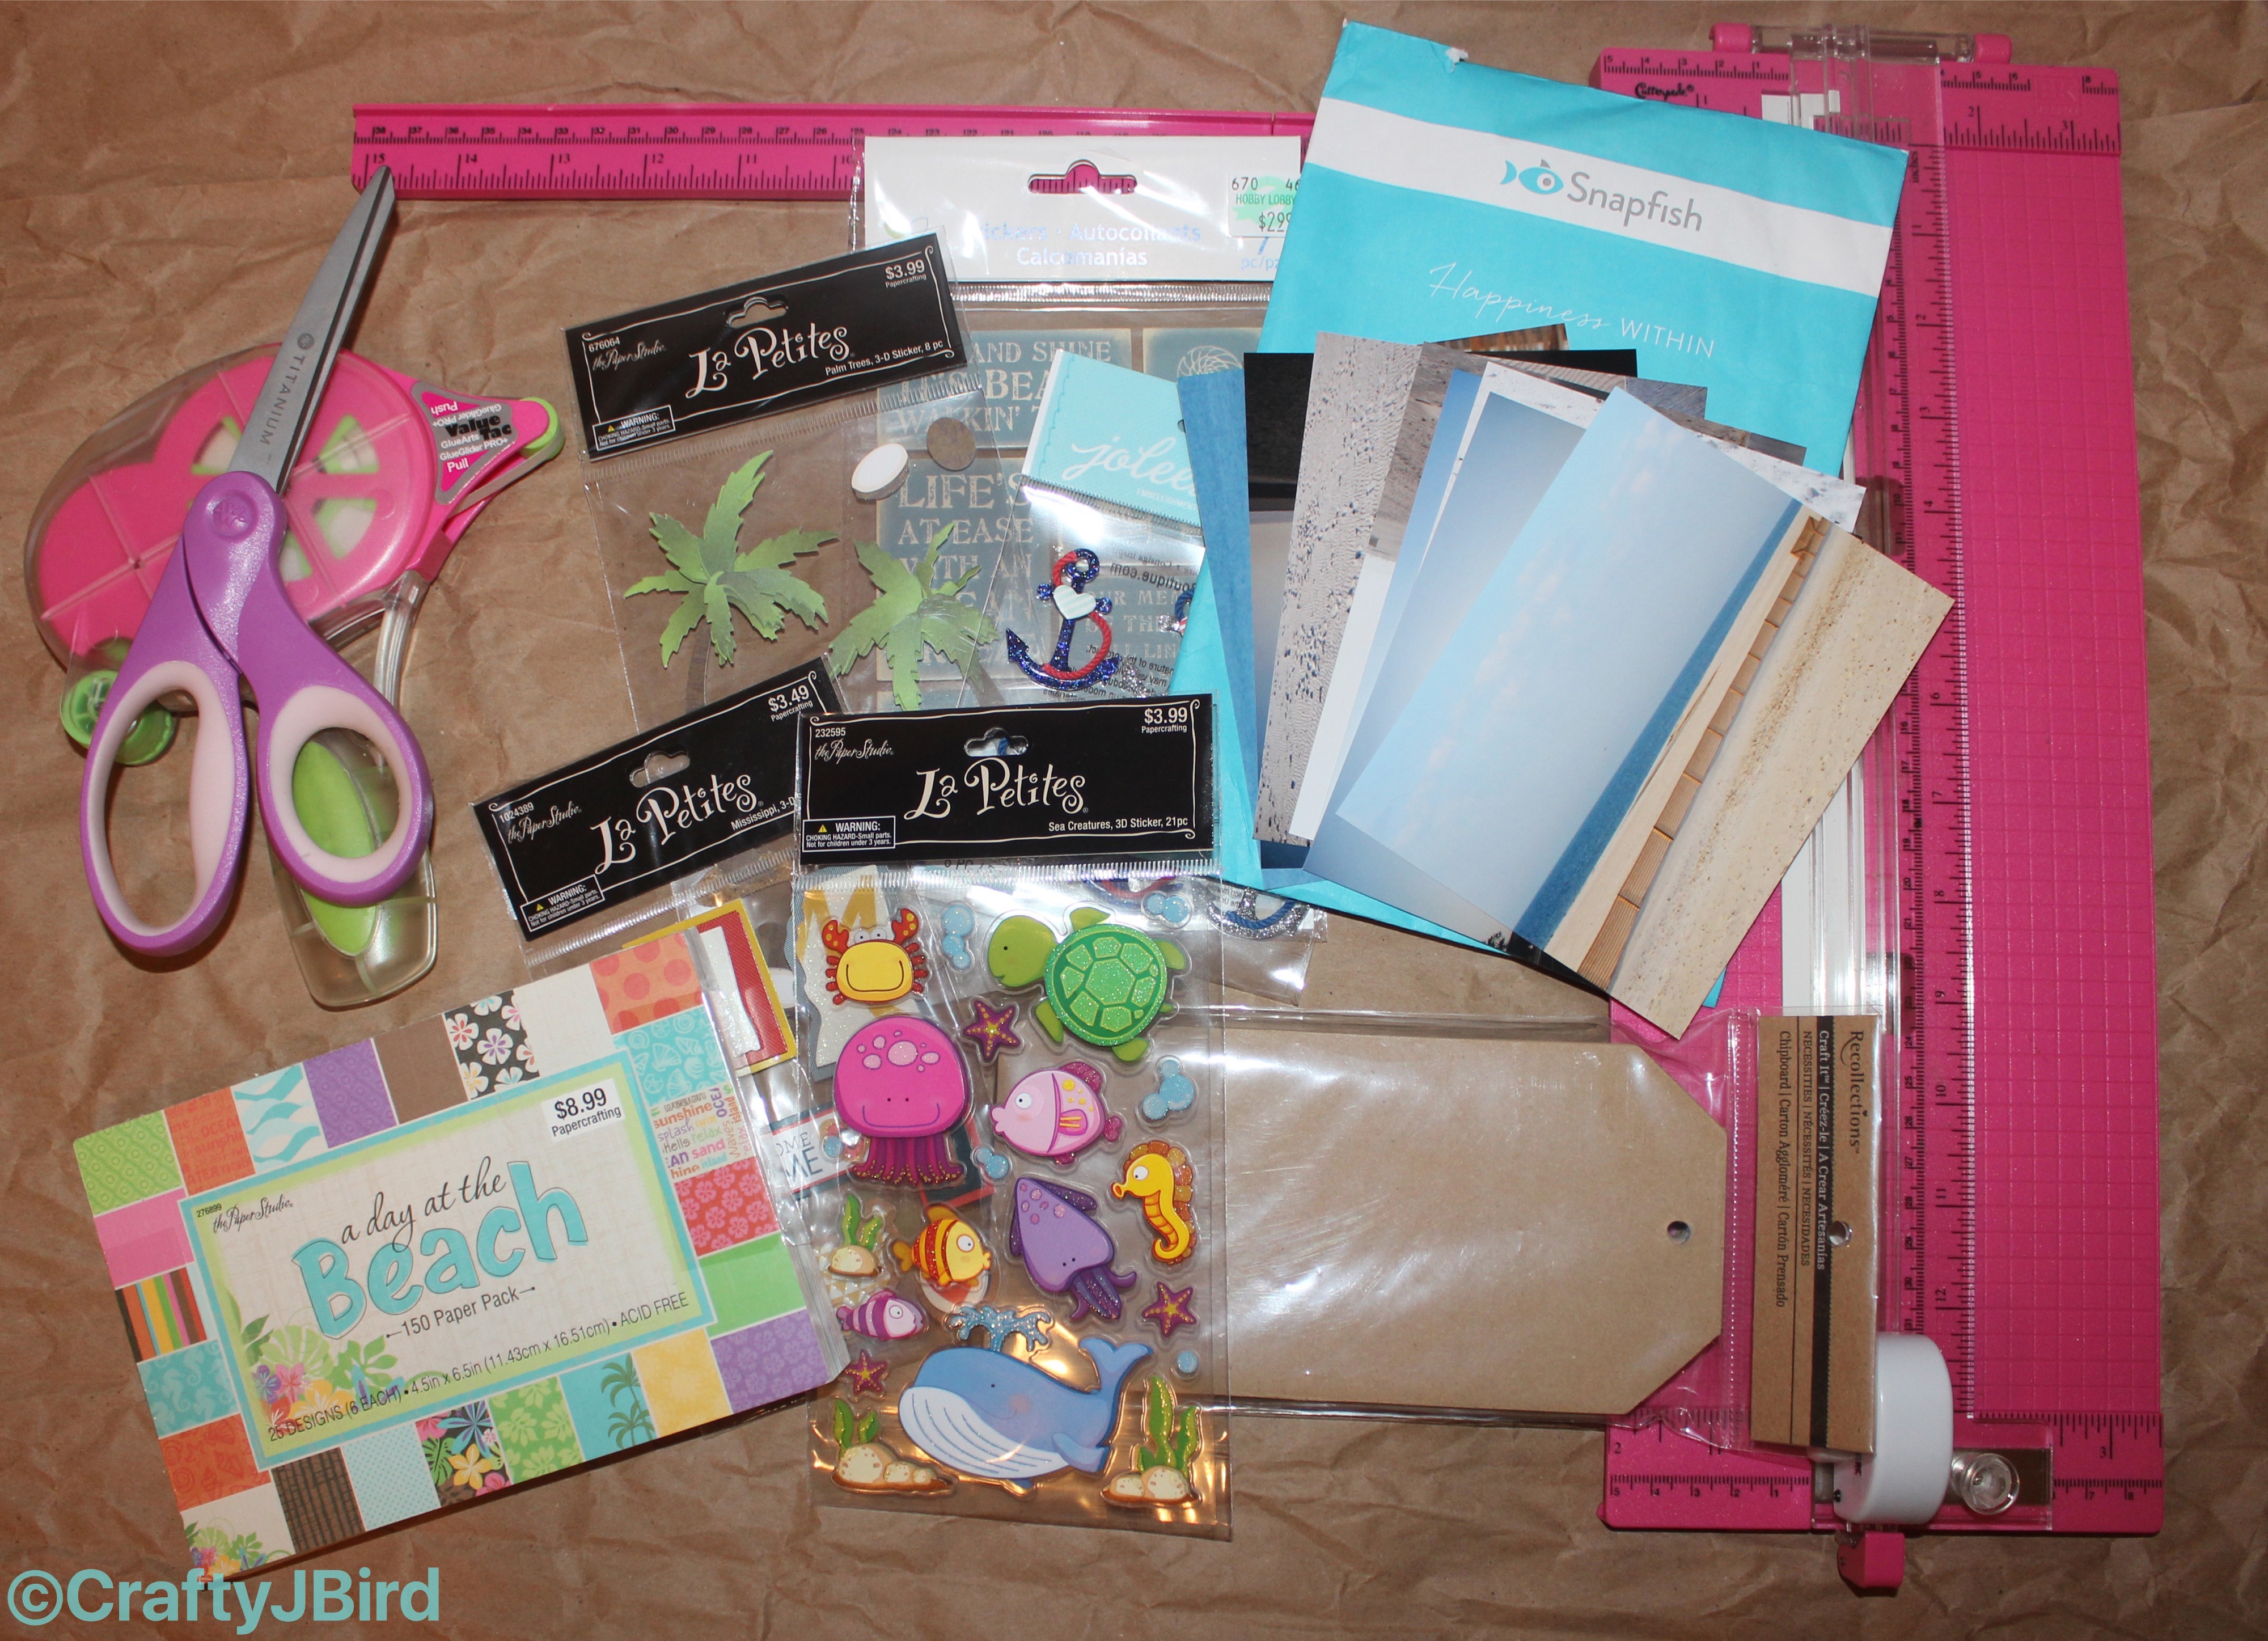
- Paper Cutter
- Scissors
- 4 by 6 paper pack (purchased from Hobby Lobby)
- Embellishments (purchased from Hobby Lobby)
- Album Rings 1″ (purchased from Hobby Lobby)
- Cardboard Tag Album (purchased from Michael’s Craft Store)
- Ribbon (optional)
- Adhesive
- Pictures (ordered from Snapfish.com)
- Xacto Knife or Paper Piercing Tool
Step #1:

First, choose which pictures you want to use. I used pictures taken from when I first moved to Long Beach, MS in 2010. Next, choose which paper you want to use out of your paper pack. I purchased a beach themed paper pack from Hobby Lobby since I knew it would fit the tag album best without having to cut the paper down much.
Step #2:
[soliloquy id="974"]
Trim all the paper you are going to use to fit your tag. Since my tag album was 3.5 by 7.5, I only had to trim the paper to be 3.5 by 6. You’ll see by the end where I some ribbon to fill the space but also used the scrap paper to fill the rest of the ‘pages.’ Then trim down the pictures you are using.
Need pictures printed and don’t have a photo printer for the best quality? Visit Snapfish.com now to easily upload your photos and order them to have delivered to you door now! Need them now and don’t have time to wait? You can also order them from Snapfish.com and pick them up from your nearest CVS, Walgreens, Walmart, and more! Click the Snapfish box to your left now to place your order!
Step #3:
[soliloquy id="1006"]
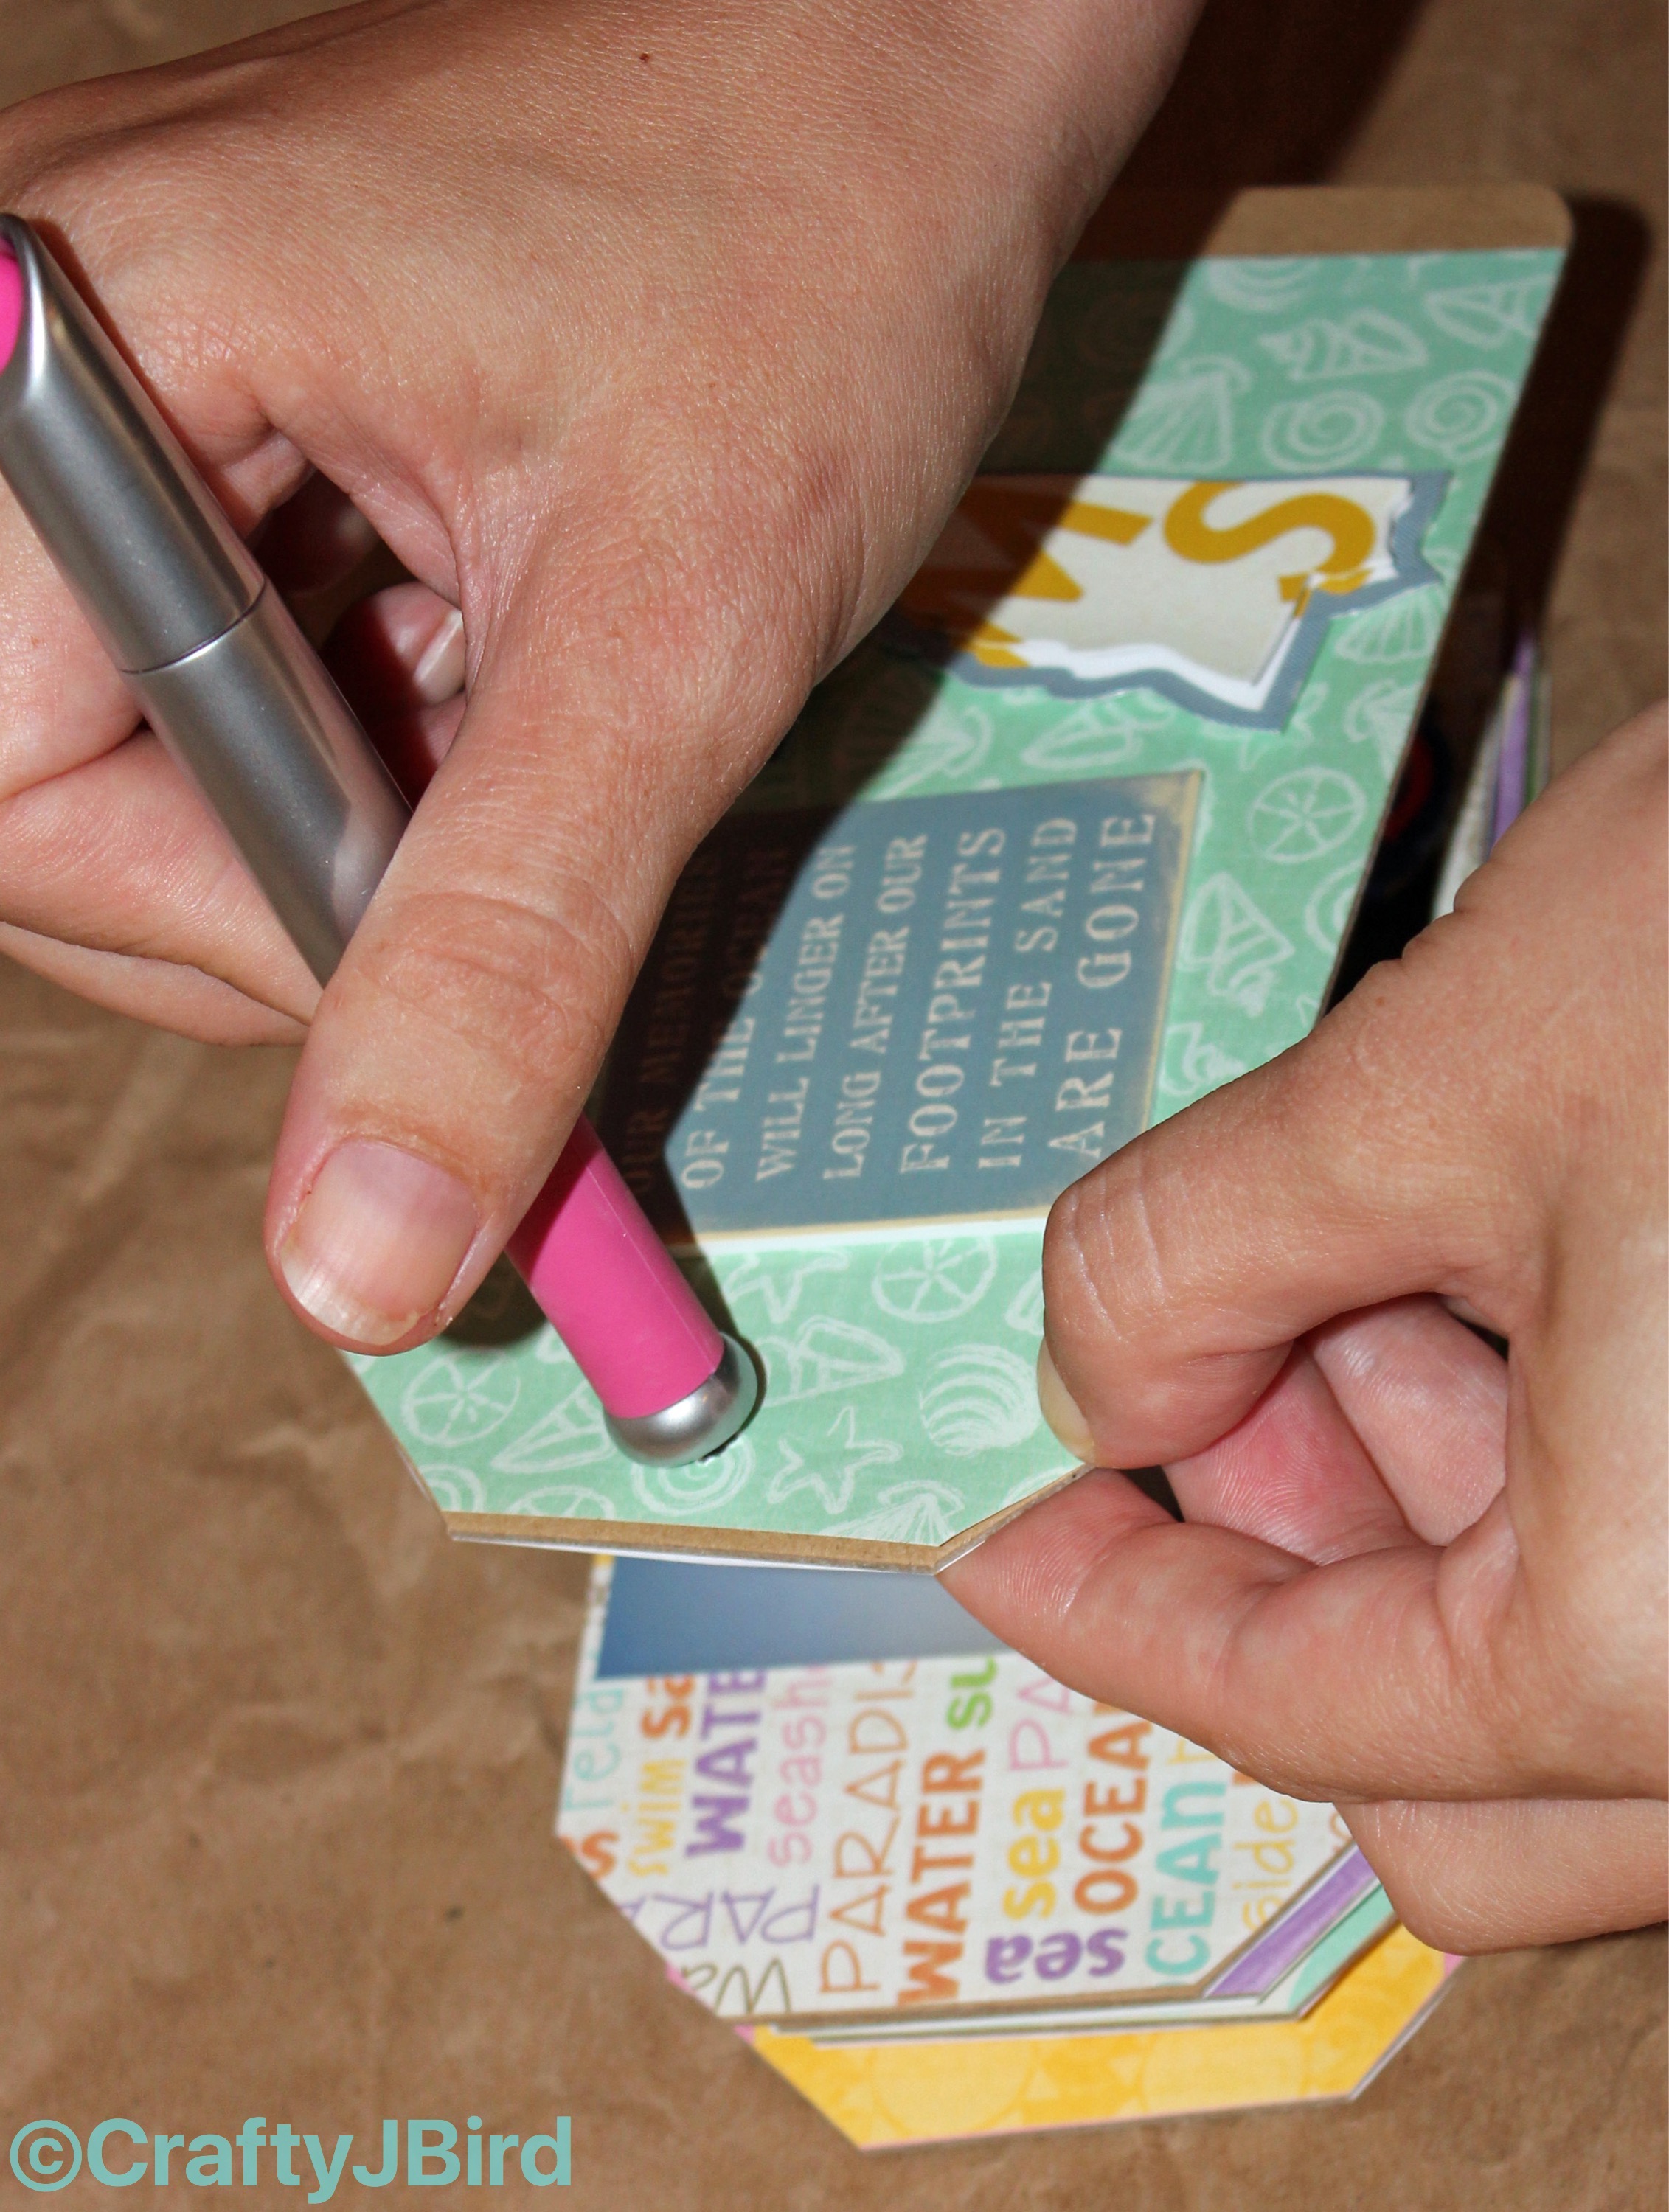
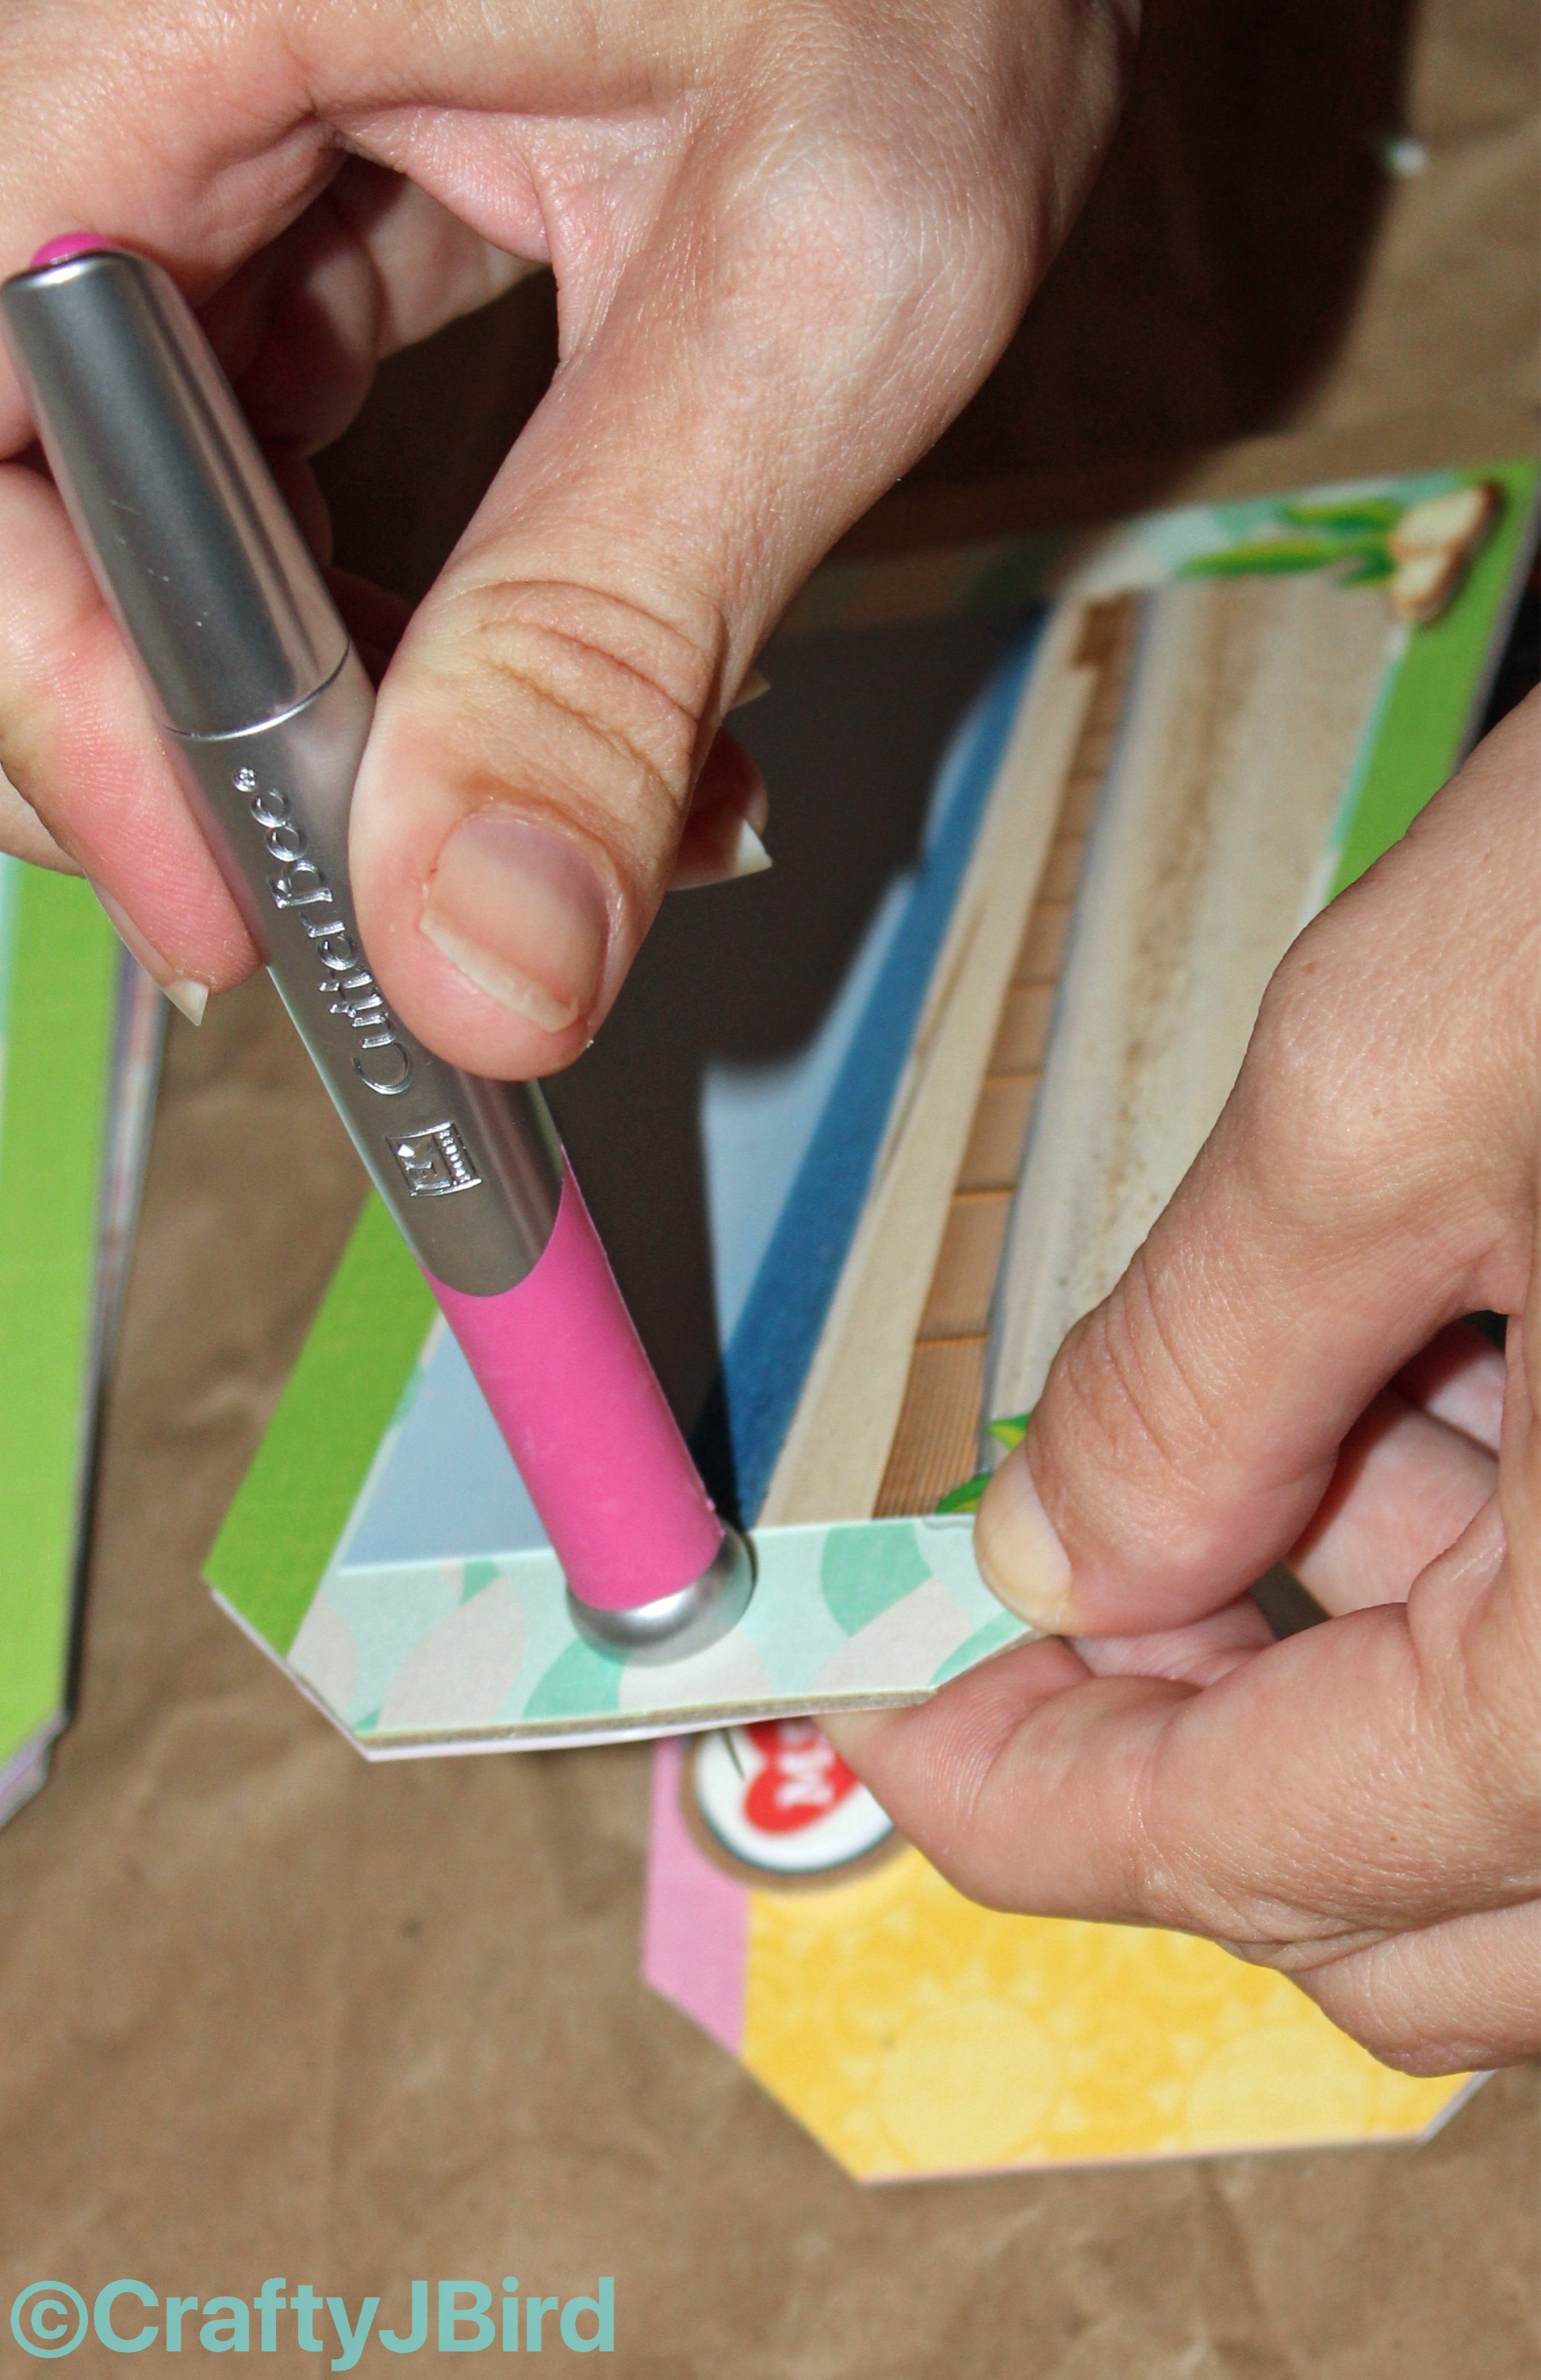
After everything is trimmed down, adhere each to the tags in the order you want. I like to sometimes cut the sticky embellishments out and lay them out to see how I want them before letting them stick to my pages.
Step #4:
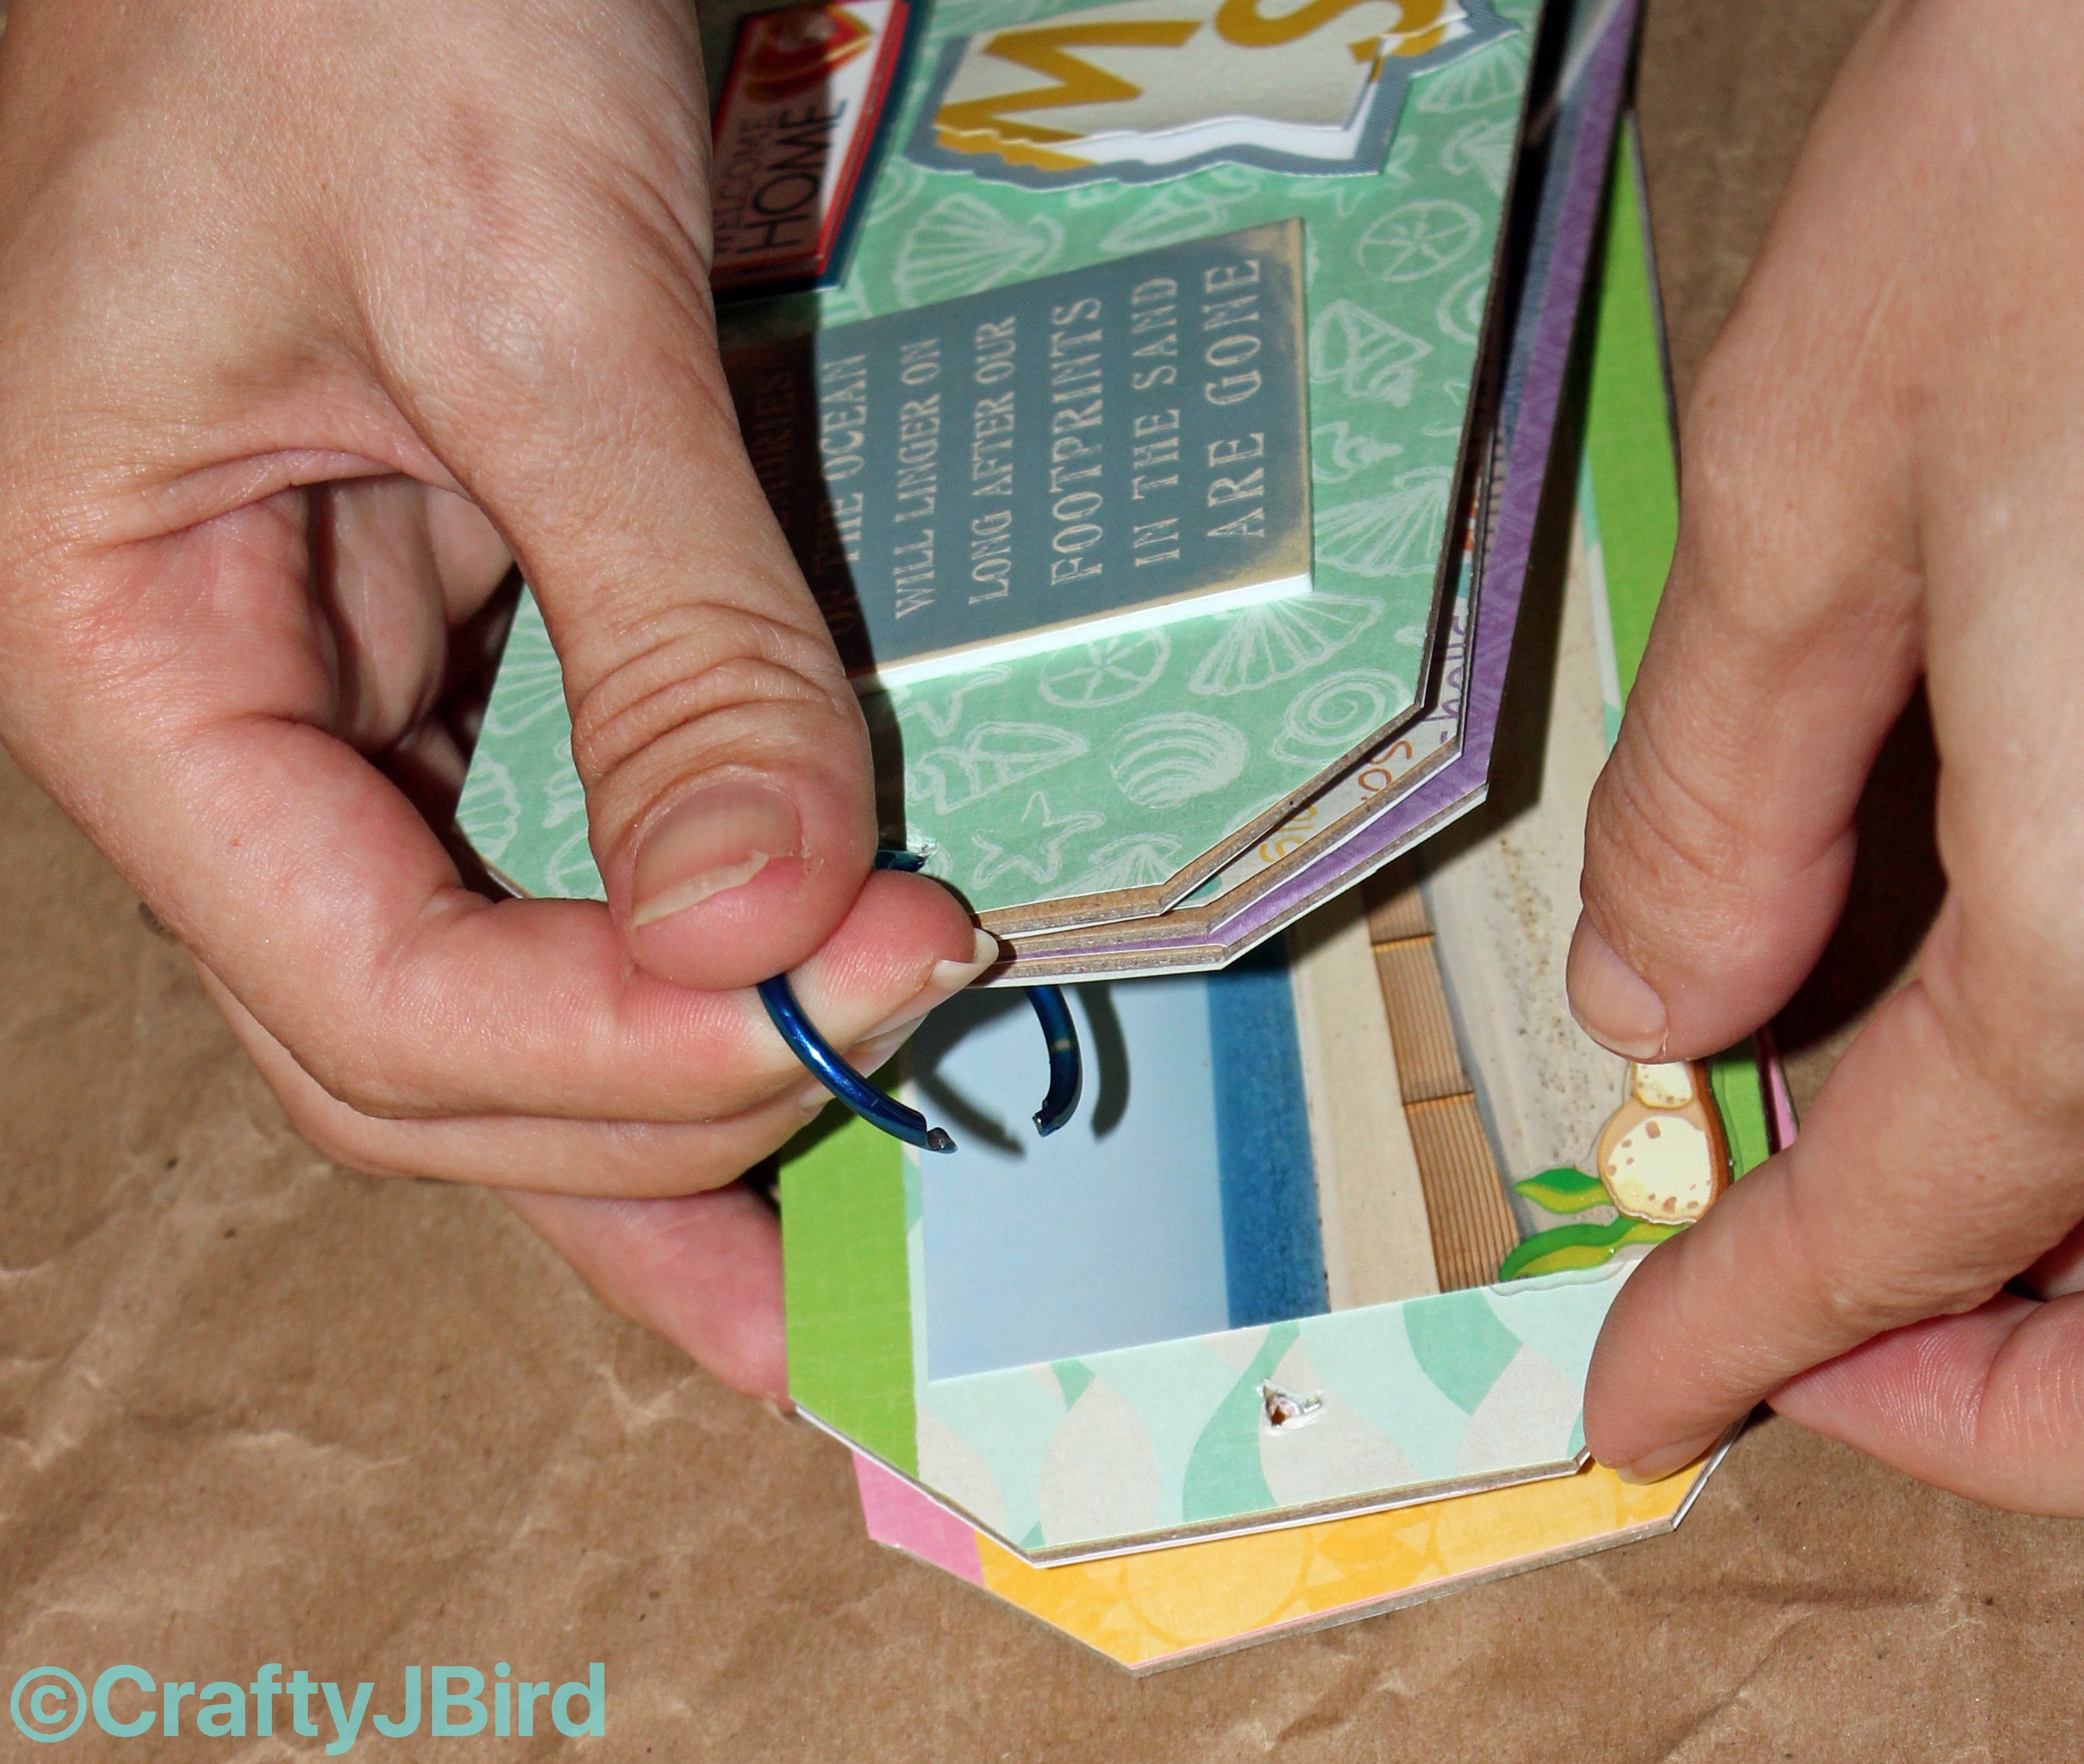
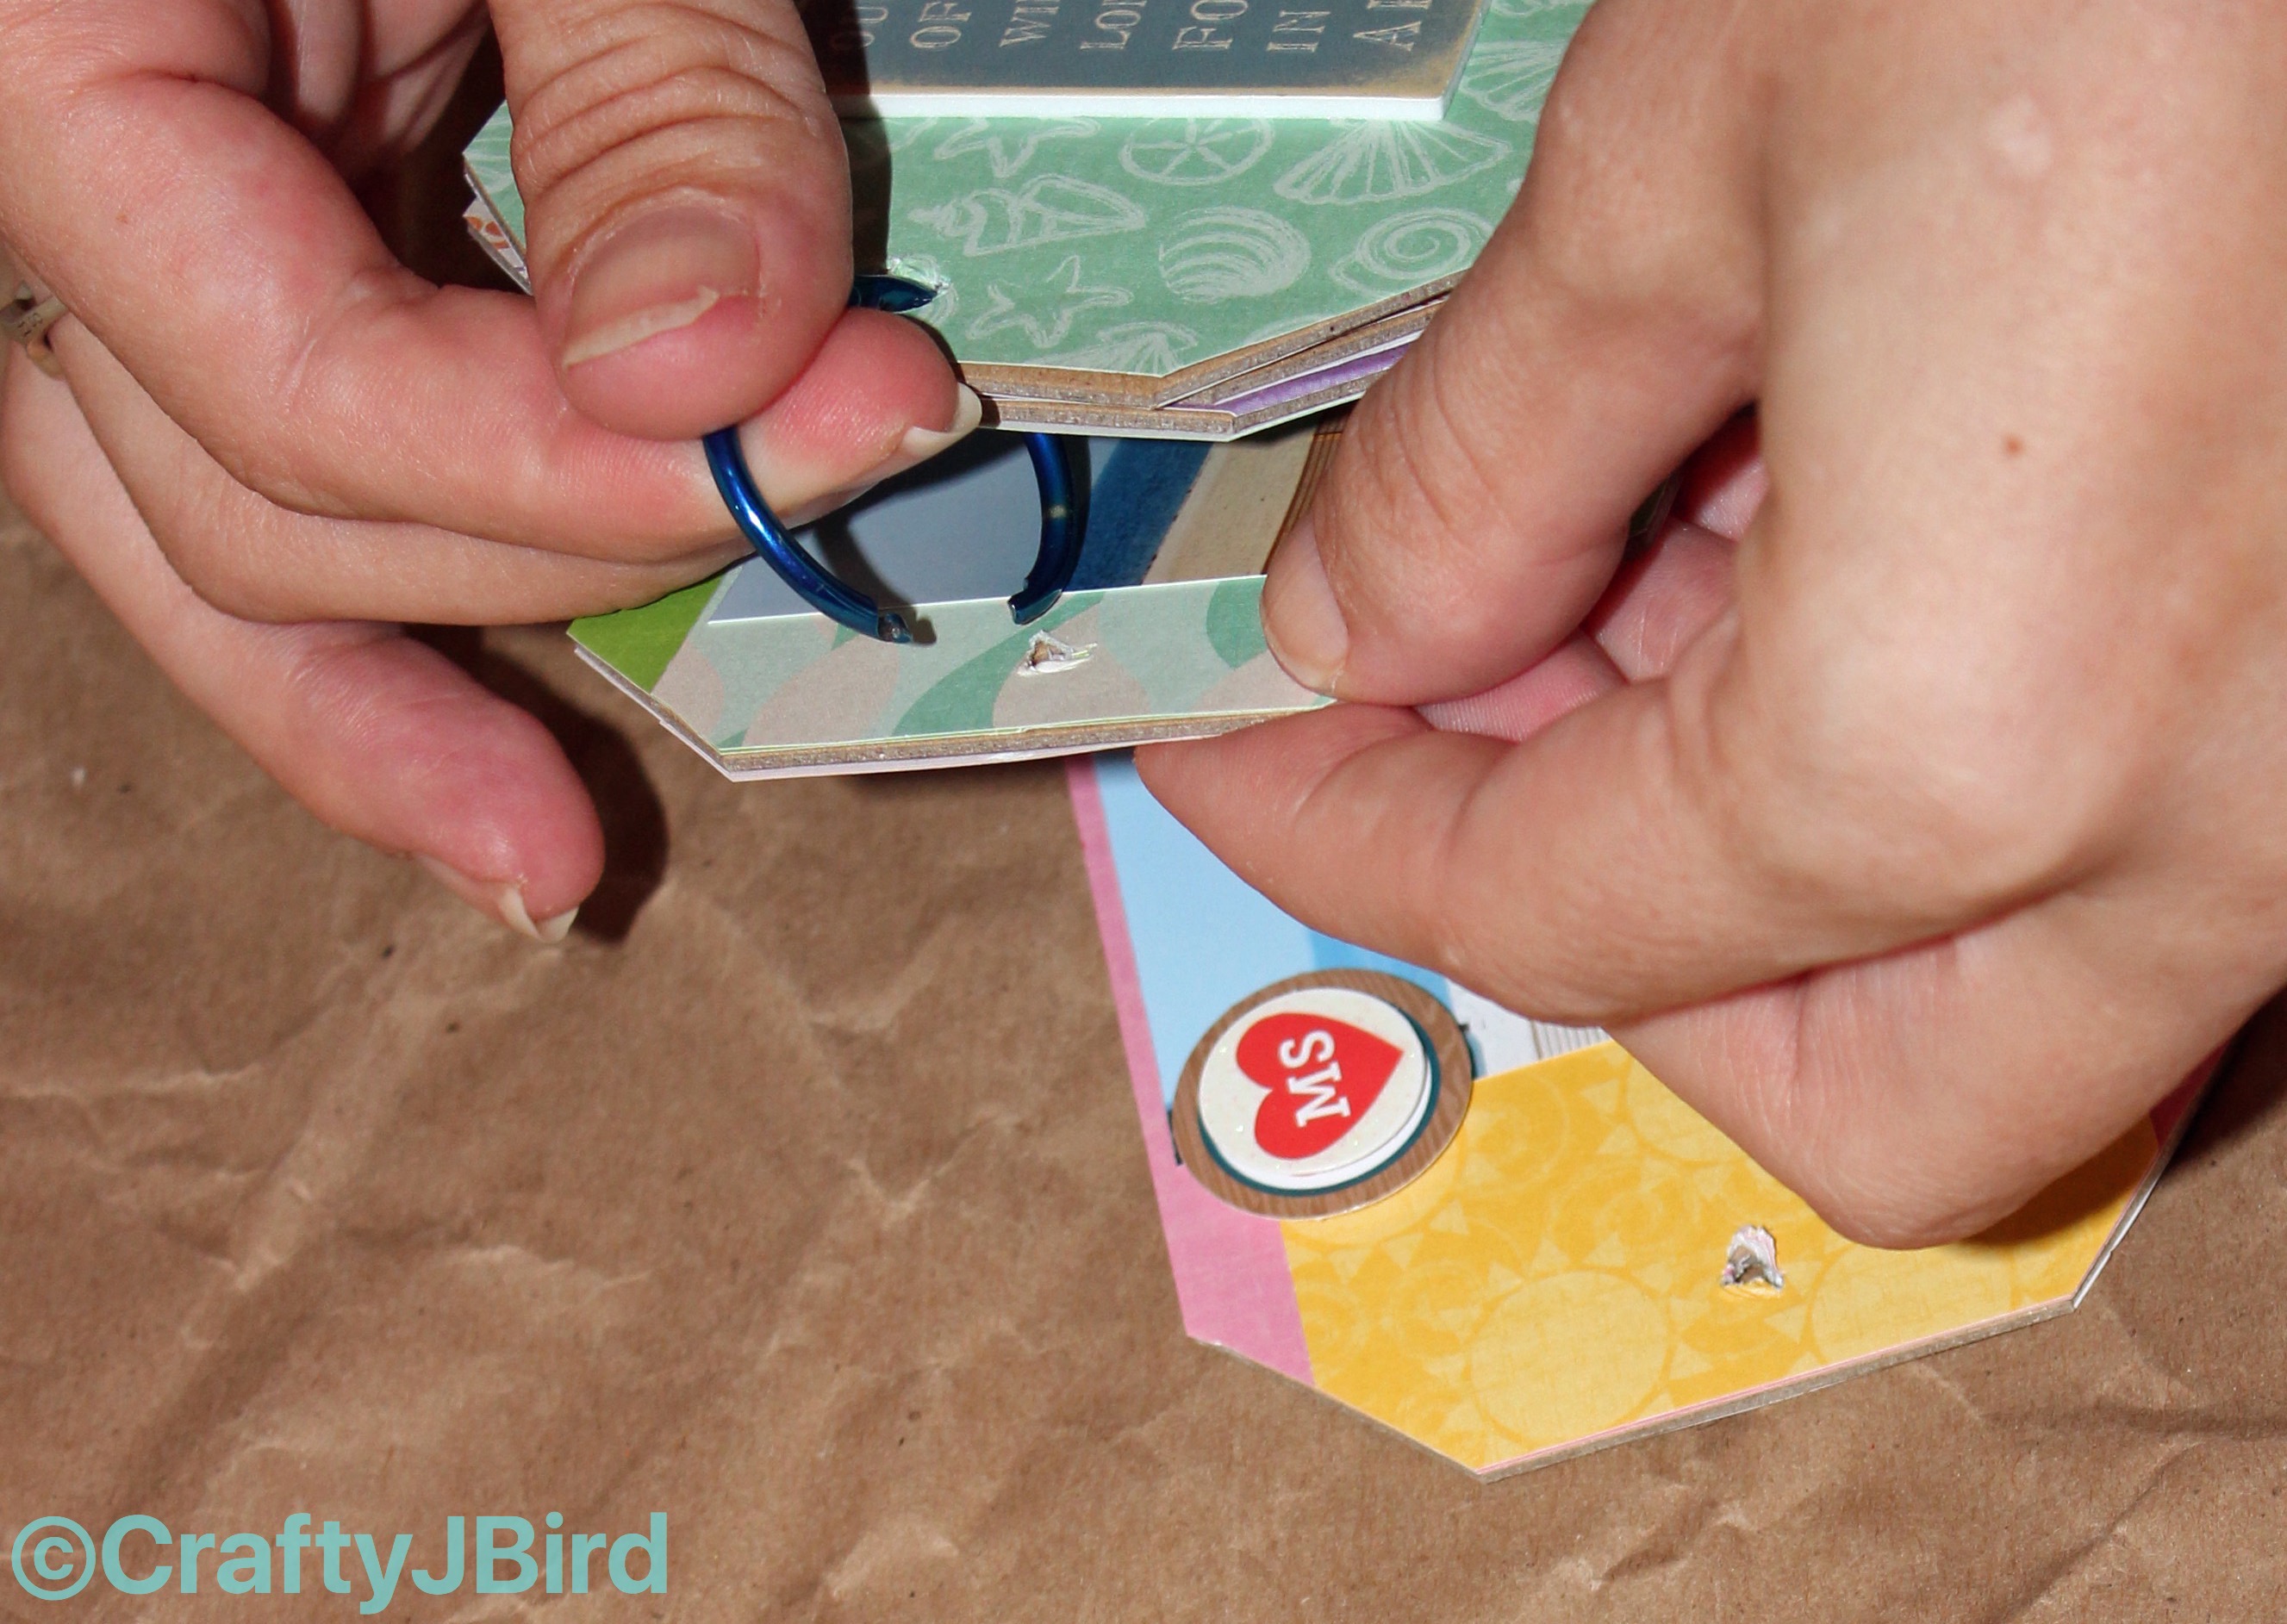
For this step, I used a xacto knife to clear the hole in each tags, but if you don’t have one you can also use a piercing tool or even scissors would work. Just be careful not to cut yourself with any of the tools. Take the album ring of your choice and thread it through each tag hole.
[soliloquy id="1018"]
And here’s what my final product looked like. Hope you enjoyed my fun simple project for “Scrap It Friday!”
Please be sure to check out my other posts for each day of the week, if you have yet to do so. Also, be sure to sign up for my e-mails at the bottom of this page. Eventually, I’ll be setup for a Newsletter that goes out either weekly or twice a month.
Have a great day!!
Please be sure to follow me on Instagram @craftyjbird
Also be sure to ‘like’ me on Facebook, follow me on Pinterest and on Twitter! Links are at the bottom of the page.
Thanks for visiting!!
Crafty JBird 😛
One thoughtful comment