
Wow! It’s Monday again! Hope all the mother’s out there had a great Mother’s Day Weekend! I am NOT ready for this week and hope it goes super slow! Of course, Murphy’s Law, it will go super fast and then my test morning will go super whichever way I don’t want it to go. Anyways, today I’ve got step-by-step how to for making my “Schoolbook Drawing” I used last week for my “Teacher Graduation Card.” Let’s get started…
Things Used:
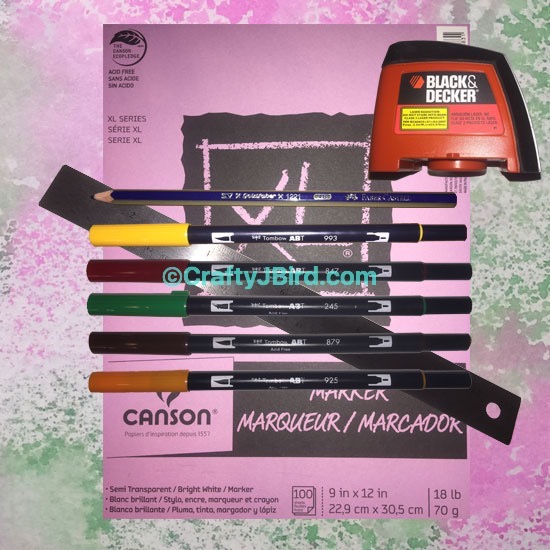
- Tombow Dual Brush Pens
- Pencils
- Ruler
- Canson Marker Paper
- Photoshop Elements 13
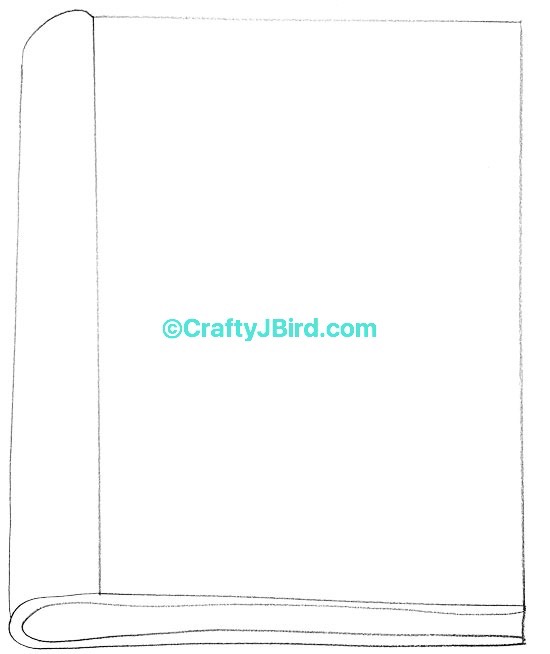
Step #1:
 The first thing I did was use my ruler (mostly) to draw a rectangle.
Step #2:

Next, I carefully drew an elongated ‘u’ shape at the bottom of my rectangle.
Step #3:
Starting at the curved part of my ‘u,’ drew a line going up to the top of my rectangle. Then to connect the point from that line to the corner of my rectangle, I added a slightly curved line.

Step #4:
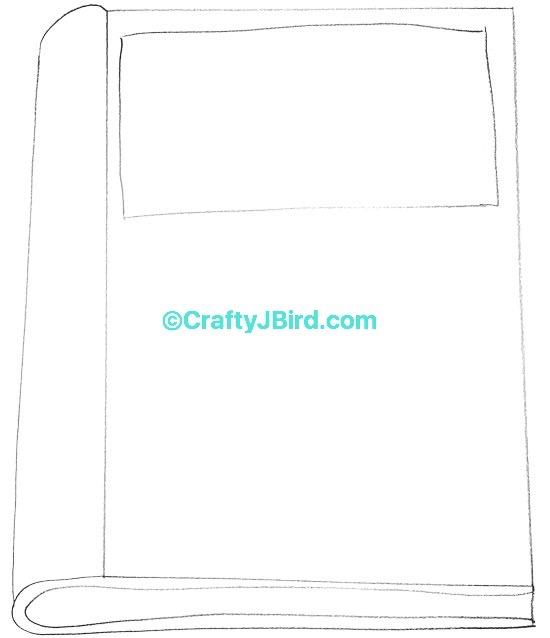
Finally, I drew a small rectangle at the top of my big one.
Step #5:

Here, I used my Tombow Dual Brush Pen #993 to trace over my original on a new piece of Canson Marker paper.
 Step #6:
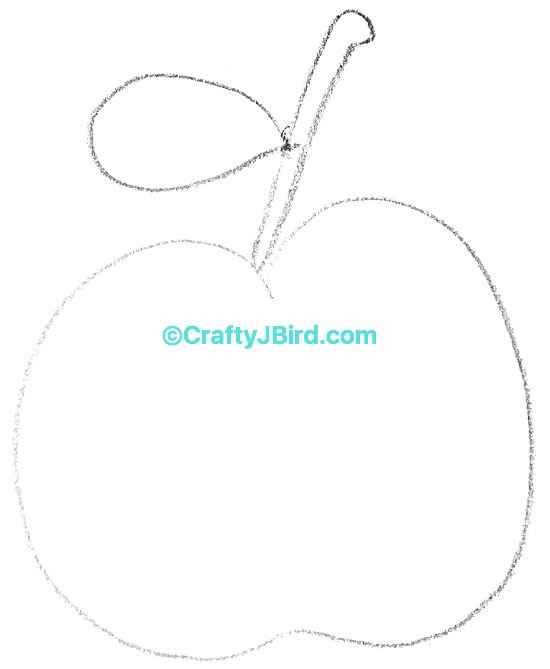
To draw my apple, I started like I was going to draw a heart but instead of having the point at the bottom going down, I had it go upwards with a curve in it. For the stem of the apple, I just drew a slightly angled line, added a little curve and dip then drew another line to go back down to the apple. Creating the leaf, it’s just basically an oval off to the side of the stem.
Step #7:

Then, using my Tombow Dual Brush Pen number 847 I traced over my apple body. I used pen number 879 for my stem and number 245 for my leaf.
Step #8:
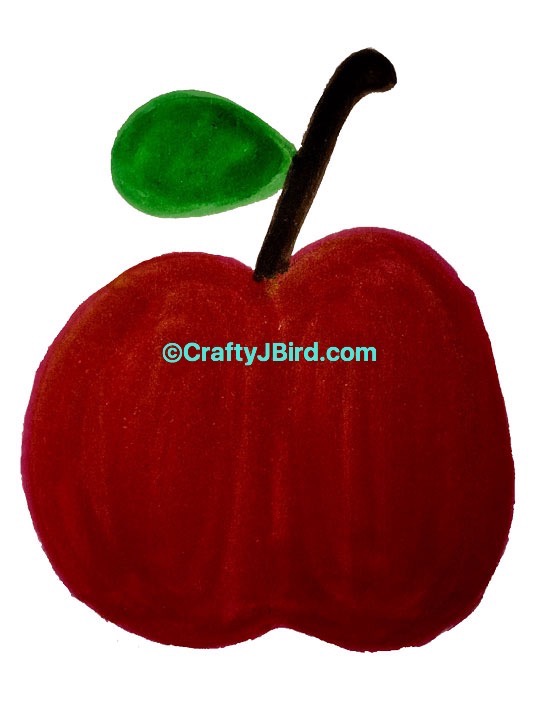 Finally, for my apple, I used the same Tombow Dual Brush Pen numbers to color each part.
Step #9:
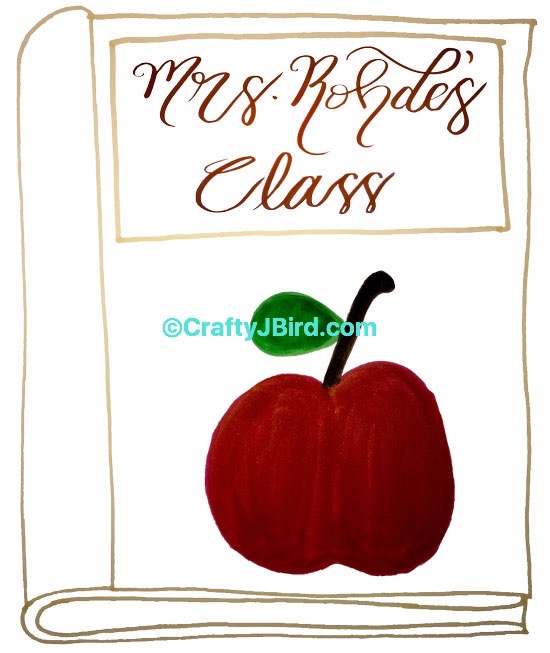
 To finish off my “Schoolbook Drawing,” I decided to personalize it more by adding the teacher’s name using my Tombow Dual Brush Pen number 925.
Step #10:
Finally! I was ready to put it all together. So, after importing all my creations into Photoshop Elements, I cropped and erased backgrounds. With my ‘book’ on the screen, I carried my ‘apple’ and teacher’s name to the ‘book’ layer; then, I adjusted the sizes as needed.
 There you go! How I made my “Schoolbook Drawing” I use on my “Teacher Graduation Card” I made last “Make It Monday” for my bestie.
Need an awesome getaway place to go to make all your creative ideas? Visit Memory Lane Inn!
Have any questions about today’s “Make It Monday” “Schoolbook Drawing” post? Please feel free to comment below. Thanks for visiting! Hope to see you again!
Crafty JBird
**This post contains Affiliate Links**