
It’s Thursday!! Which means it’s almost Friday; which also means it’s getting closer to Christmas. Hope everyone has a great day and weekend! Today I’m getting my hair done since it’s in major need like weeks ago, I just haven’t taken the time for it since Gracie Baby has been sick. Anyways, I decided to make an Oily gift for today’s post. So, let’s get started with “Oily Snow Globe…”
Things Used:
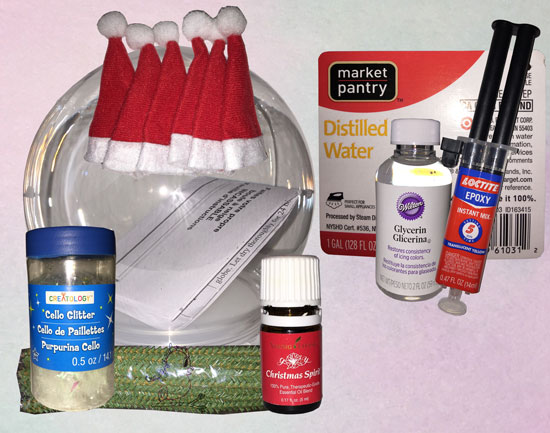
- Mini Santa Hats
- Cello Glitter
- Canadian Pine Stems
- DIY Pastic Snow Globe
- Glycerin
- Epoxy Glue
- Distilled Water
- Teaspoon
- Young Living Christmas Spirit Essential Oil
I purchased the Mini Santa Hats and Canadian Pine Stems from Hobby Lobby. The Cello Glitter and DIY Plastic Snow Globe came from Michaels Craft Store while the Epoxy Glue and Distilled Water came from Target. And of course, the Essential Oil is from Young Living.
Step #1:
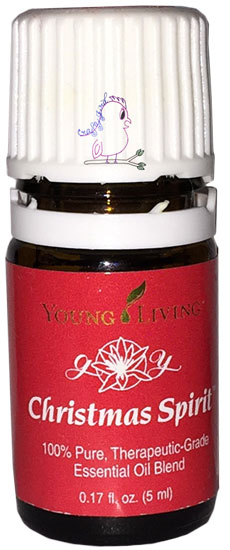
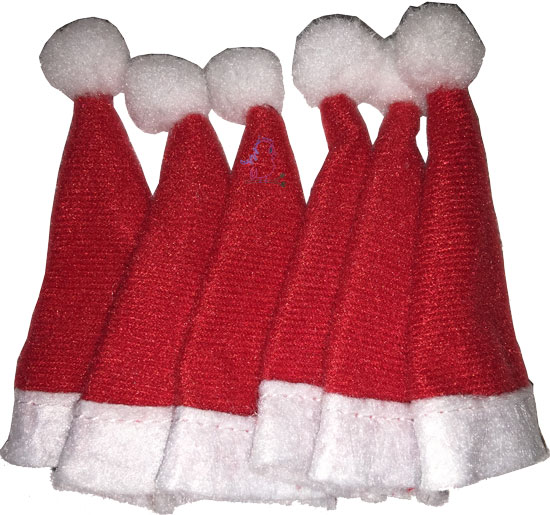 The first thing I did was add a Mini Santa Hat to the top of my Young Living Christmas Spirit Essential Oil Bottle.
Step #2:
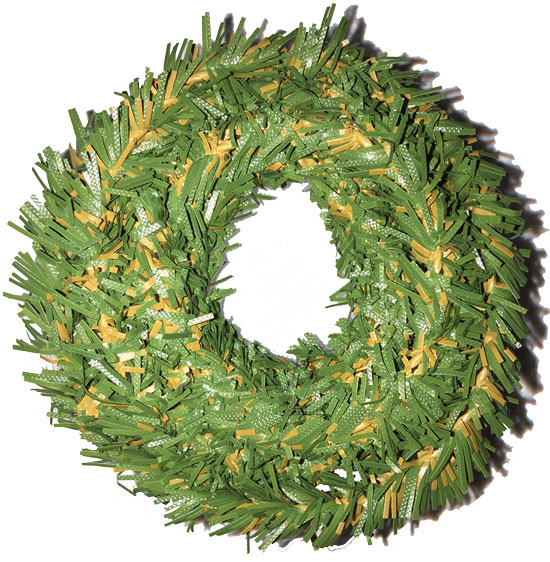
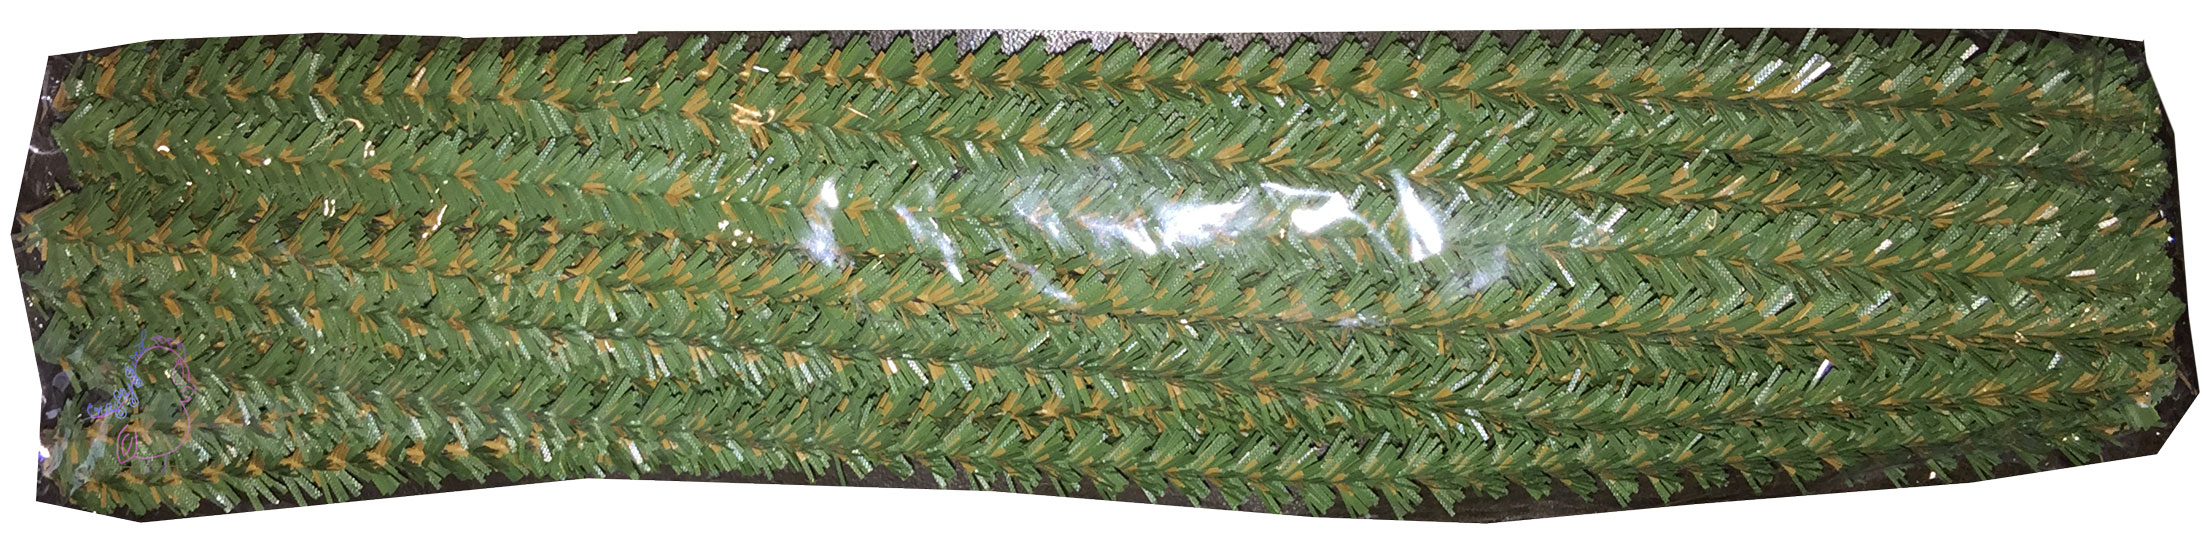
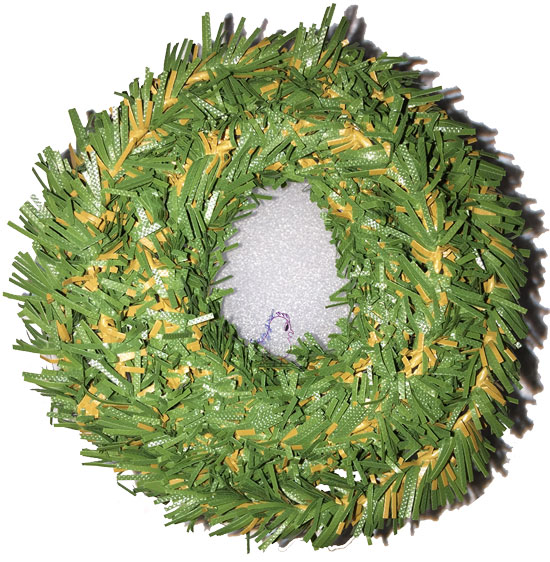
Next, I twisted three stems together at the ends then maneuver them to make a wreath like circle for my bottle to go in the middle to make it look like grass.

Step #3:
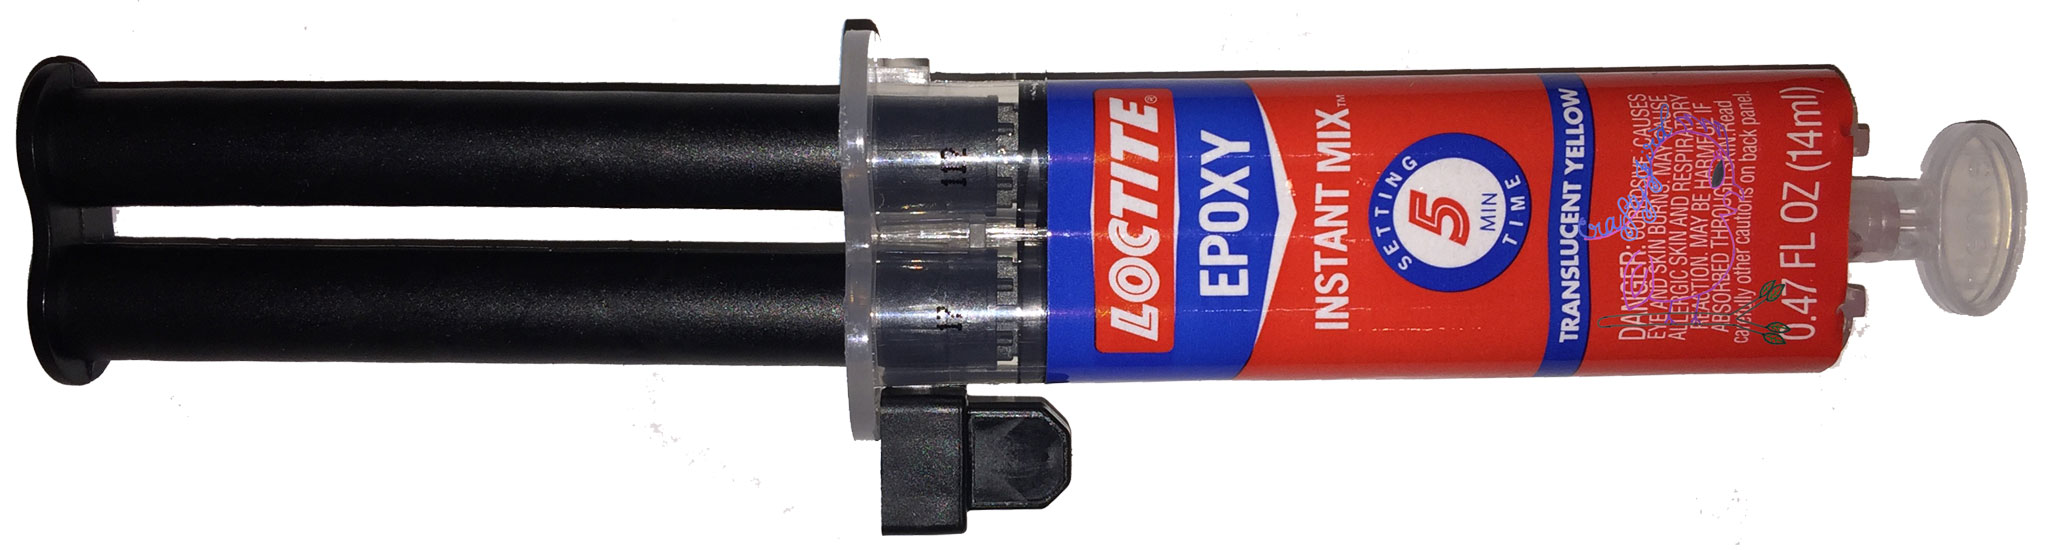
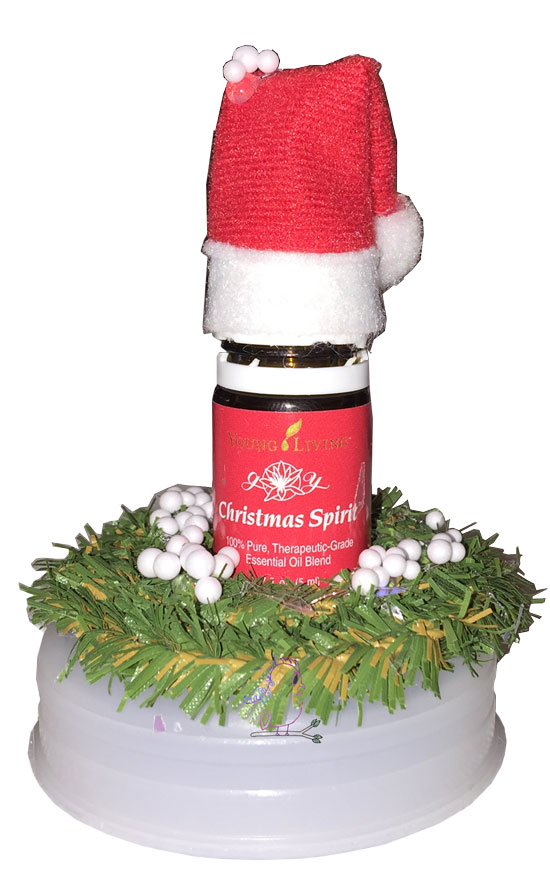 Once my ‘grass’ was finished to size, I used my Epoxy glue to adhere my ‘grass’ and Young Living Christmas Spirit Essential Oil Bottle to the platform of the Snow Globe.

Step #4:
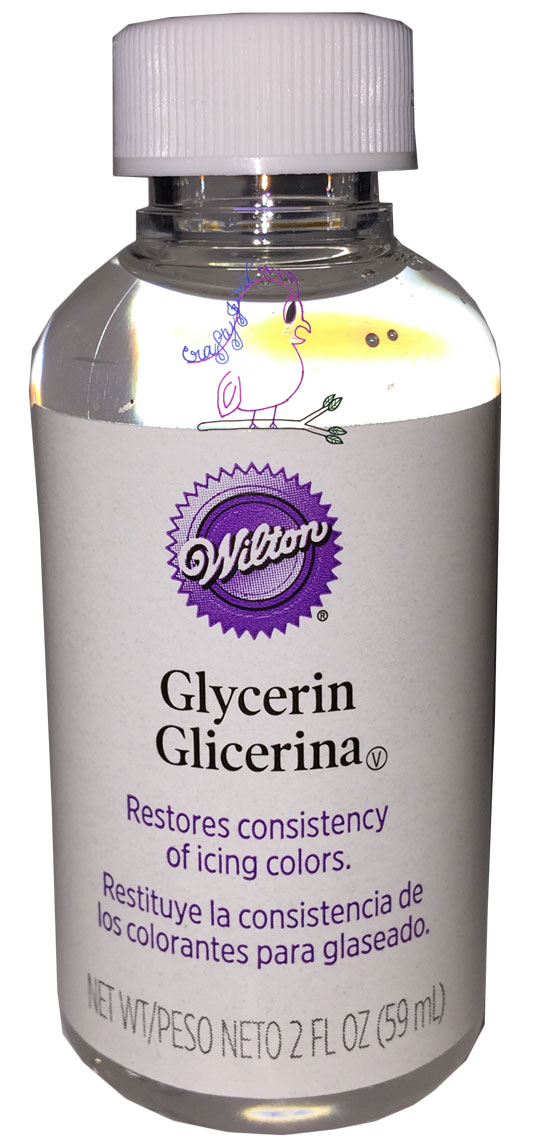
Setting my platform to the side to let dry, I filled my globe up with distilled water and about five teaspoons of Glycerin. Most places you will ready two to three teaspoon but I found with the ‘snow’ I used it need a little more.
Step #5:
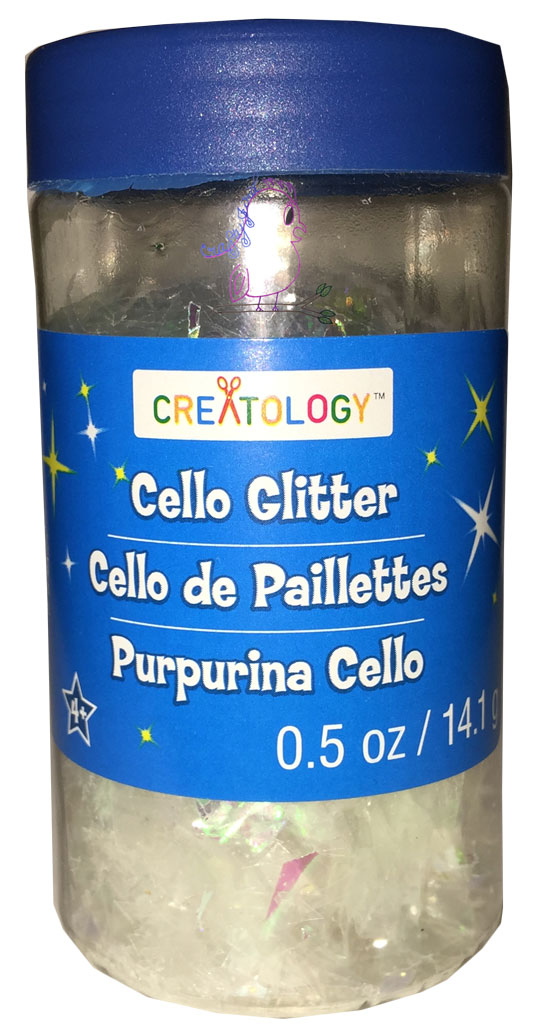
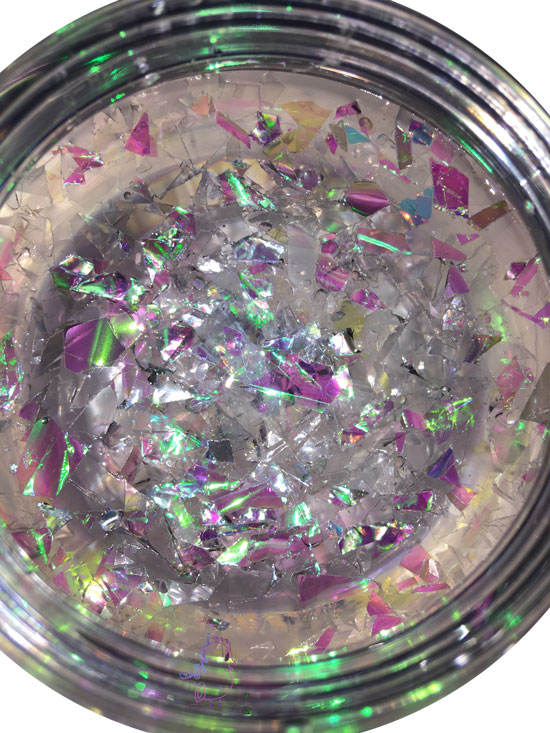
After adding distill water and glycerin, I add some Cello Glitter. Here I didn’t particularly measure just poured it in until I thought I had enough. Finally, I carefully inserted my platform (crossing my fingers) and screwed the bottom piece on for safe keepings. Click here for a quick video.
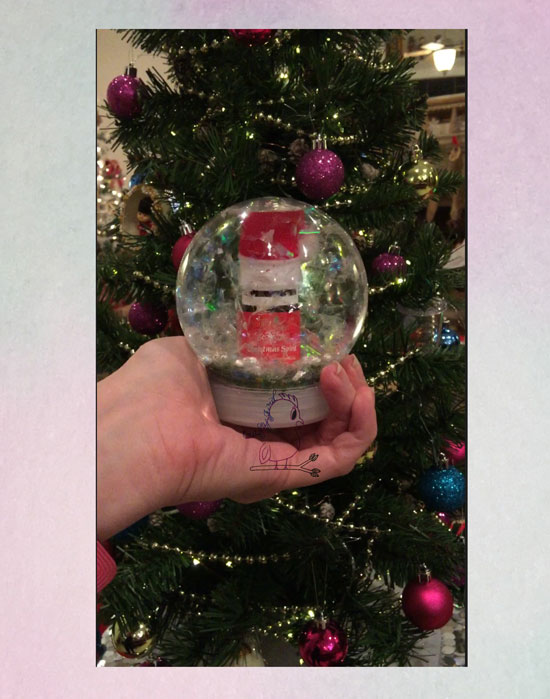
There you go. A cute way to display your Young Living Essential Oil Bottles. Oh and yes, this was a completely empty bottle. Though I would recommend before using any ’empty’ bottles to soak them in Epsom Salt to get every last drop so you can enjoy them in a warm bath for relaxing. Hope you enjoyed! Click here for a quick video.
Have any questions about today’s “Oily Thursday” “Oily Snow Globe” post or Young Living Essential Oils? Please feel free to comment below. Ready to make it yourself but need the oils? Visit my personal Young Living website here. Want to sign up to be a consultant and receive free gifts, discounts and more? Click here. Thanks for visiting! Hope to see you again!
Need a place to get away for the weekend? Check out Memory Lane Inn! It would be an excellent place to have an ‘Oily Weekend Party!’
Crafty JBird
**As with any over the counter medicines or prescription, a specific essential oil may work great for me, but not so much for you. I am not a doctor, just someone who uses essential oils on a daily basis and loves them. These are recommendations, as it is a trial and error type process to find what works best for you. This statement has not been evaluated by the FDA. This product is not intended to diagnose, treat, cure or prevent disease.**
**The advertisement found in this post as with all other posts, as affiliated links. Affiliated links mean by clicking them and making a purchase I get a commission. I used these affiliated links to help me keep my blog going as project materials still cost money.**