
Make It Monday we meet Again!
So, last week on “Write It Wednesday,” I showed where I embossed some “School Subjects” based on classes I took back when I was still working on my Marine Science degree. Today, I have where I continue my use of those embossed subject names where I make them into “Notebook Dividers.” These are fairly simple and fast to make and will finish off my ‘school theme’ for the beginning of the new school year.
Notebook Dividers
Things You’ll Need:
[soliloquy id=”1669″]
- Embossed Subjects
- Paper Trimmer
- Scissors
- Cardstock
- Scrapbook Paper
- Laminator
- Laminator Pouches
- 3-hole puncher
Choose which paper you want to use as your ‘base,’ ‘middle,’ and ‘top’ layers. A couple of mine only have a ‘base’ and ‘top’ layer so get creative. The paper used here is what I have used in previous posts and their scraps since they go with my ‘theme’ of classes.
Oceanography Notebook Divider
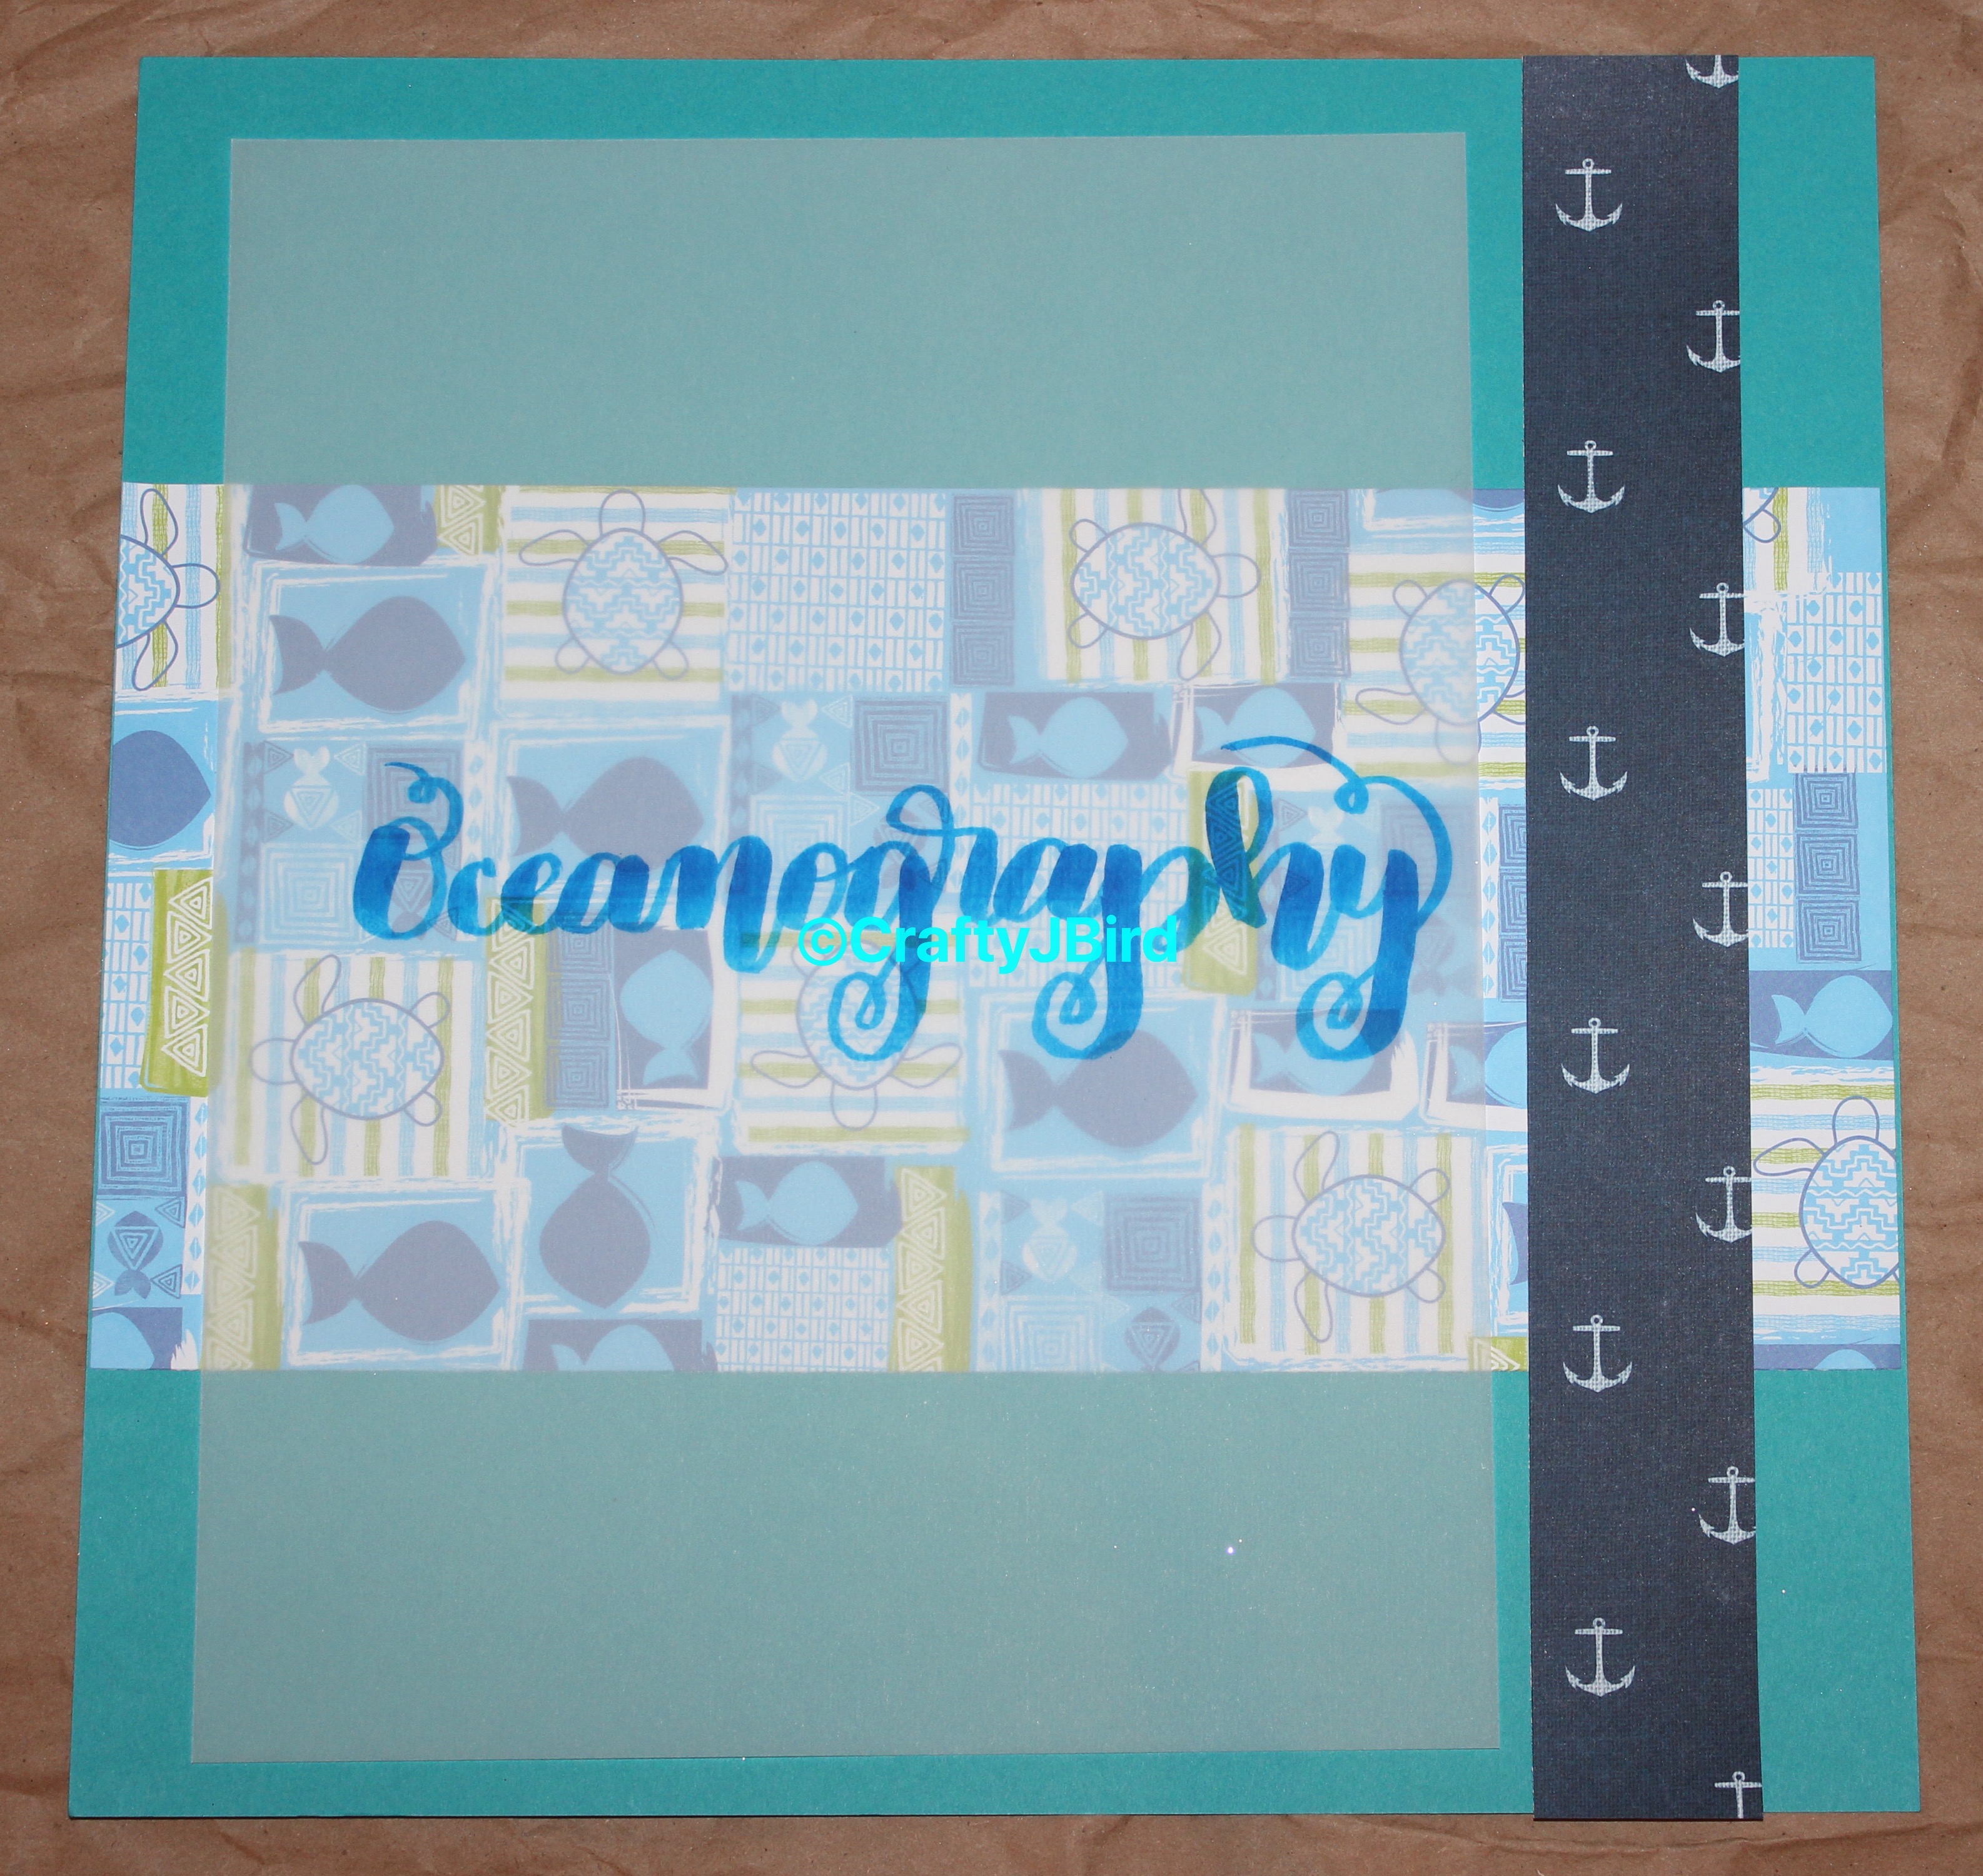 Above is the paper I chose to use for my “Oceanography Notebook Divider.” First, I trimmed my ‘base’ layer down to 8.5 by 11. Next, I trimmed my ‘middle’ piece down to 1.5 by 11. Then, I trimmed my ‘top’ piece to 6 by 7. Finally for this divider, I trimmed the excess vellum off leaving just the word to be placed on my ‘top’ layer and then I used my adhesive to stick everything down. You won’t need much adhesive since at the end each divider will be laminated.
Field Methods Notebook Divider
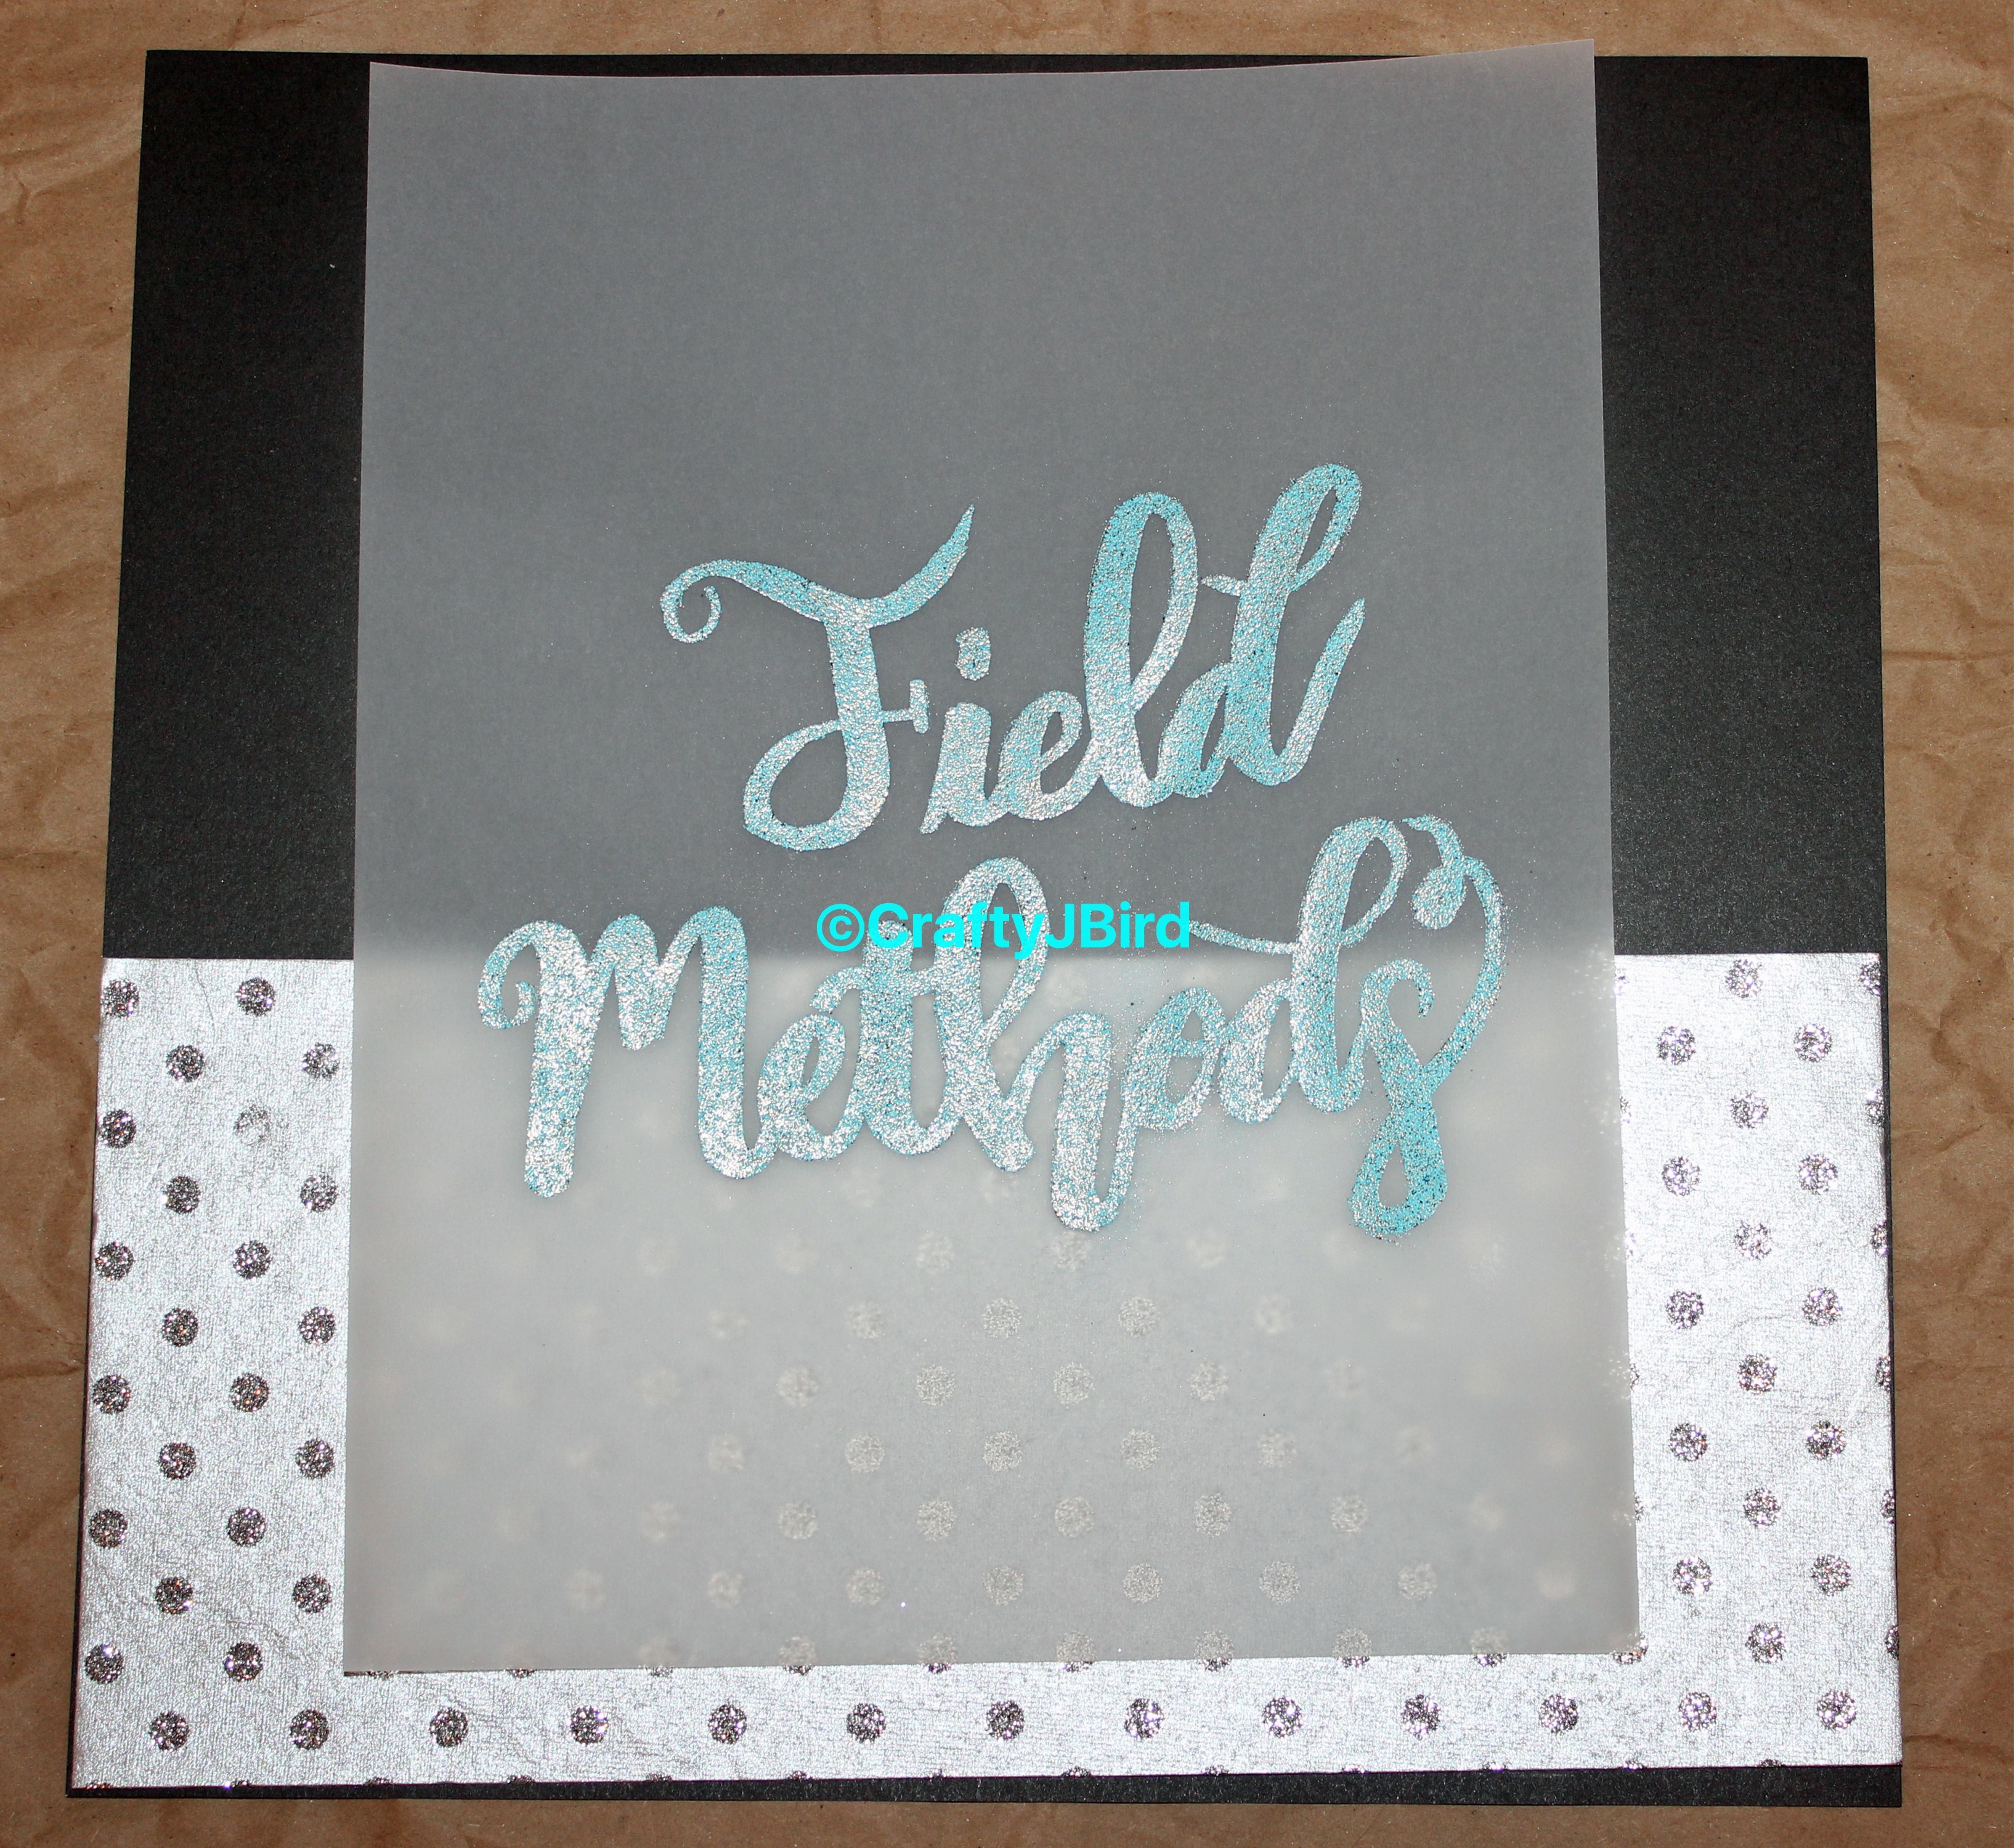 For this divided it only has a base’ and ‘top’ layer with the embossed subject in the middle. After trimming my ‘base’ to 8.5 by 11, I then trimmed my ‘top’ layer to 5 by 8.5 allowing it to go across the bottom of the ‘base’ to basically act like a pocket. Once I trimmed the excess vellum off around the “Field Methods,” I placed it slightly under my ‘top’ layer. Again, using my adhesive, I put everything in it’s place without using too much since it be laminated.
Marine Science Notebook Divider
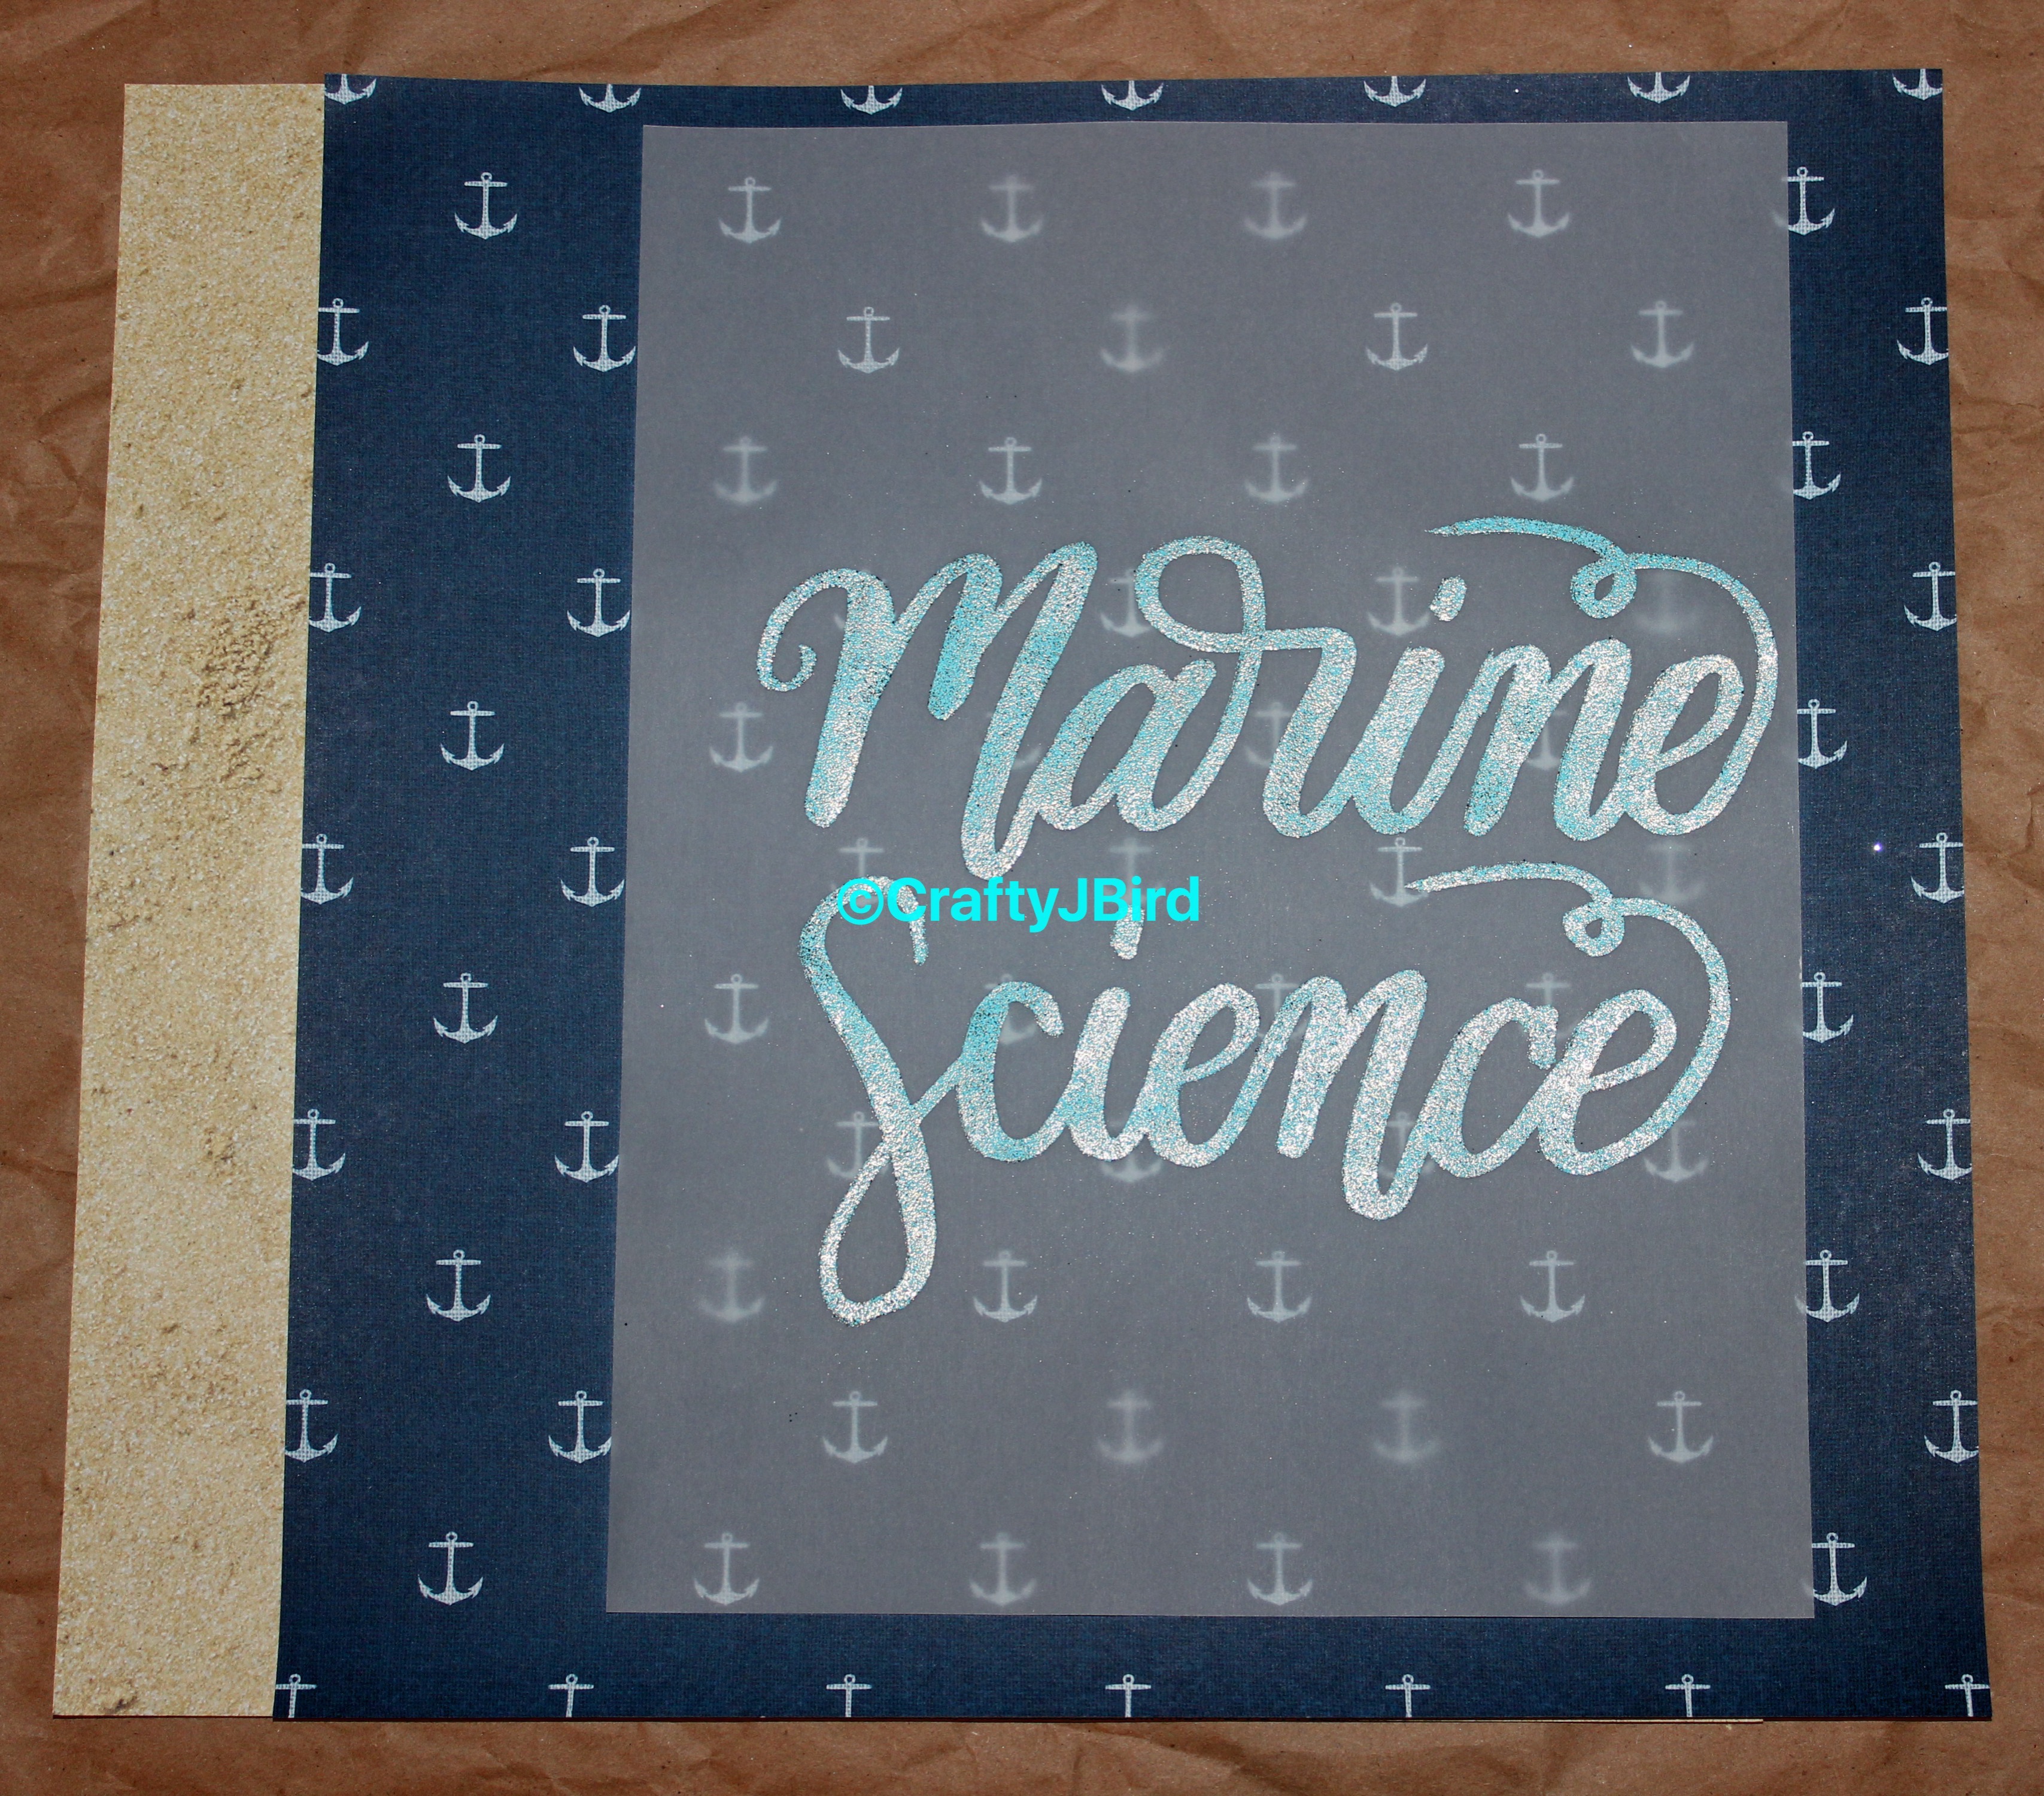 To make this one after trimming my ‘base’ to 8.5 by 11, I trimmed my ‘top’ layer to 7 by 8.5. I then trimmed the excess vellum off allowing it to fit on my ‘top’ layer in the middle. Again, using my adhesive, I put everything in it’s place without using too much since it be laminated.
Waves and Tides Notebook Divider
 Finally for my last “notebook divider” based on my Marine Science degree subjects, I used some white cardstock and trimmed it down like the others to 8.5 by 11. Then I also trimmed my ‘top’ layer to 8.5 by 11. To layer the two pieces I angled the ‘anchors’ to one side, turn everything over and folded the excess ‘anchor’ paper using my adhesive to keep it in place. For this notebook divider, I didn’t trim the excess vellum, I just adhered it to my ‘top’ layer as it was.
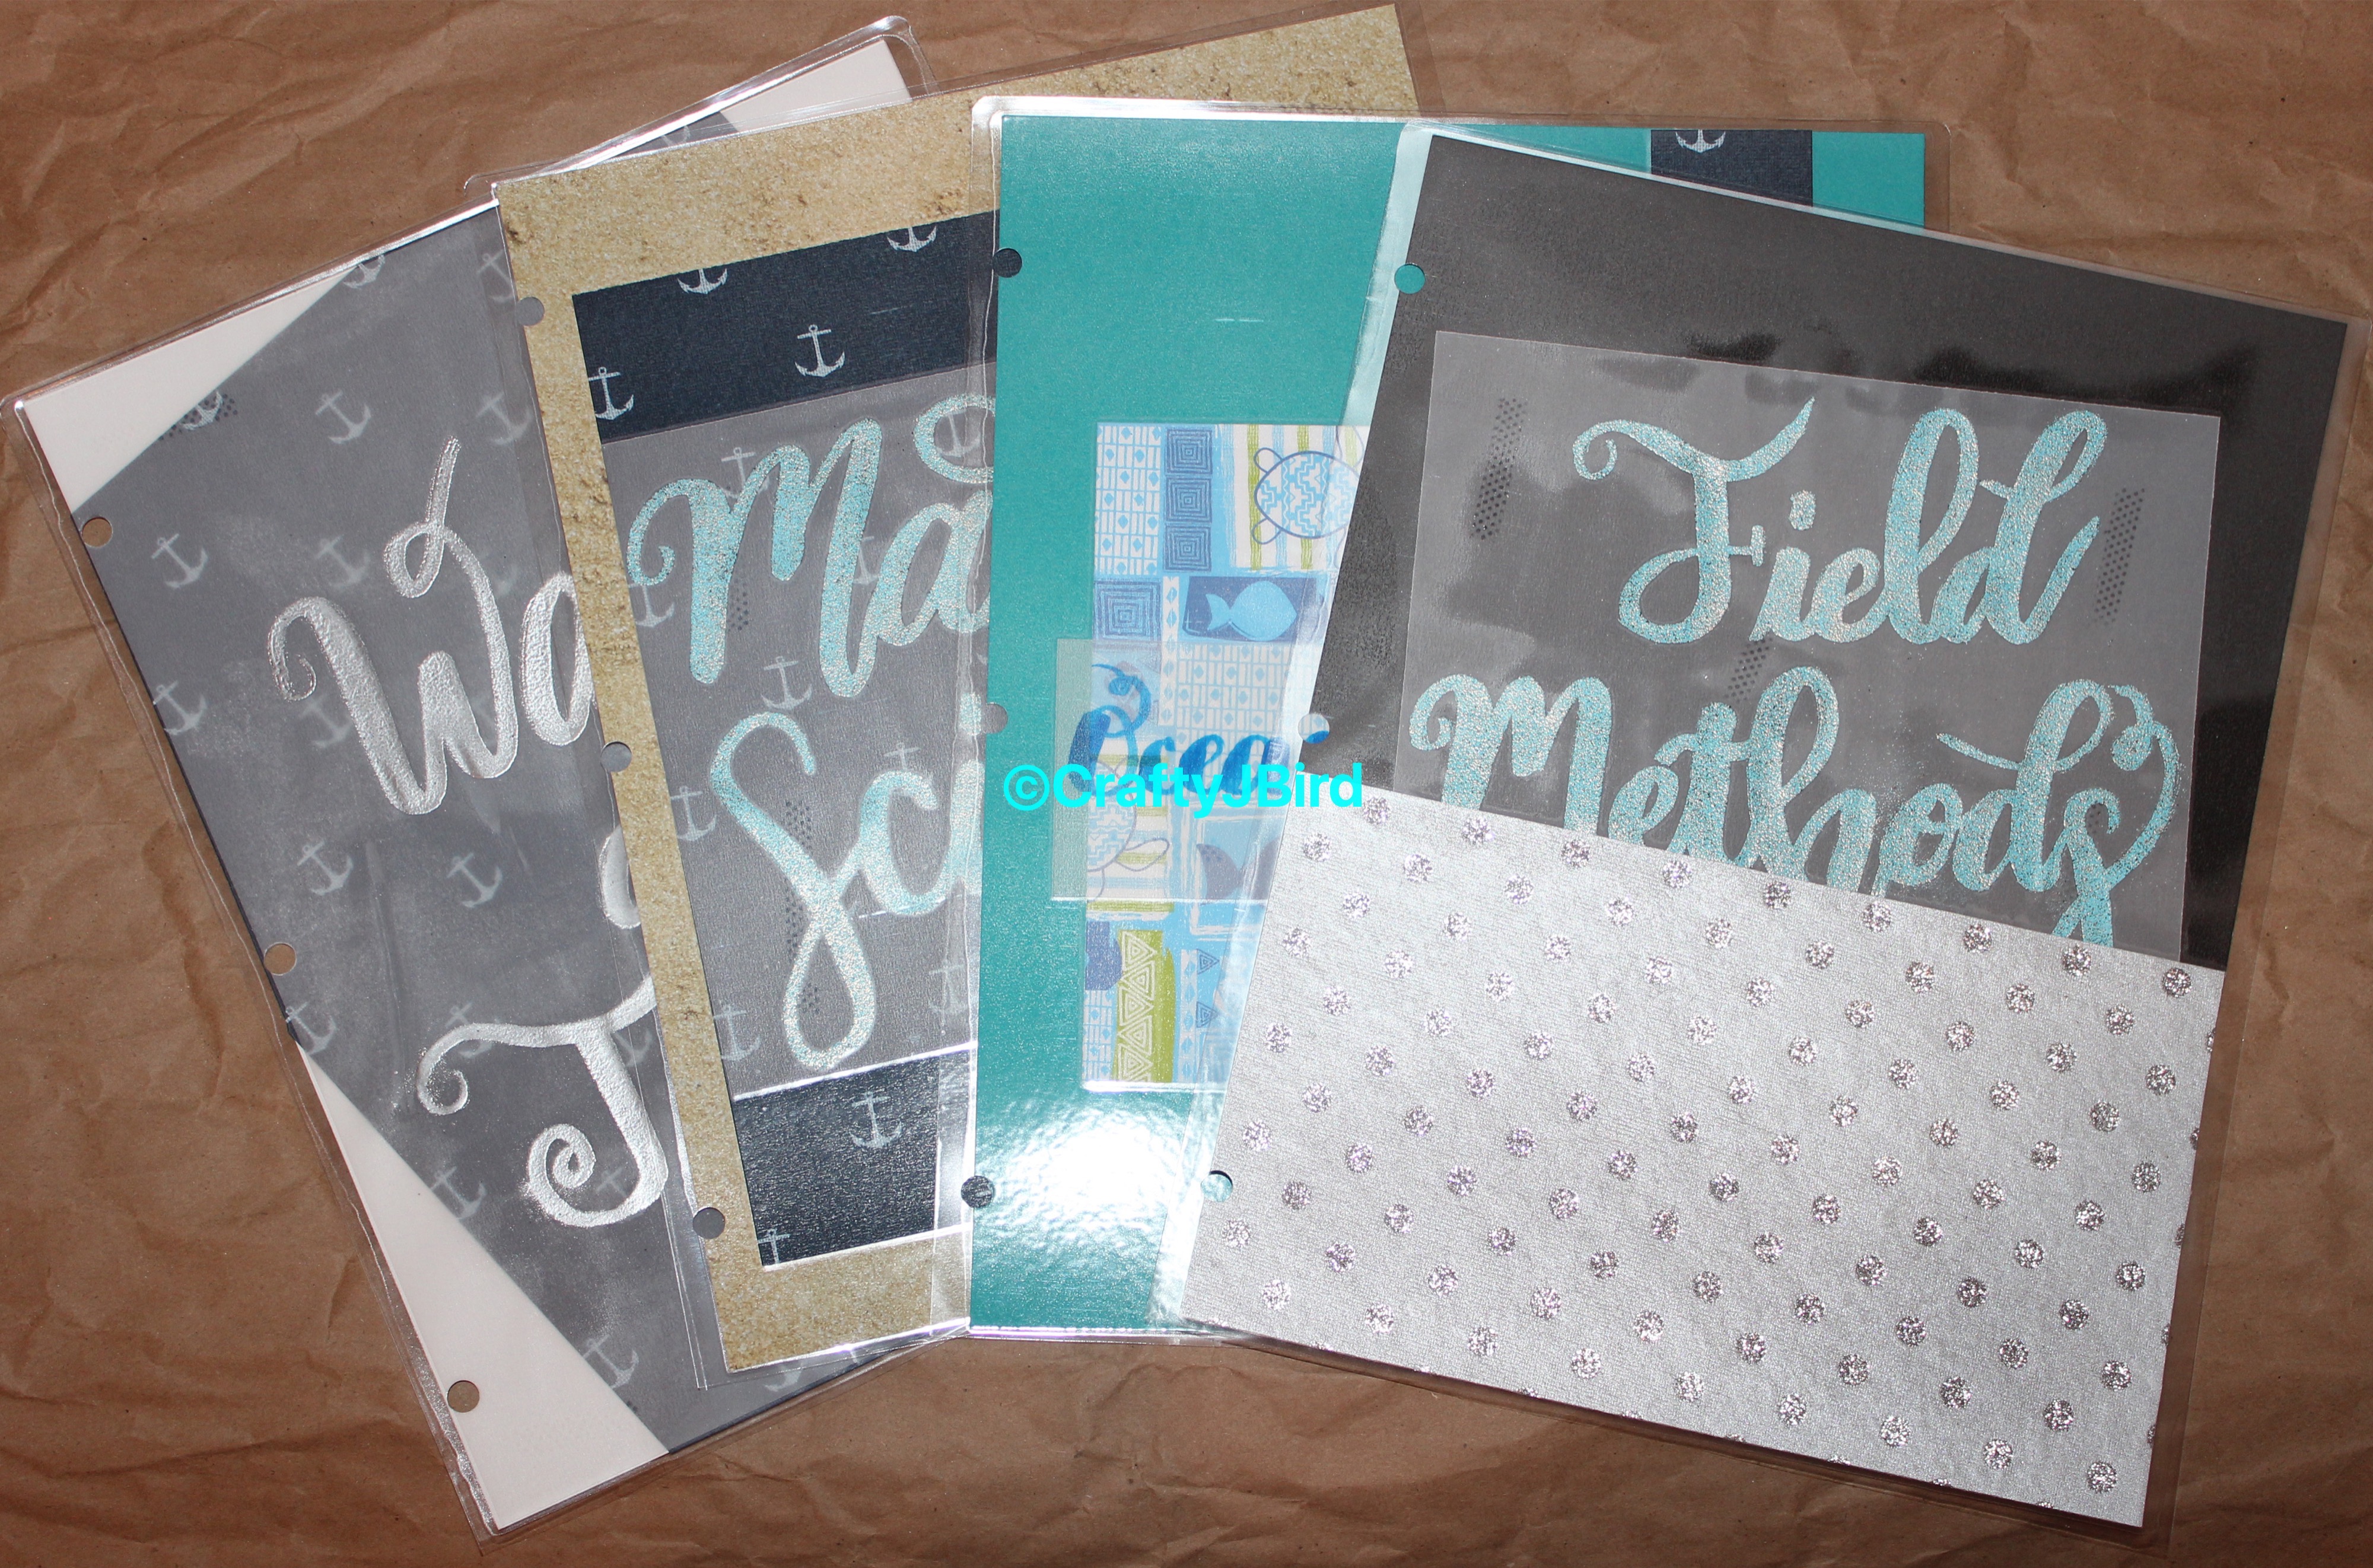
Putting Them Together
 To put everything together and ready to use in a notebook, I put each divider into it’s own laminating pouch and then ran each one through once my machine was good to go. Don’t have a laminator? As shown above in the “Things You’ll Need” pictures, you can also use the self-laminating pouches. I purchased mine from Target. Finally, I used my 3-hole punch to punch my holes in each of my dividers.
 There you go! A fairly simple and fast project. I think these would be absolutely great for any grade. Even if you’re a teacher teaching multiple subjects or grades. For example, one of my best friends teaches History at the school we grew up going to and she could easily use these accordingly by grade or by period if she had different quizzes and test used.
Have any questions or comments about the project? Please feel free to comment below and I’ll try to respond back as soon as possible! Thanks for visiting! Hope to see you again!
Have a great day!!
Crafty JBird