
It’s Random Tuesday!
When was the last time you sewn anything? If you’re like me, the last time I remember was when I was in middle school 4-H club and made a dress for a competition I entered. Since I just found out Friday I have another torn ligament and will be having hip scope surgery once again in a few weeks; I’ve decided to learn to sew again to make myself some things for my surgery. Let’s get started…
Learn To Sew Again
Things Used:


- Singer Sewing Machine
- White Thread
- Anchor Fabric
Singer Talent Sewing Machine:
Since my mom’s sewing machine is packed up here and there, I decided to go ahead and get me a new one. I purchased mine from Jo Anne’s Craft Store and they recommended the best one to get for beginners; which was the Singer Talent 3321. The white thread also came from Jo Anne’s and the fabric I used came from Walmart. As I mentioned, last time I used a sewing machine was when I was in middle school and even then I had my mom help me some. So, this time, I had my mom help me get started.
My mom showed me how to wind the bobbin, which was basically putting the thread on the bobbin disc, and then she helped get the thread through everything else, despite the numbers of how-to on the machine to make it easier. Once we got everything in place I got to work. Today, I decided I would only go through the different types of stitches. Though I made the 10 different ones on the machine, it’s super hard for me to tell the difference.
Accessories:
 First, here’s an overview of what all comes with this particular sewing machine. In this pile, you can see the machine comes with:
- an all-purpose foot
- zipper foot
- buttonhole foot
- button sewing foot
- seam ripper/brush
- edge/quilting guide
- pack of needles
- spool holders
- 3 bobbins
- L-screwdriver
- darning plate
- auxiliary spool pin and
- a spool pin felt.
Sewing:
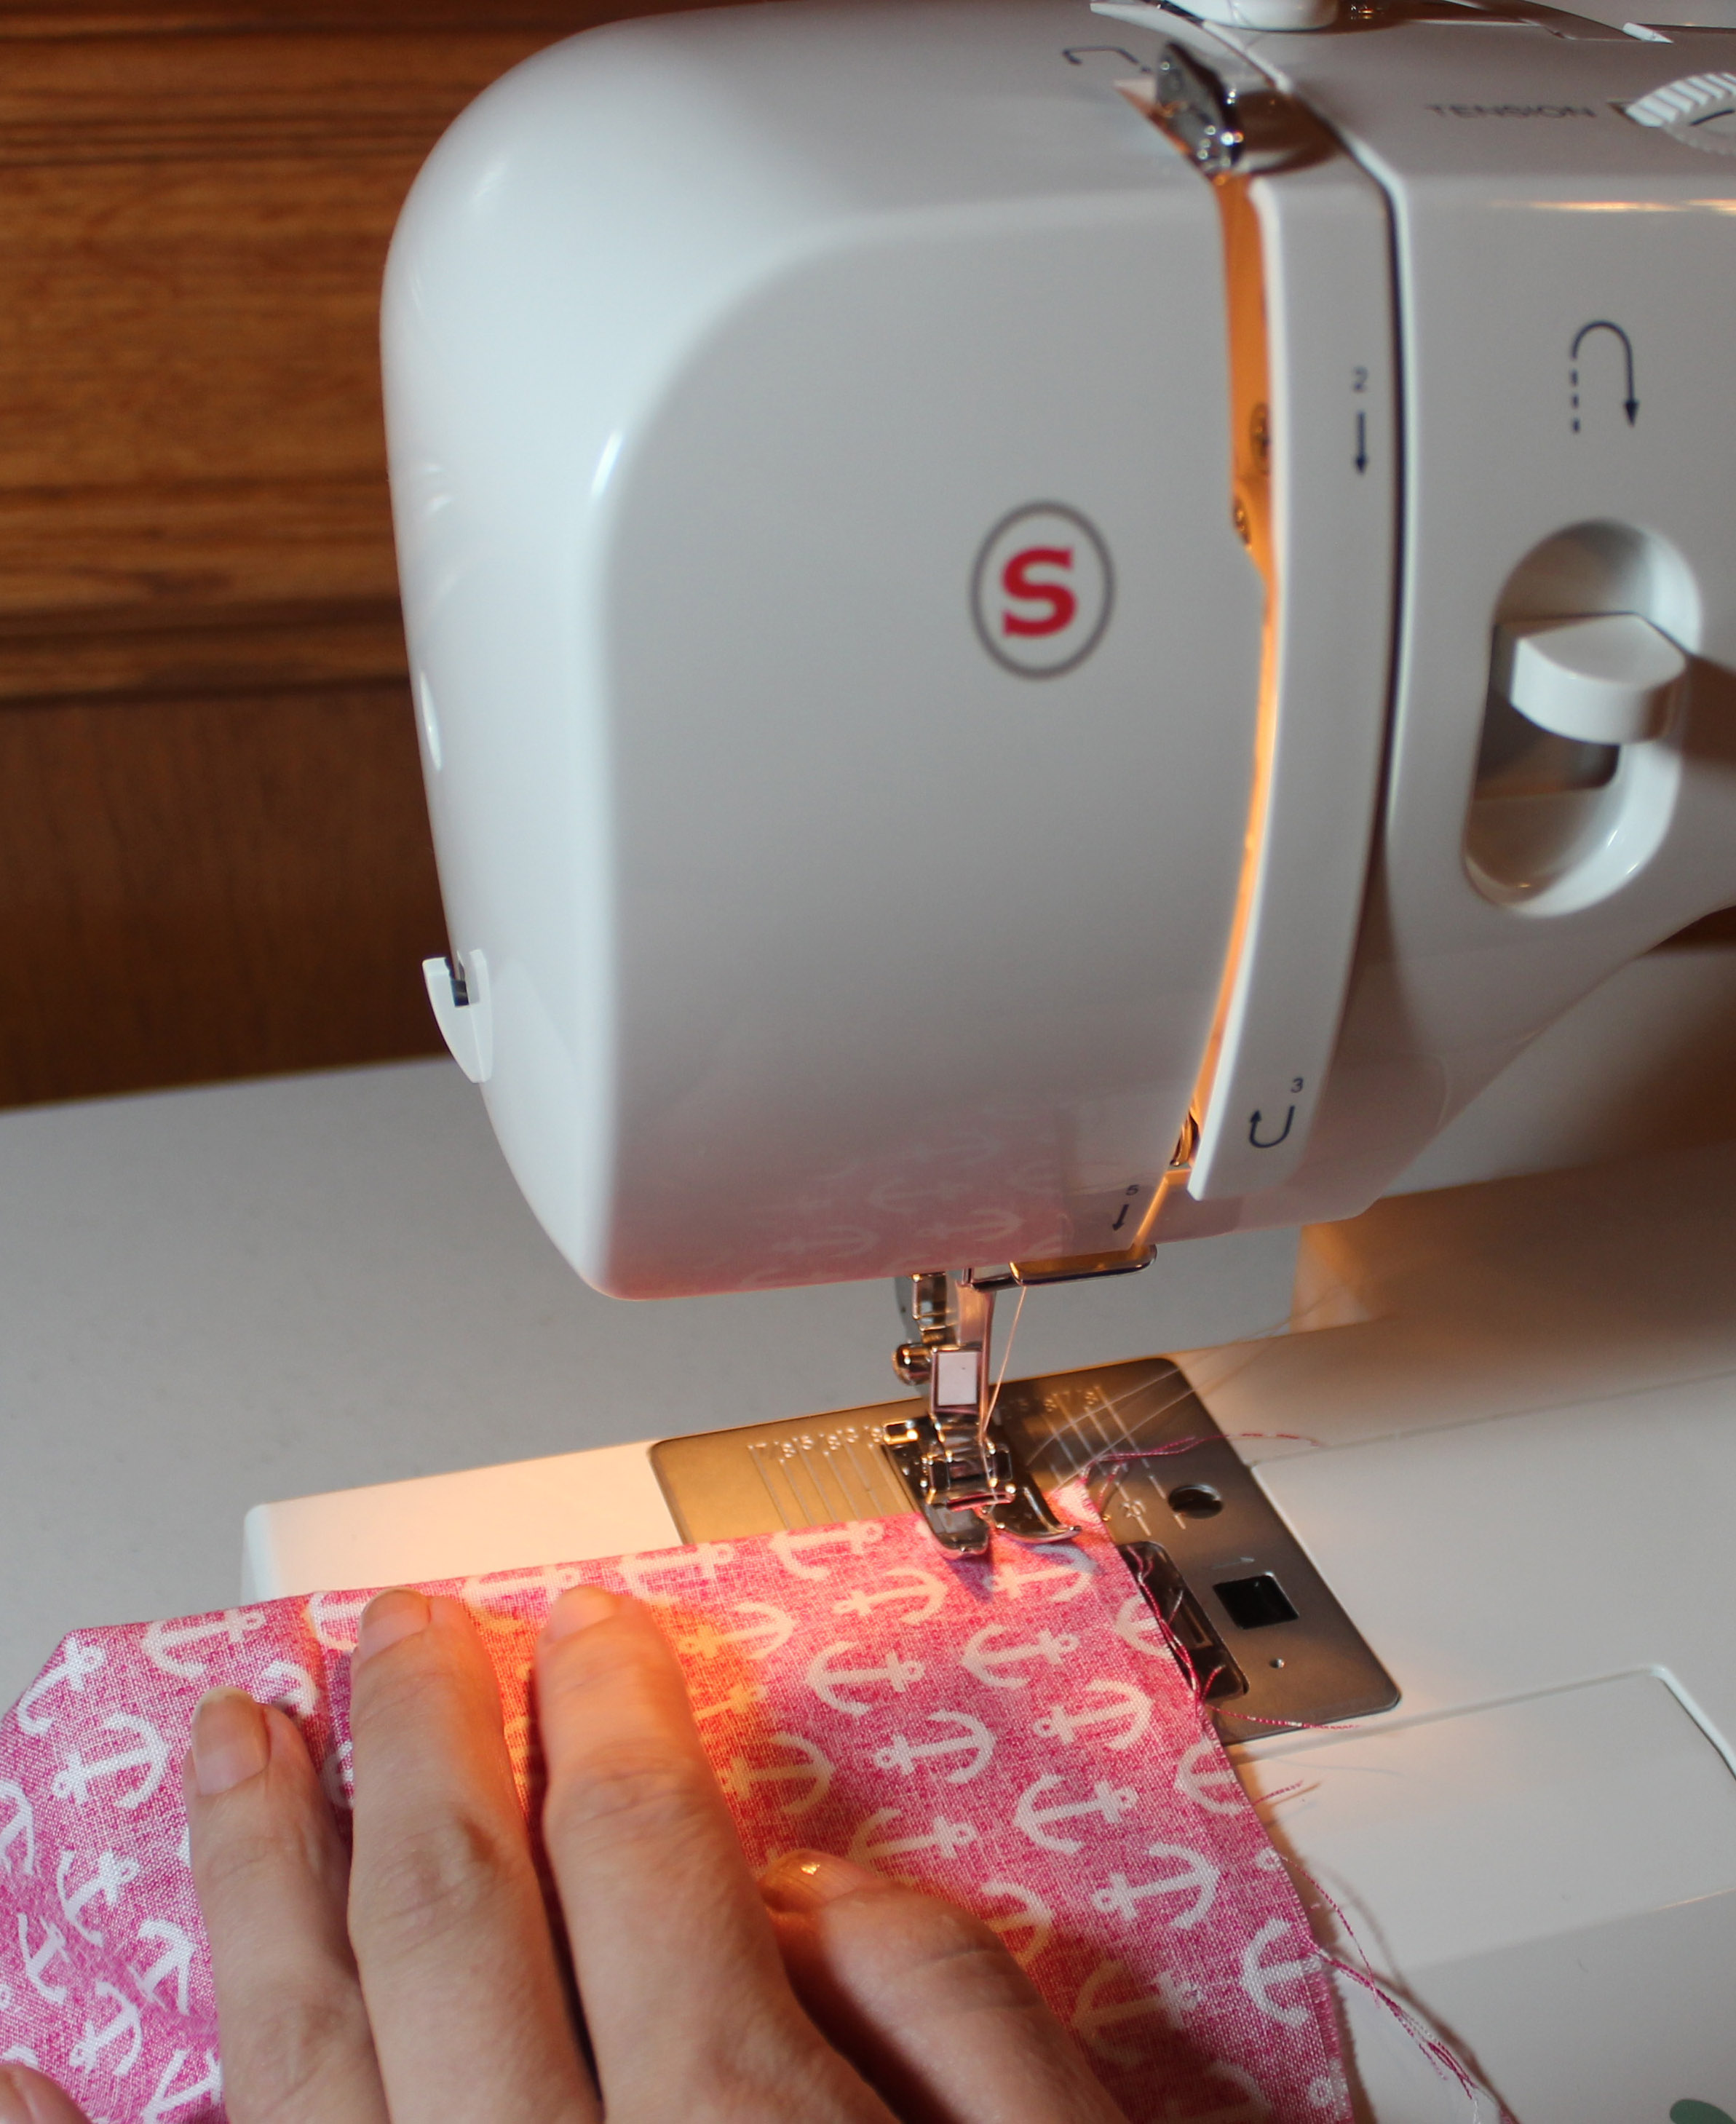


Next, here’s me trying to get things going.
I Did It!:


![]()
![]()
Finally, here’s the 10 different stitches among these pictures.
 Here’s also what the stitch dial looks like up close on this machine model. Since I’m still learning, I’ll find out as I make a particular project which stitch is best to use for that project. For now, mom says I’ll use the straight one most of the time.
There you go, a quick showing of the different stitches created by this particular machine (and probably most). Don’t be surprised to see this same fabric when I make my first project.
Have any questions about today’s project? Please feel free to comment below and I’ll respond back as soon as possible! Thanks for visiting! Hope to see you again!
Crafty JBird
